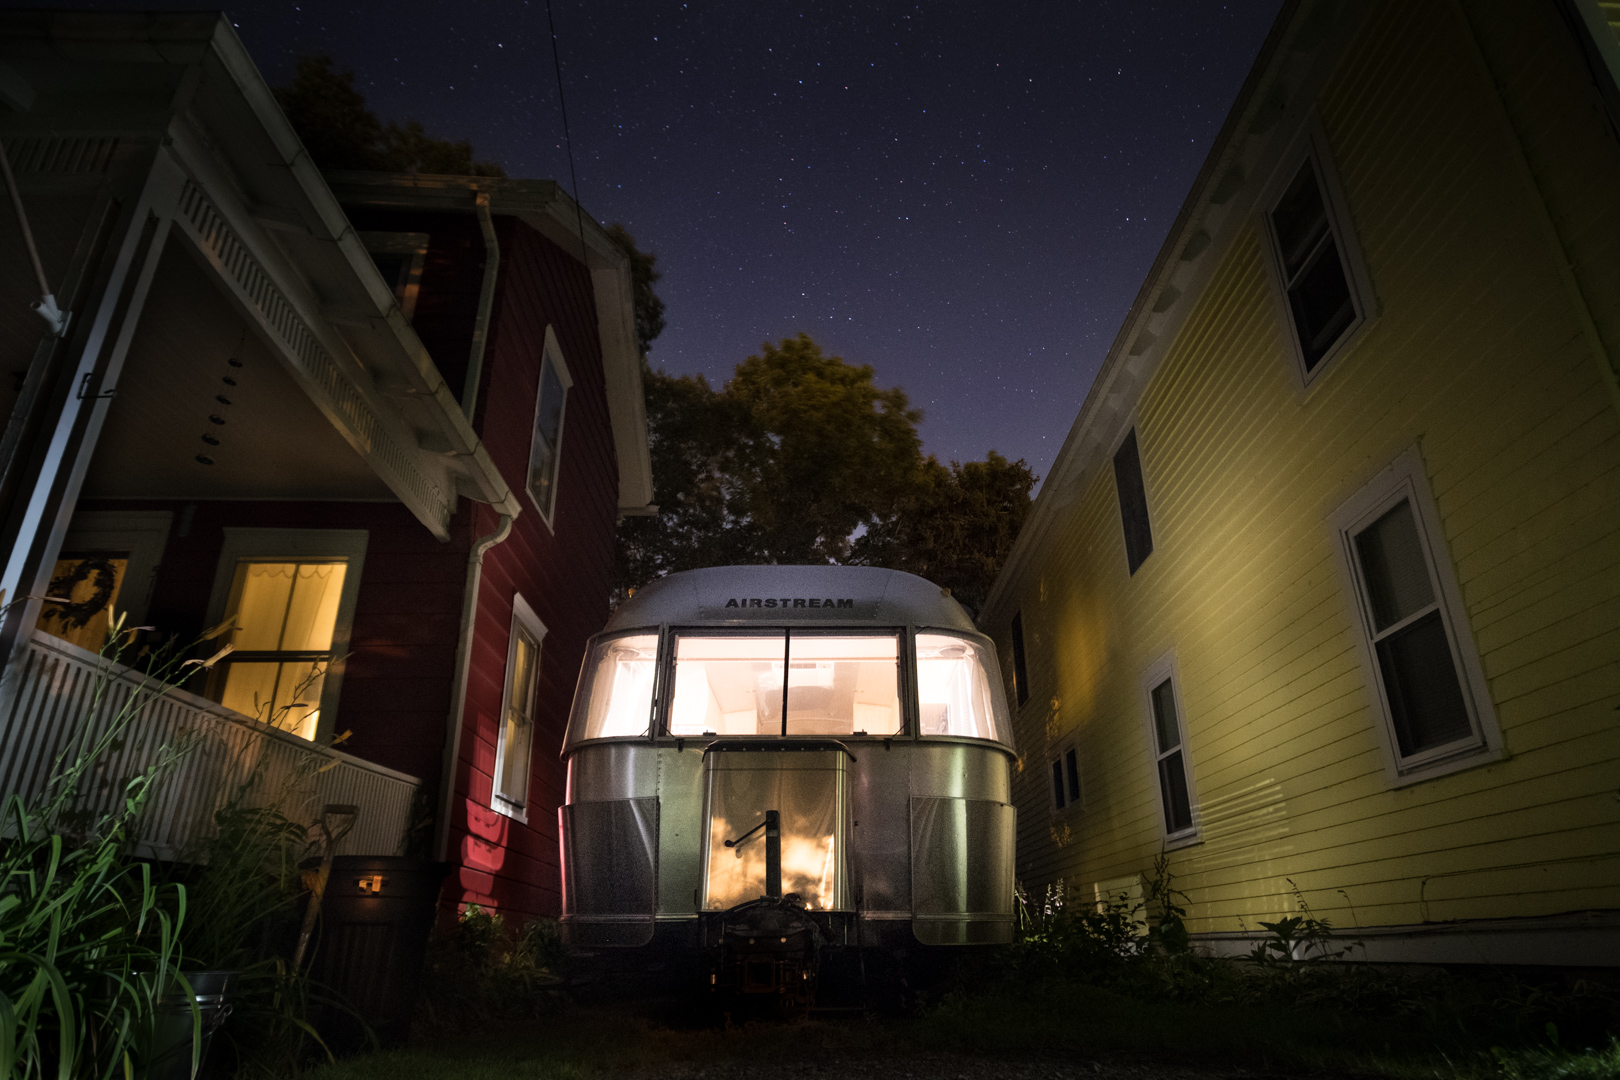
Renovating an Airstream while traveling full time: Part 2
Renovating an Airstream while traveling full time – Part 2
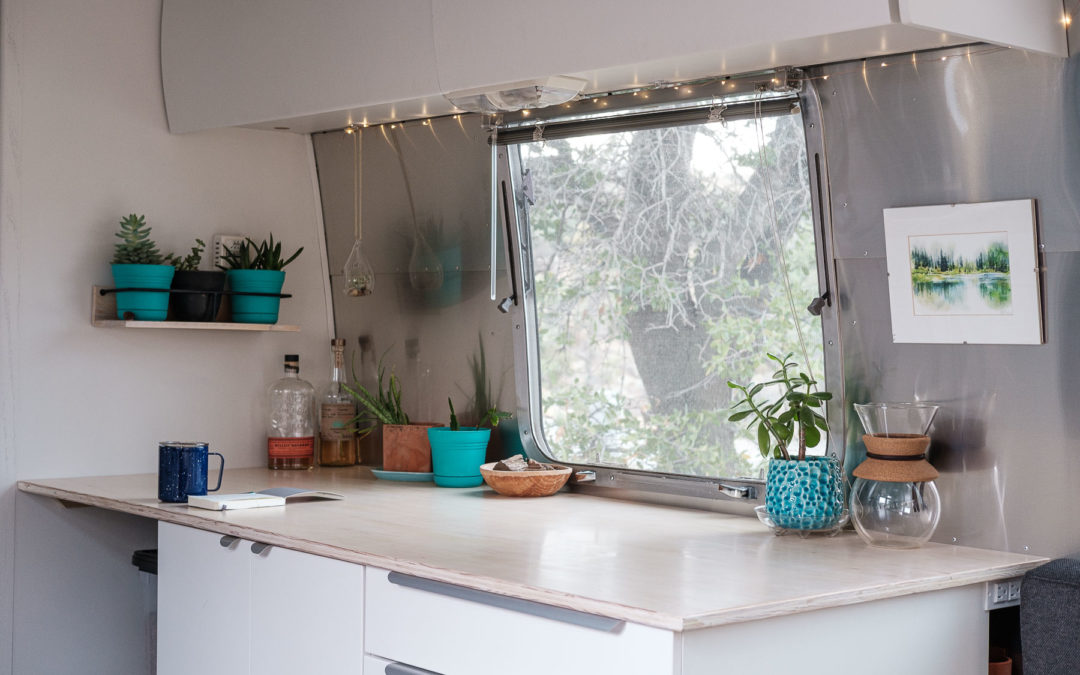
In Part 1 of our Renovation on the Road series, we showed you why we wanted to renovate our Airstream, and our new kitchen galley and standing workspace. In this part we’ll go over our new dinette and some of the benefits of the renovation. It’s another long one, but it’s mostly pictures.
Please check out our Youtube video for more details and some footage of the renovation!
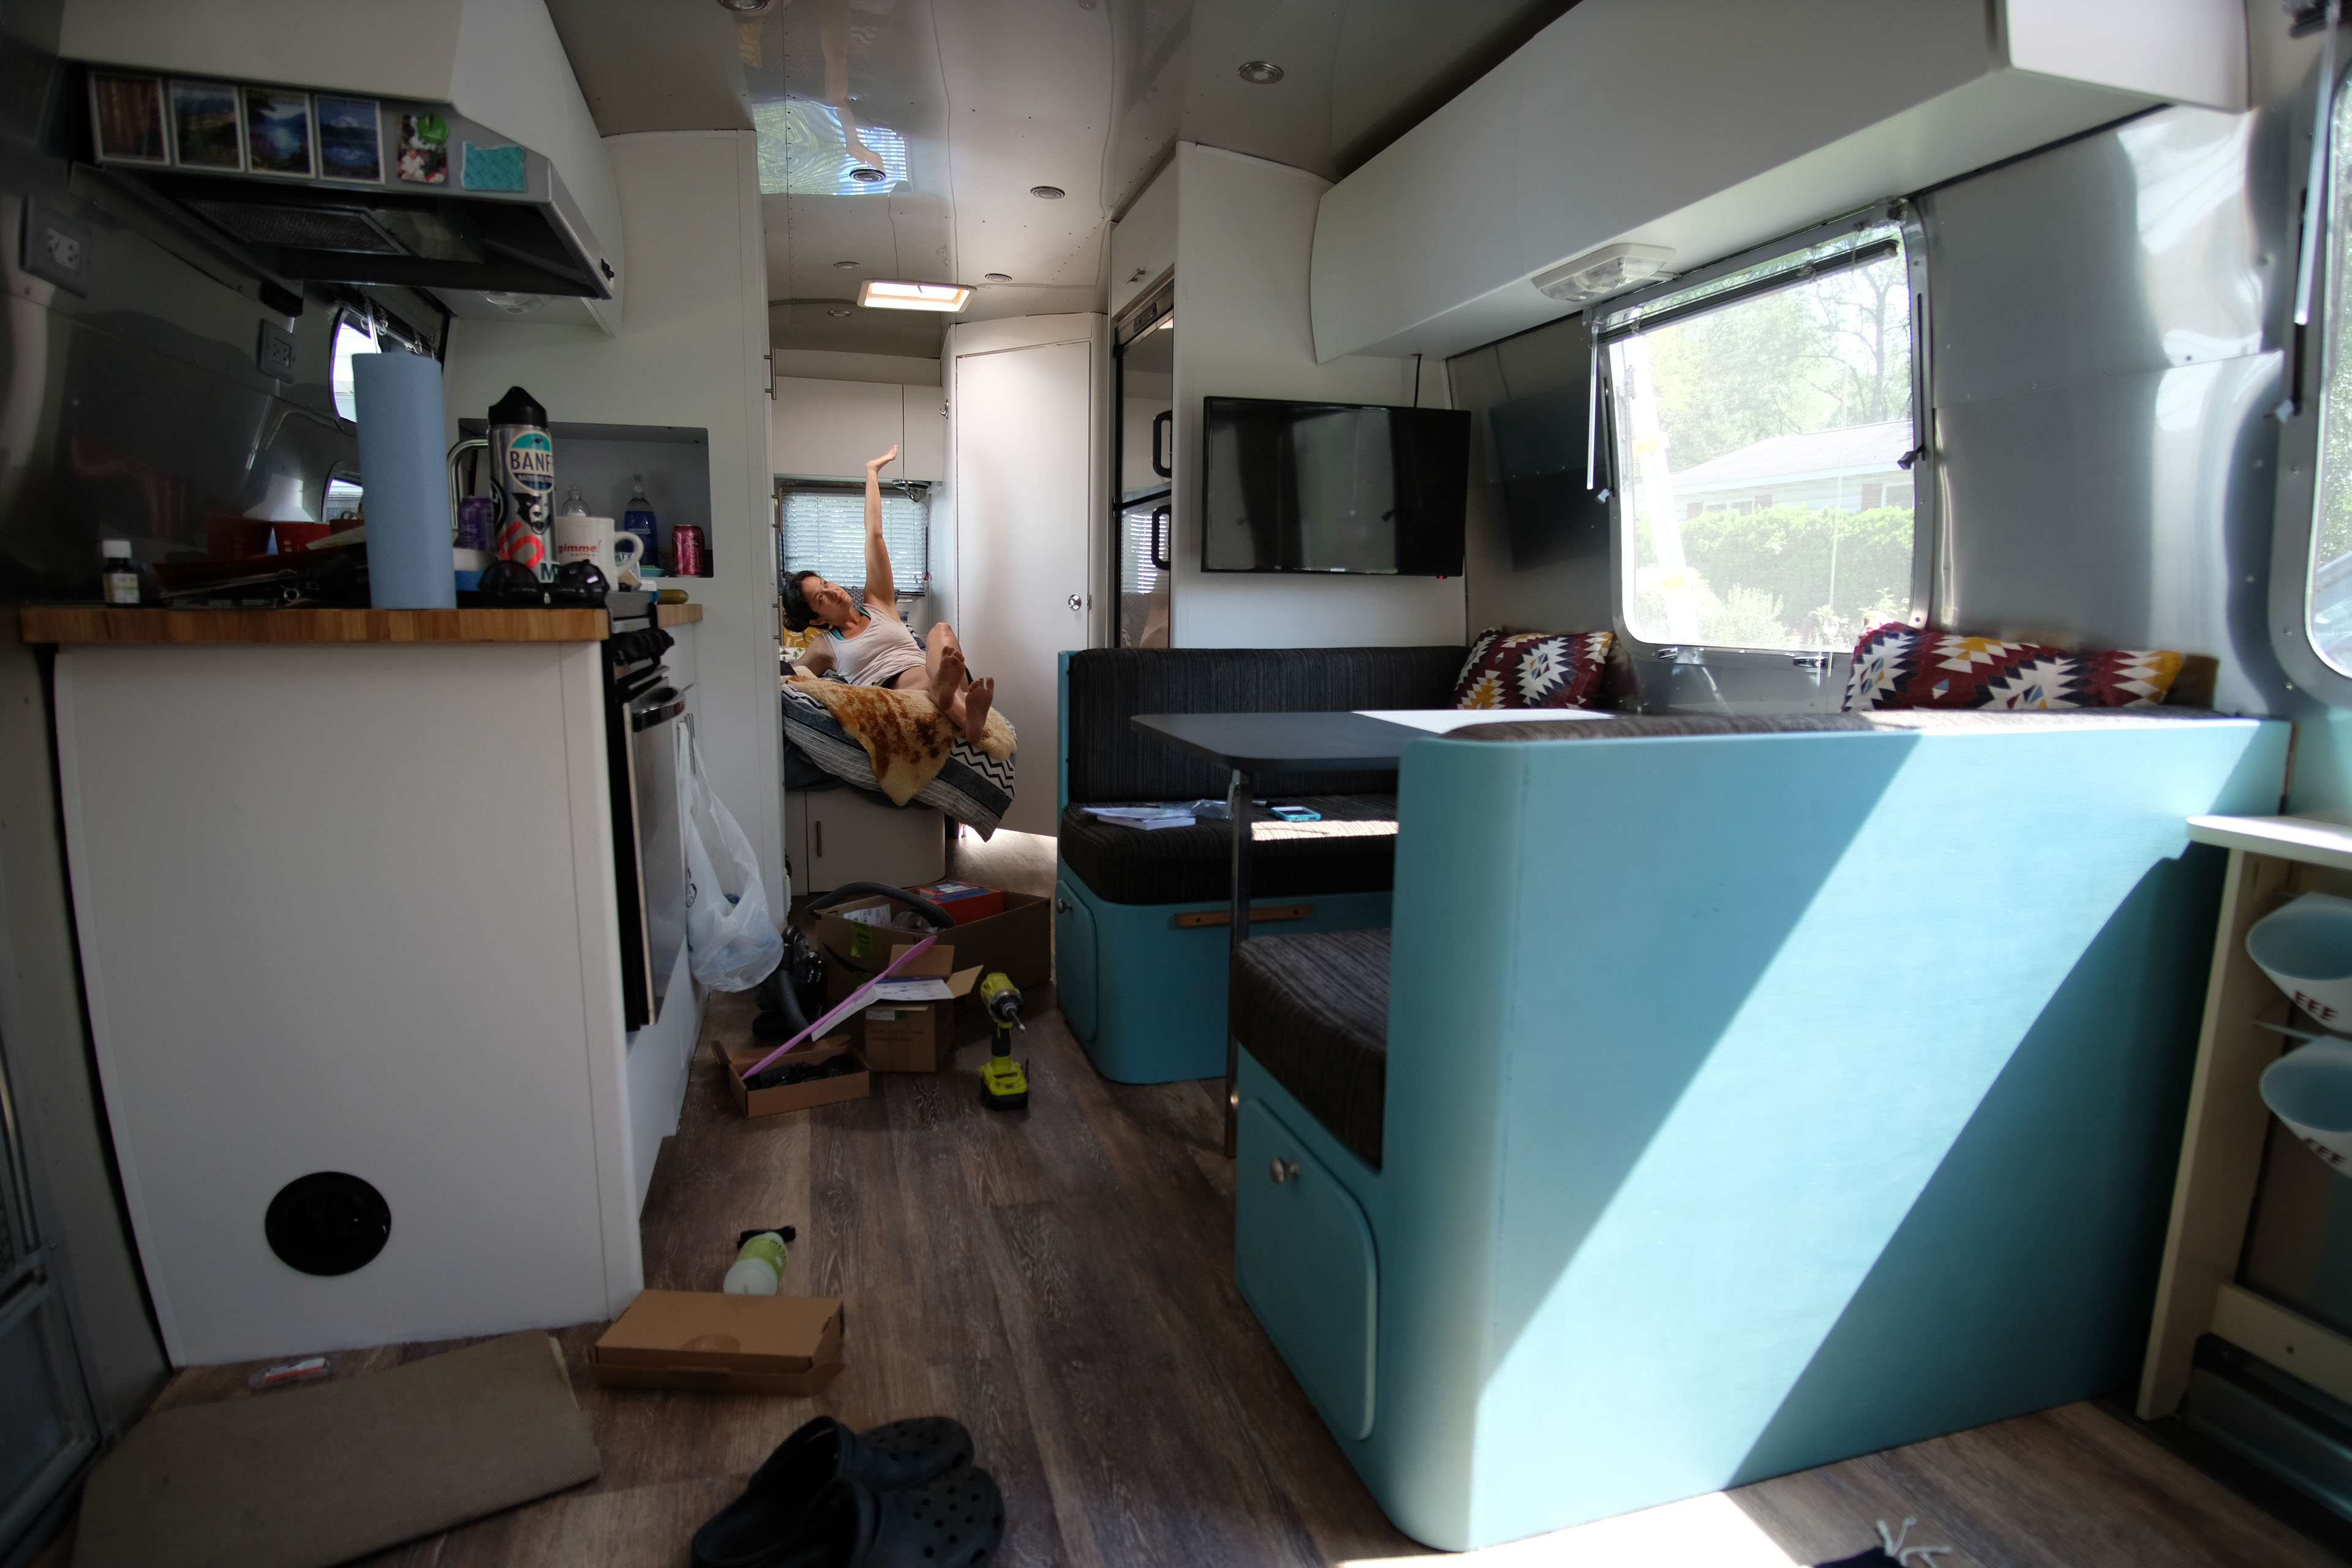
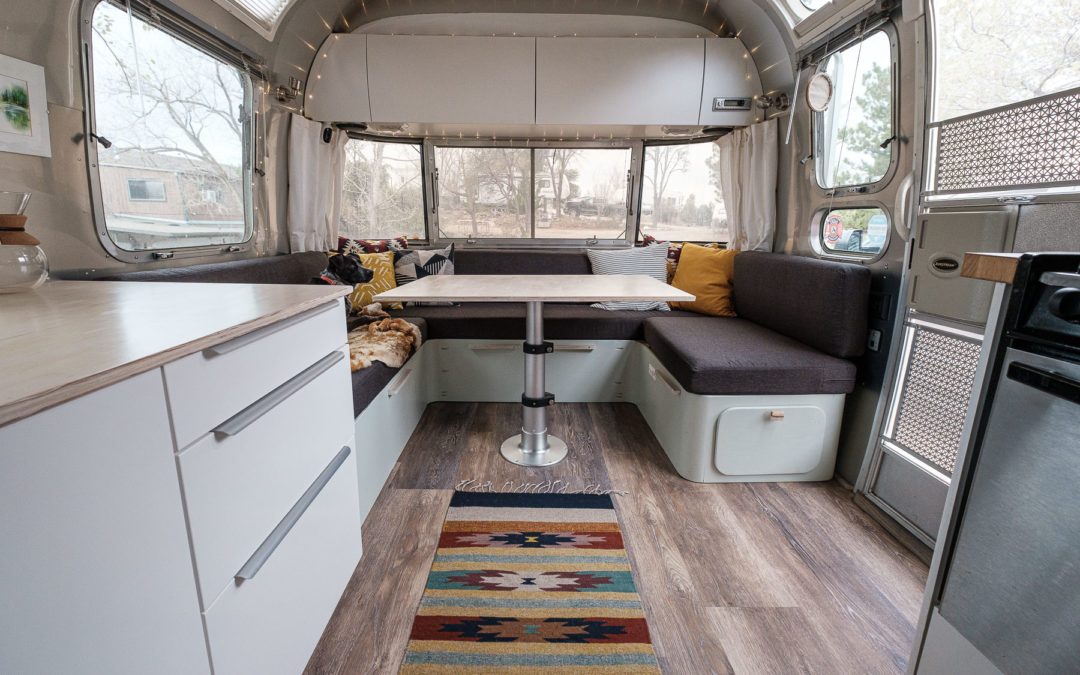
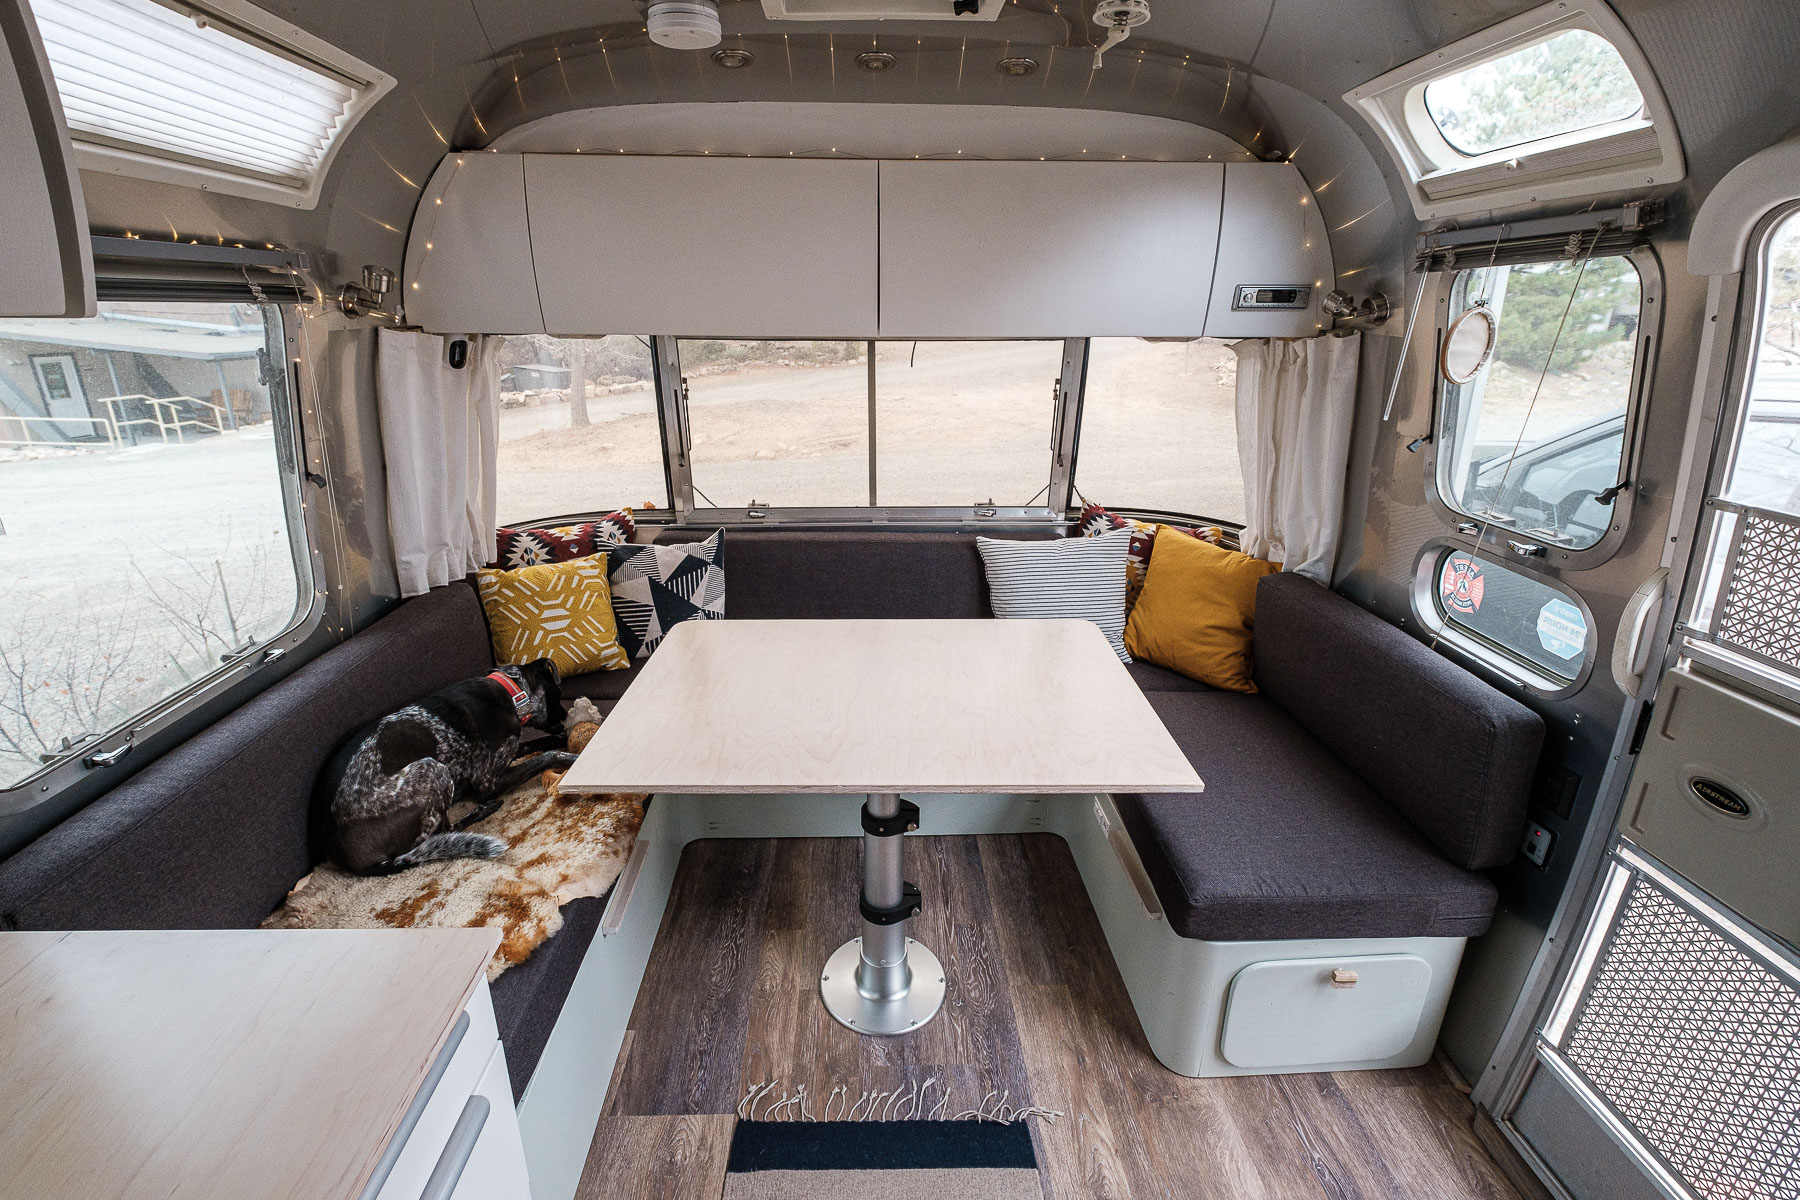
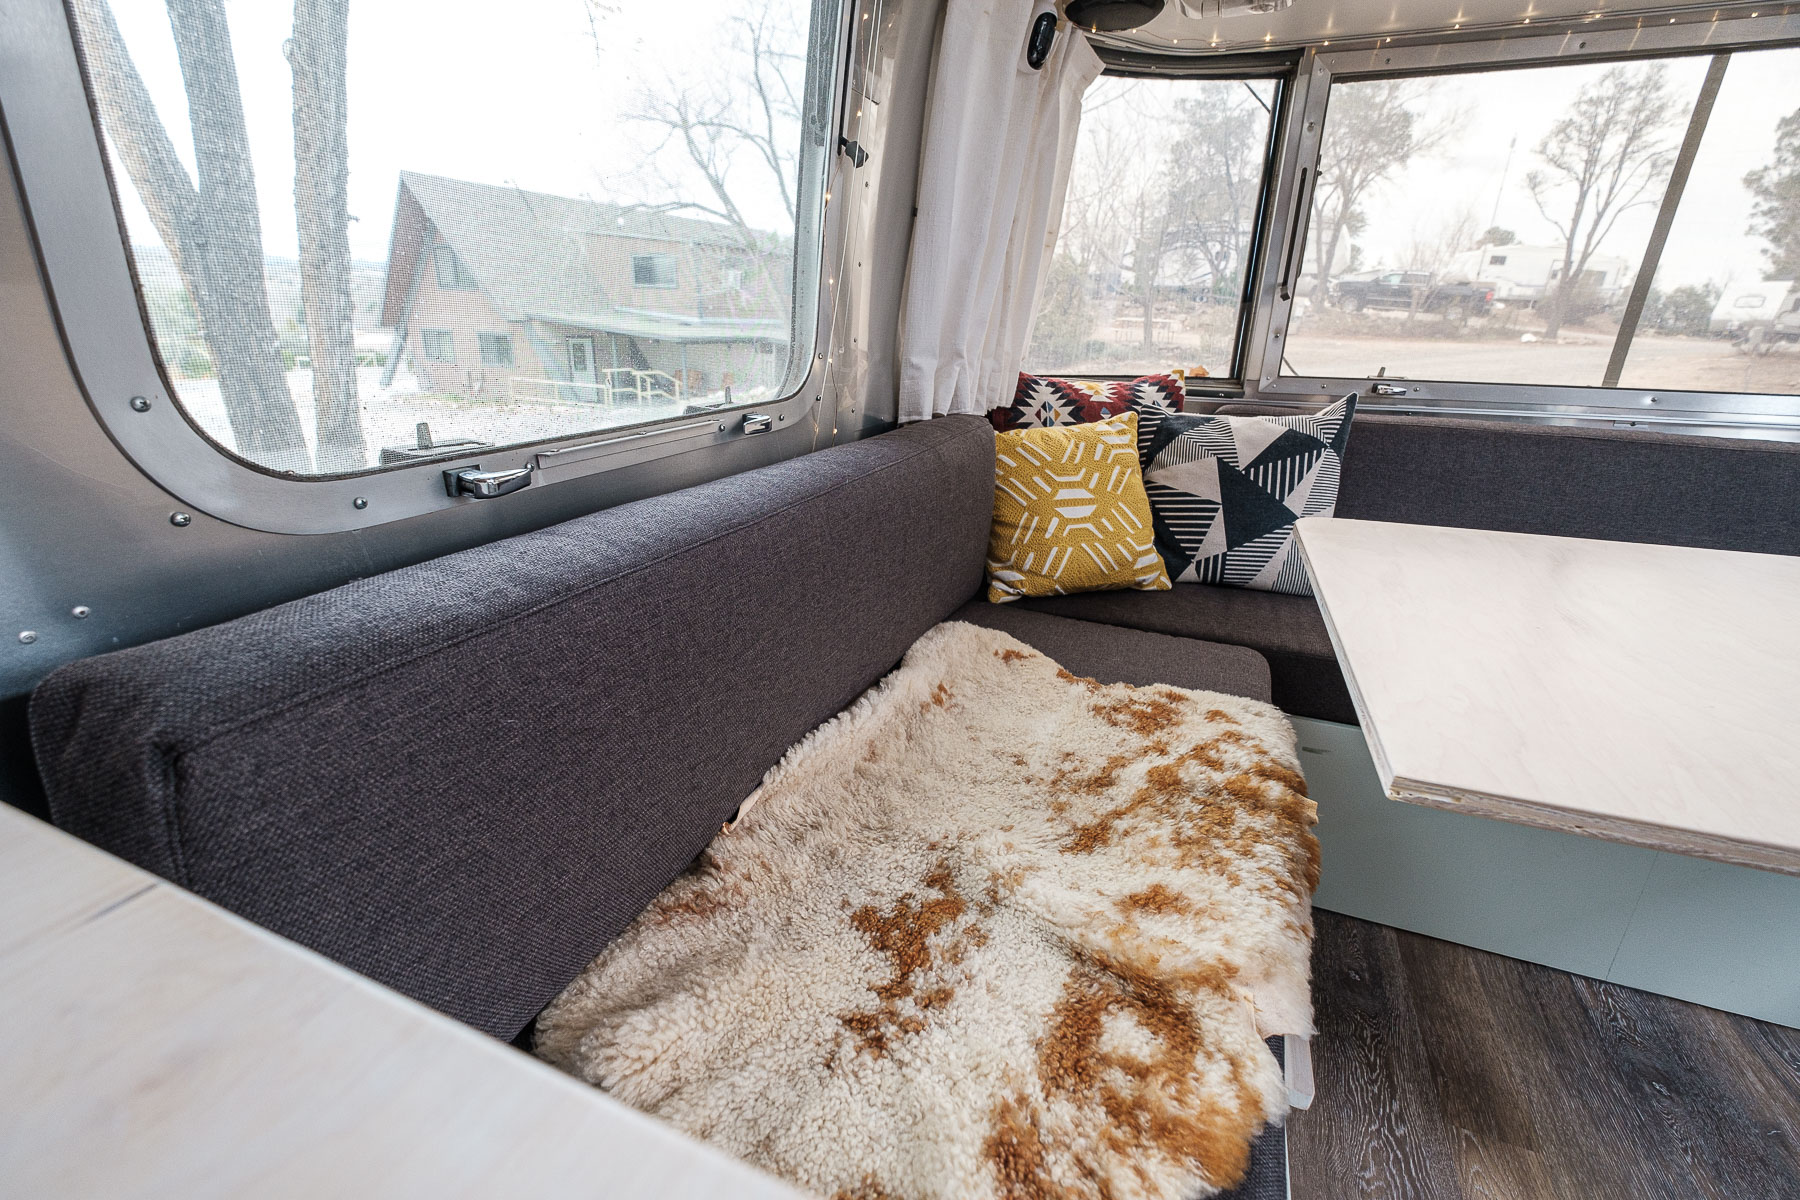
Wrap Around Dinette
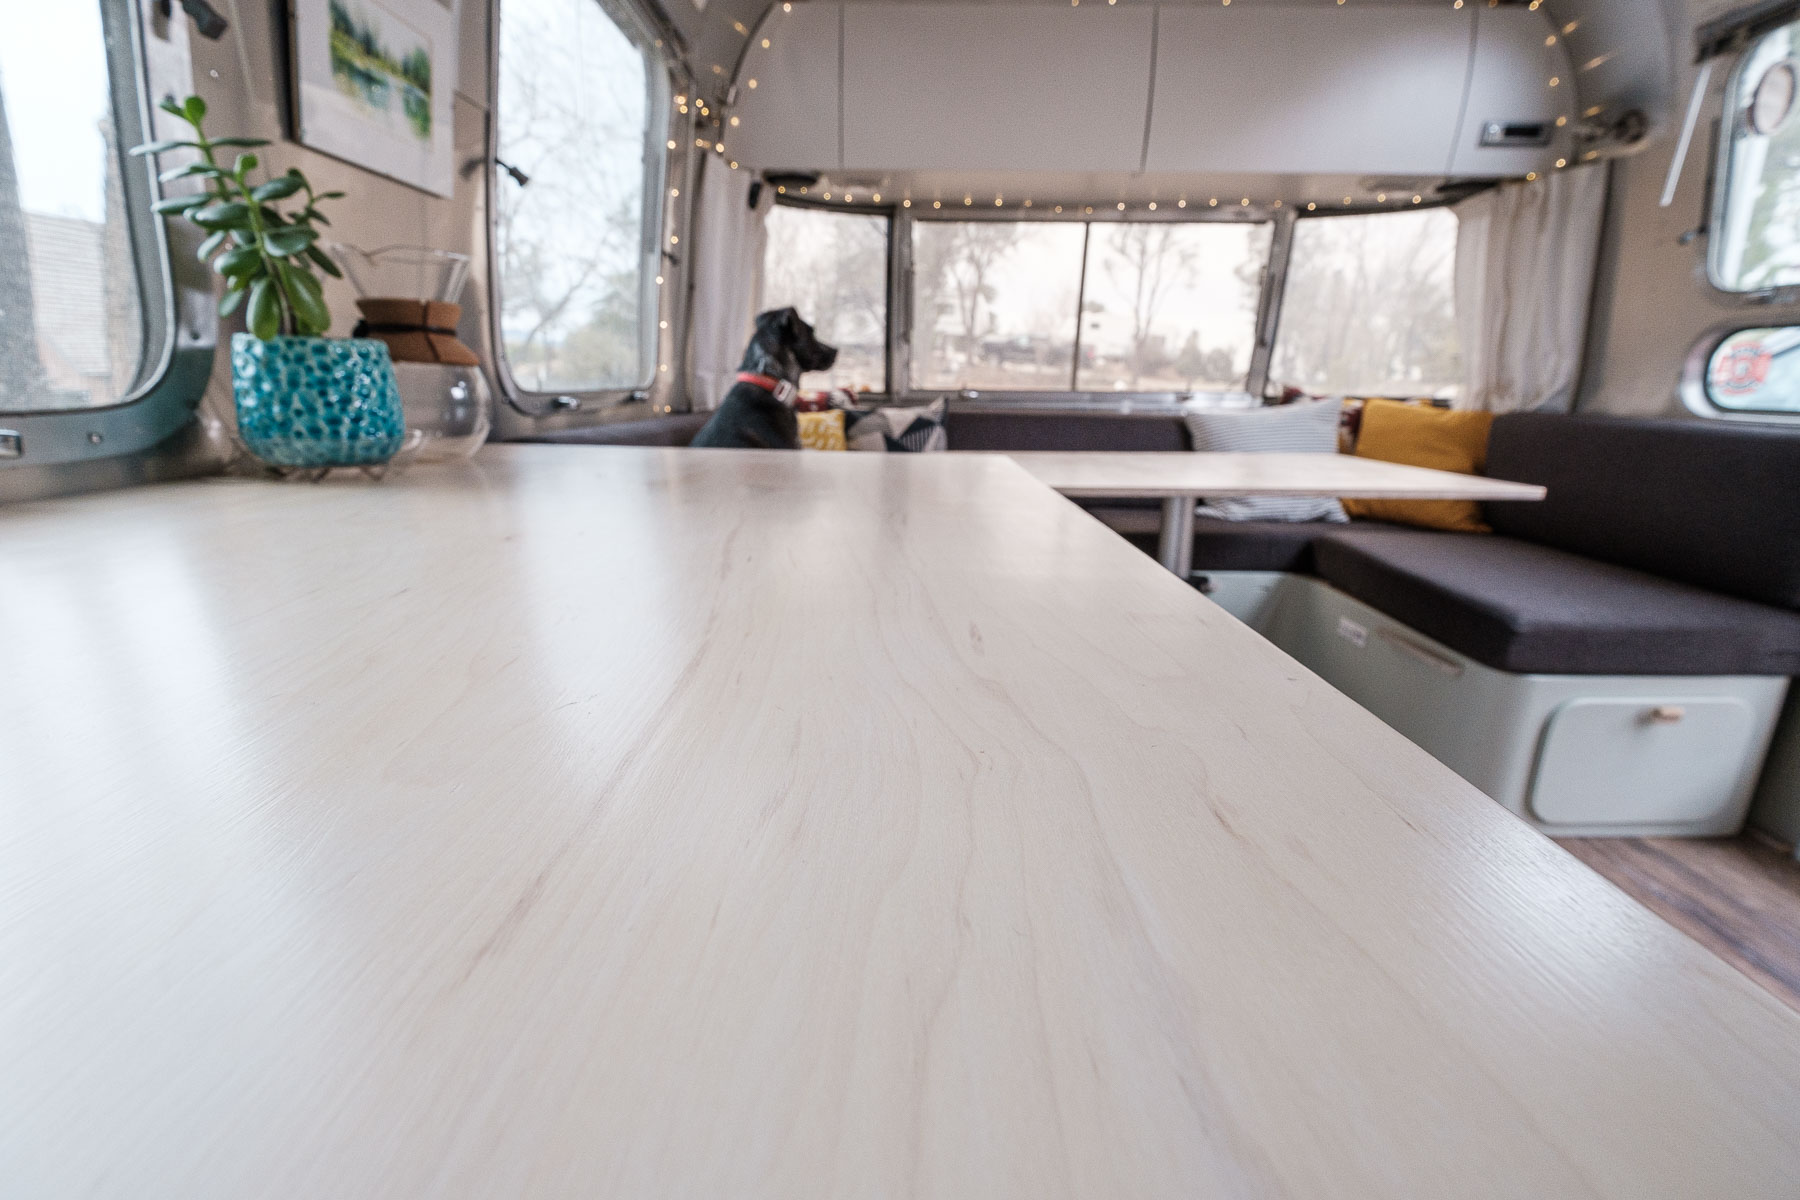
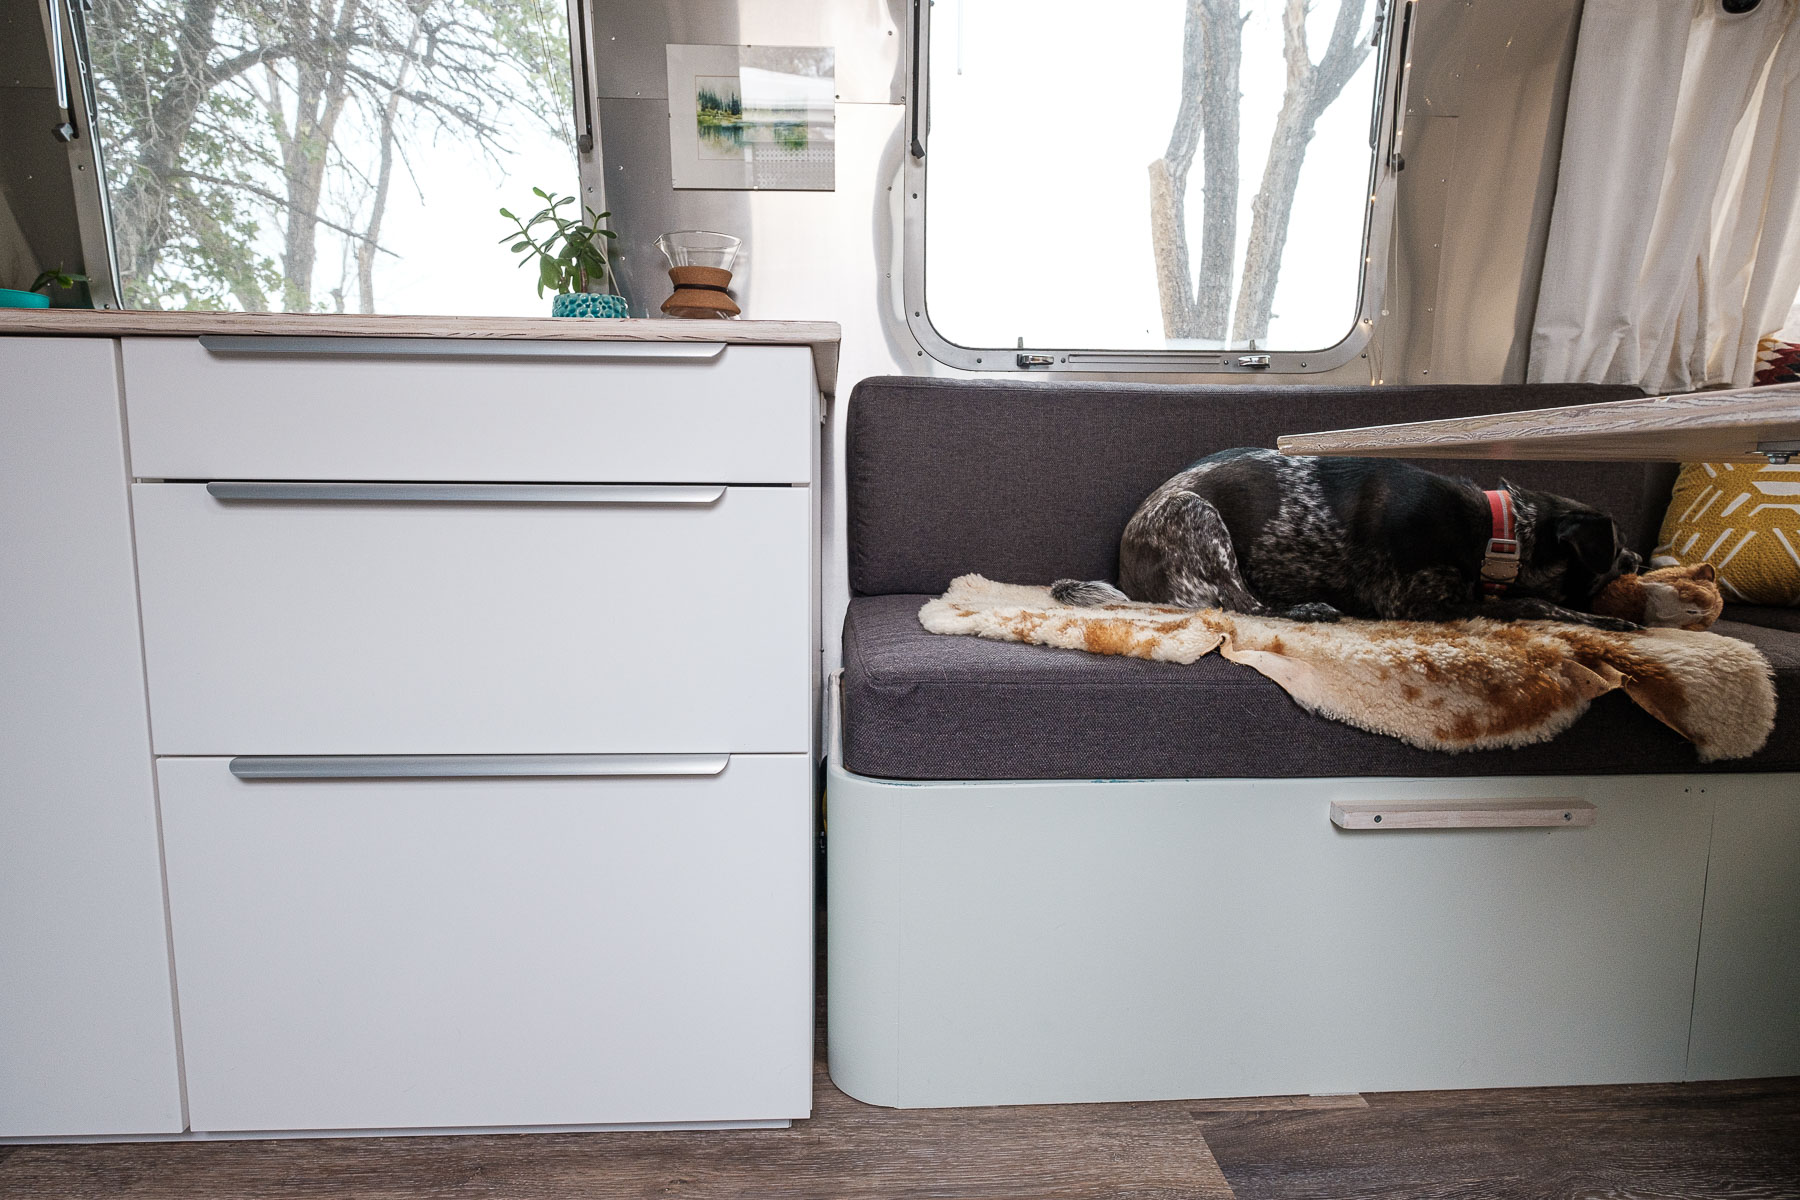
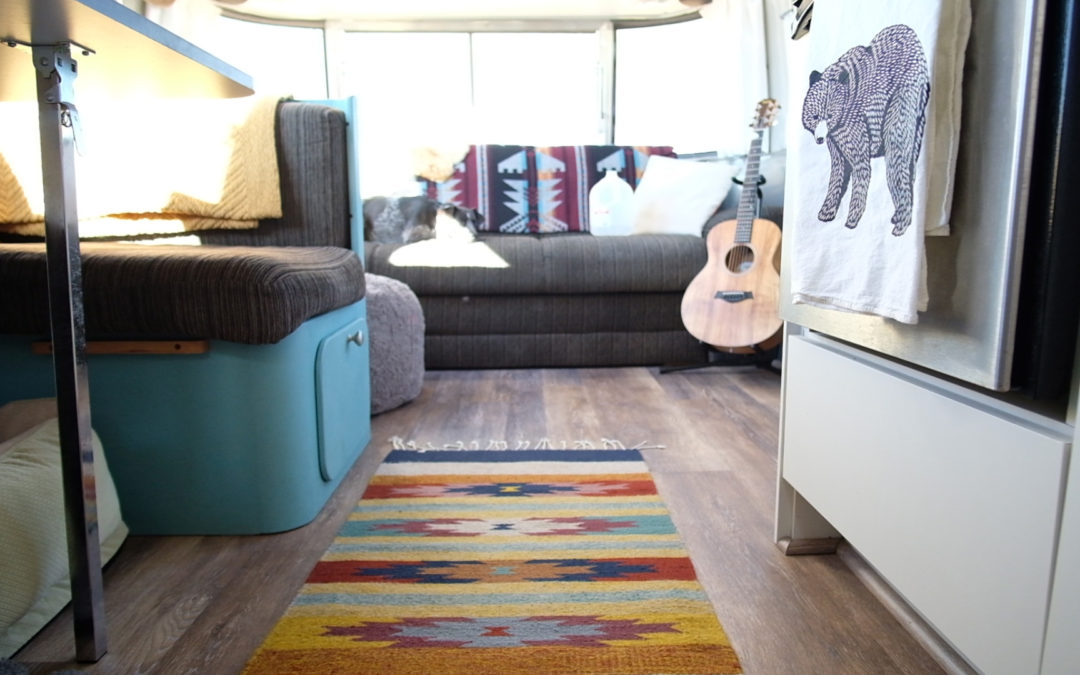
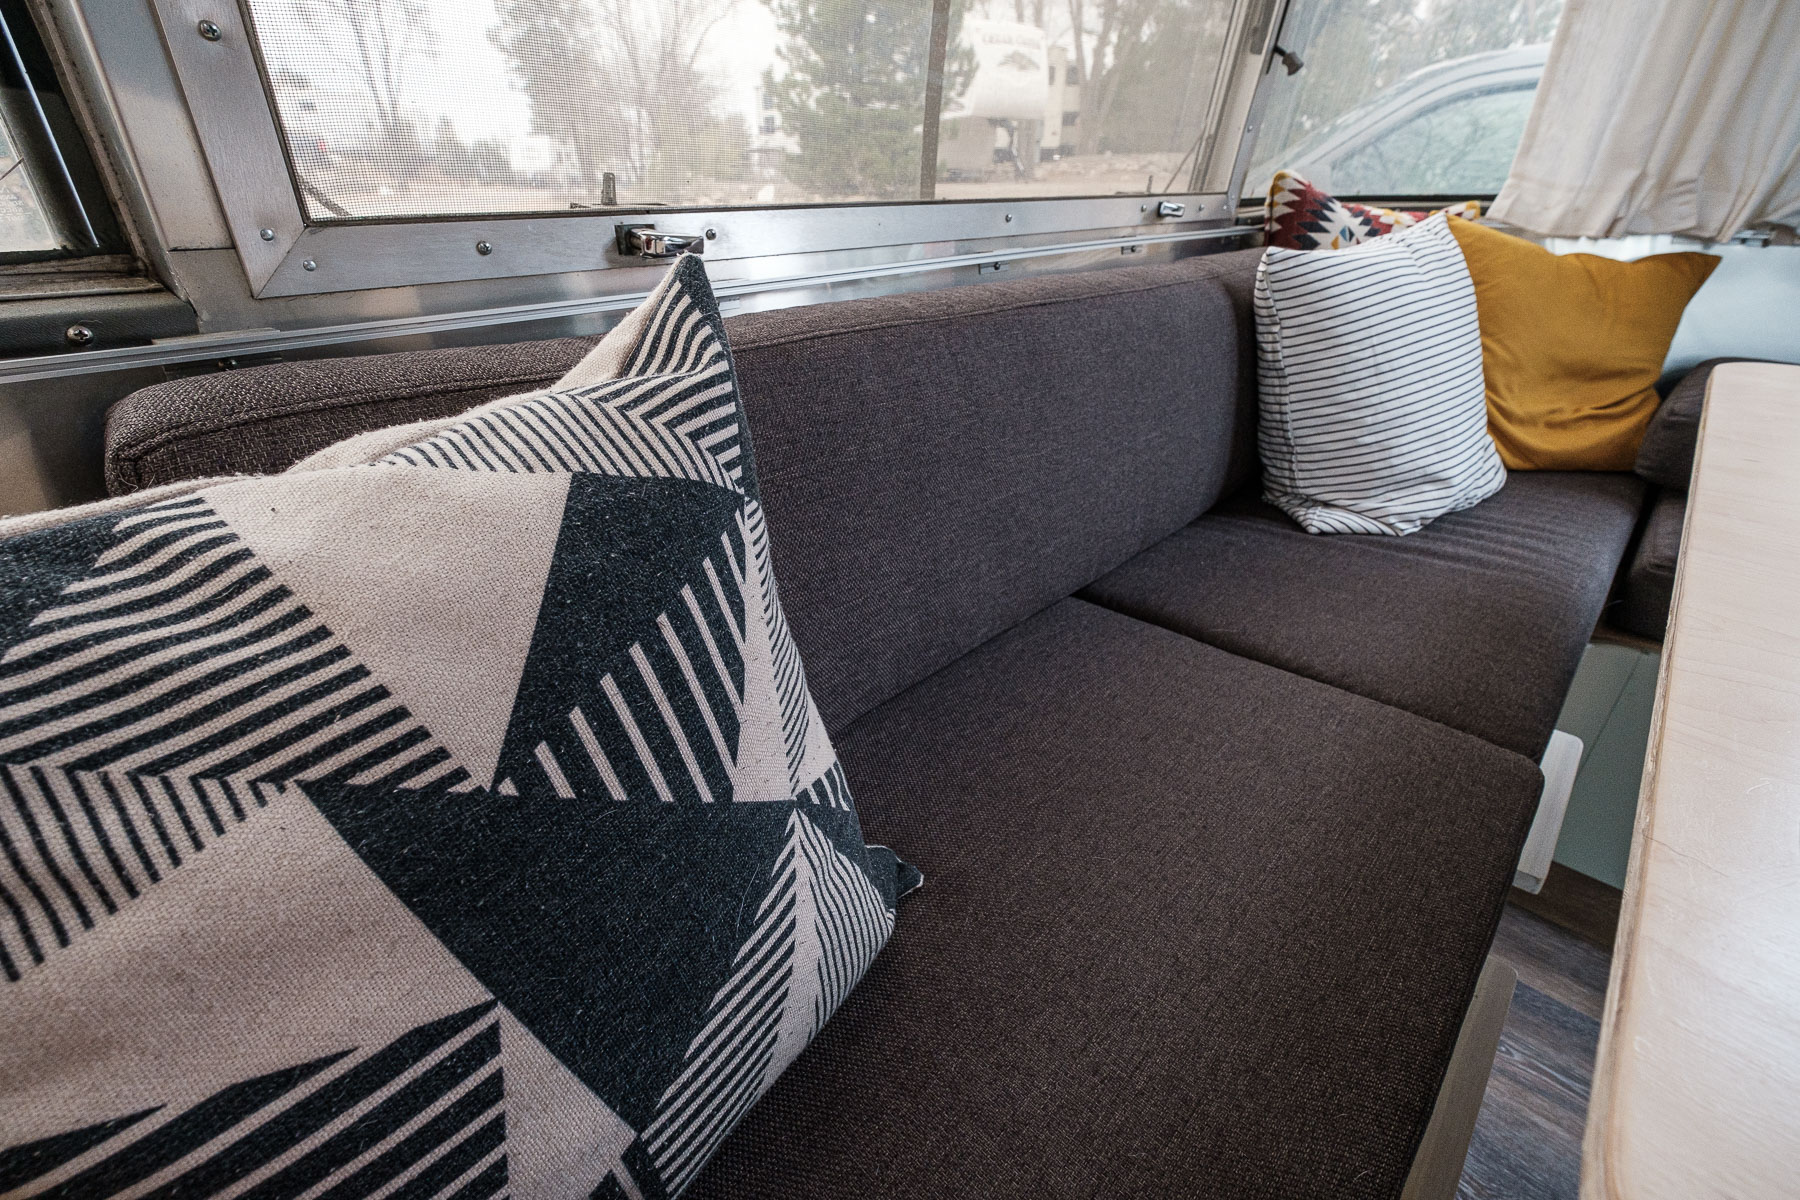
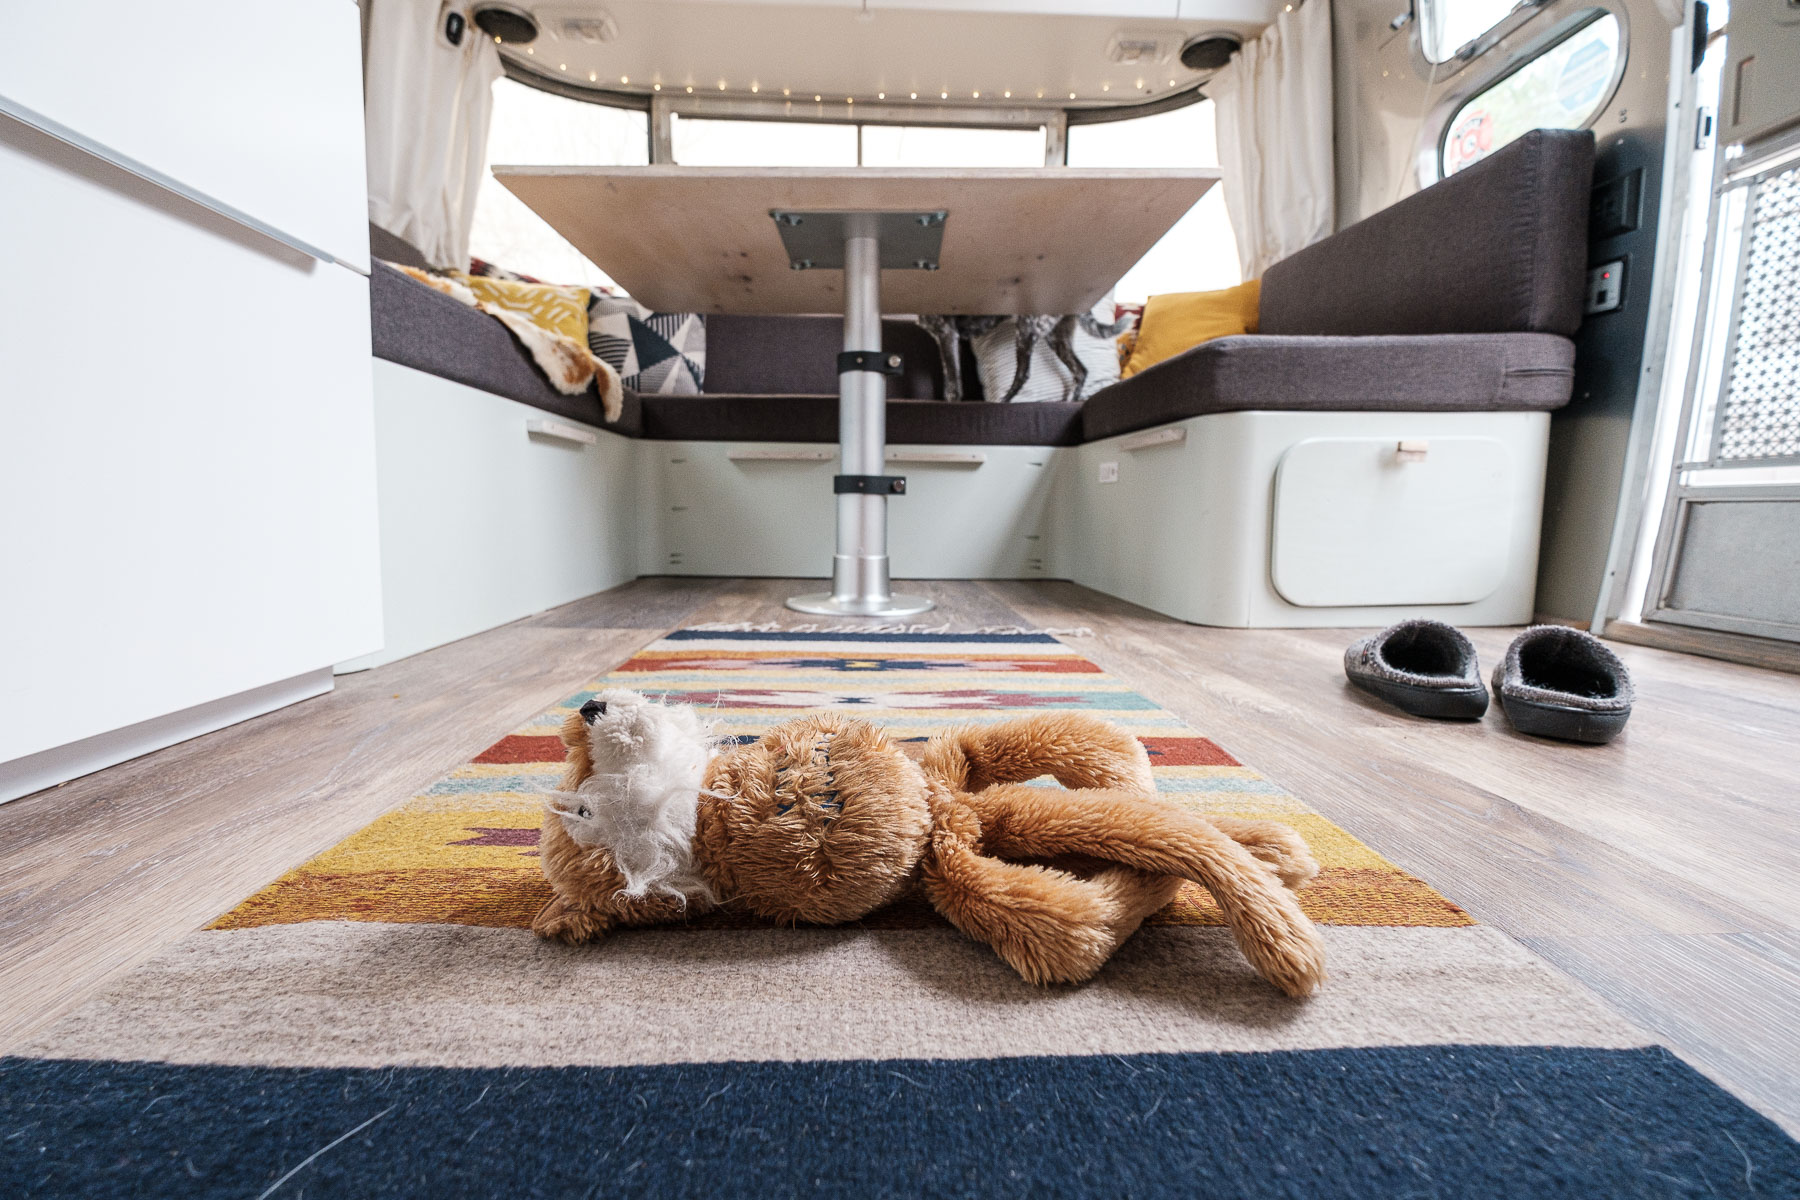
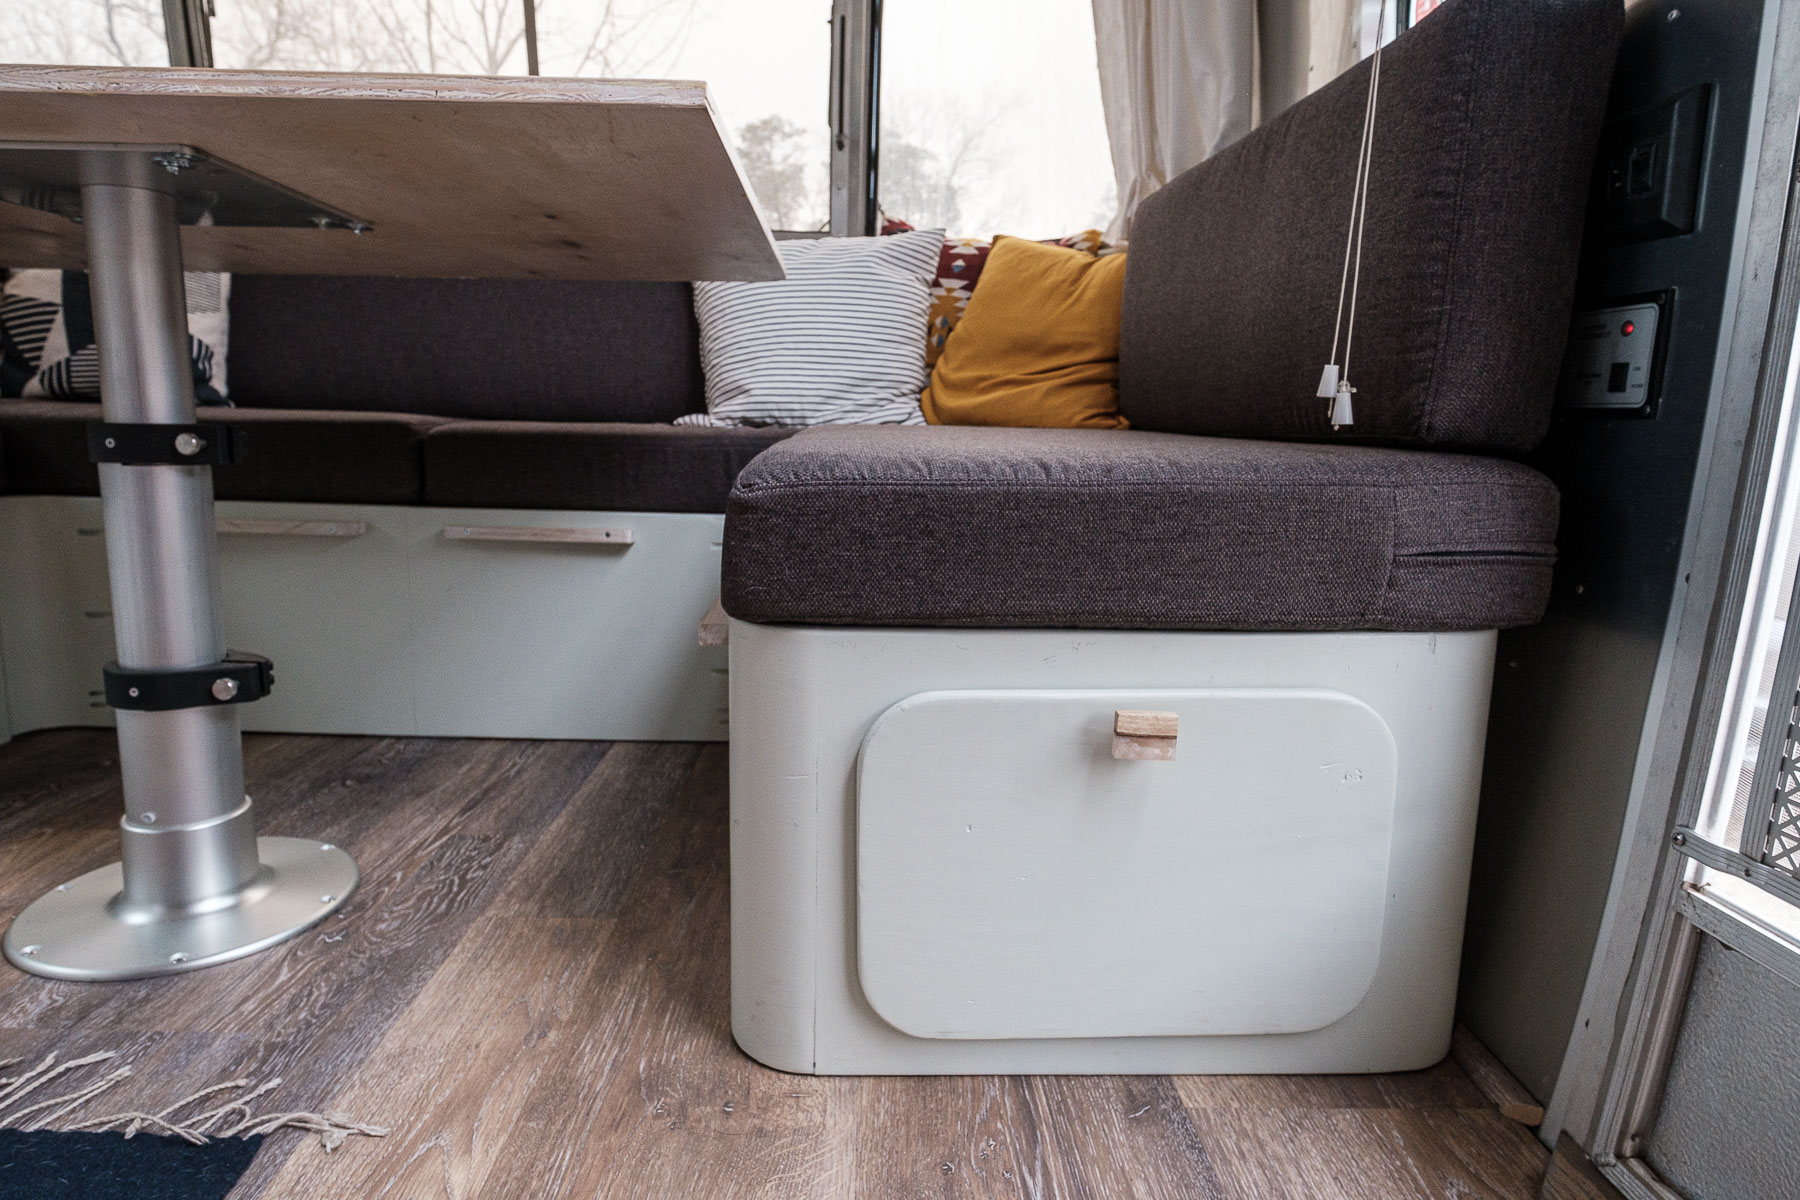
We’ve seen a lot of other Airstreams with a dinette up front. Instead of it having 2 benches on opposite sides of the table, there are 3, so the bench is continuous and forms a “U” shape. This makes a lot more room for company when we have it, or just lounging on a regular day. This also gives us a bit more room at the front of the trailer since the couch used to have a lot of dead space behind it. Now we can better enjoy the panoramic windows. Plus, the table drops down and forms a bed if we have guests visiting.
Our old dinette was super well built by Airstream to begin with. It was also very light. To throw it away would be a waste, so we reused it up front after some heavy modification.
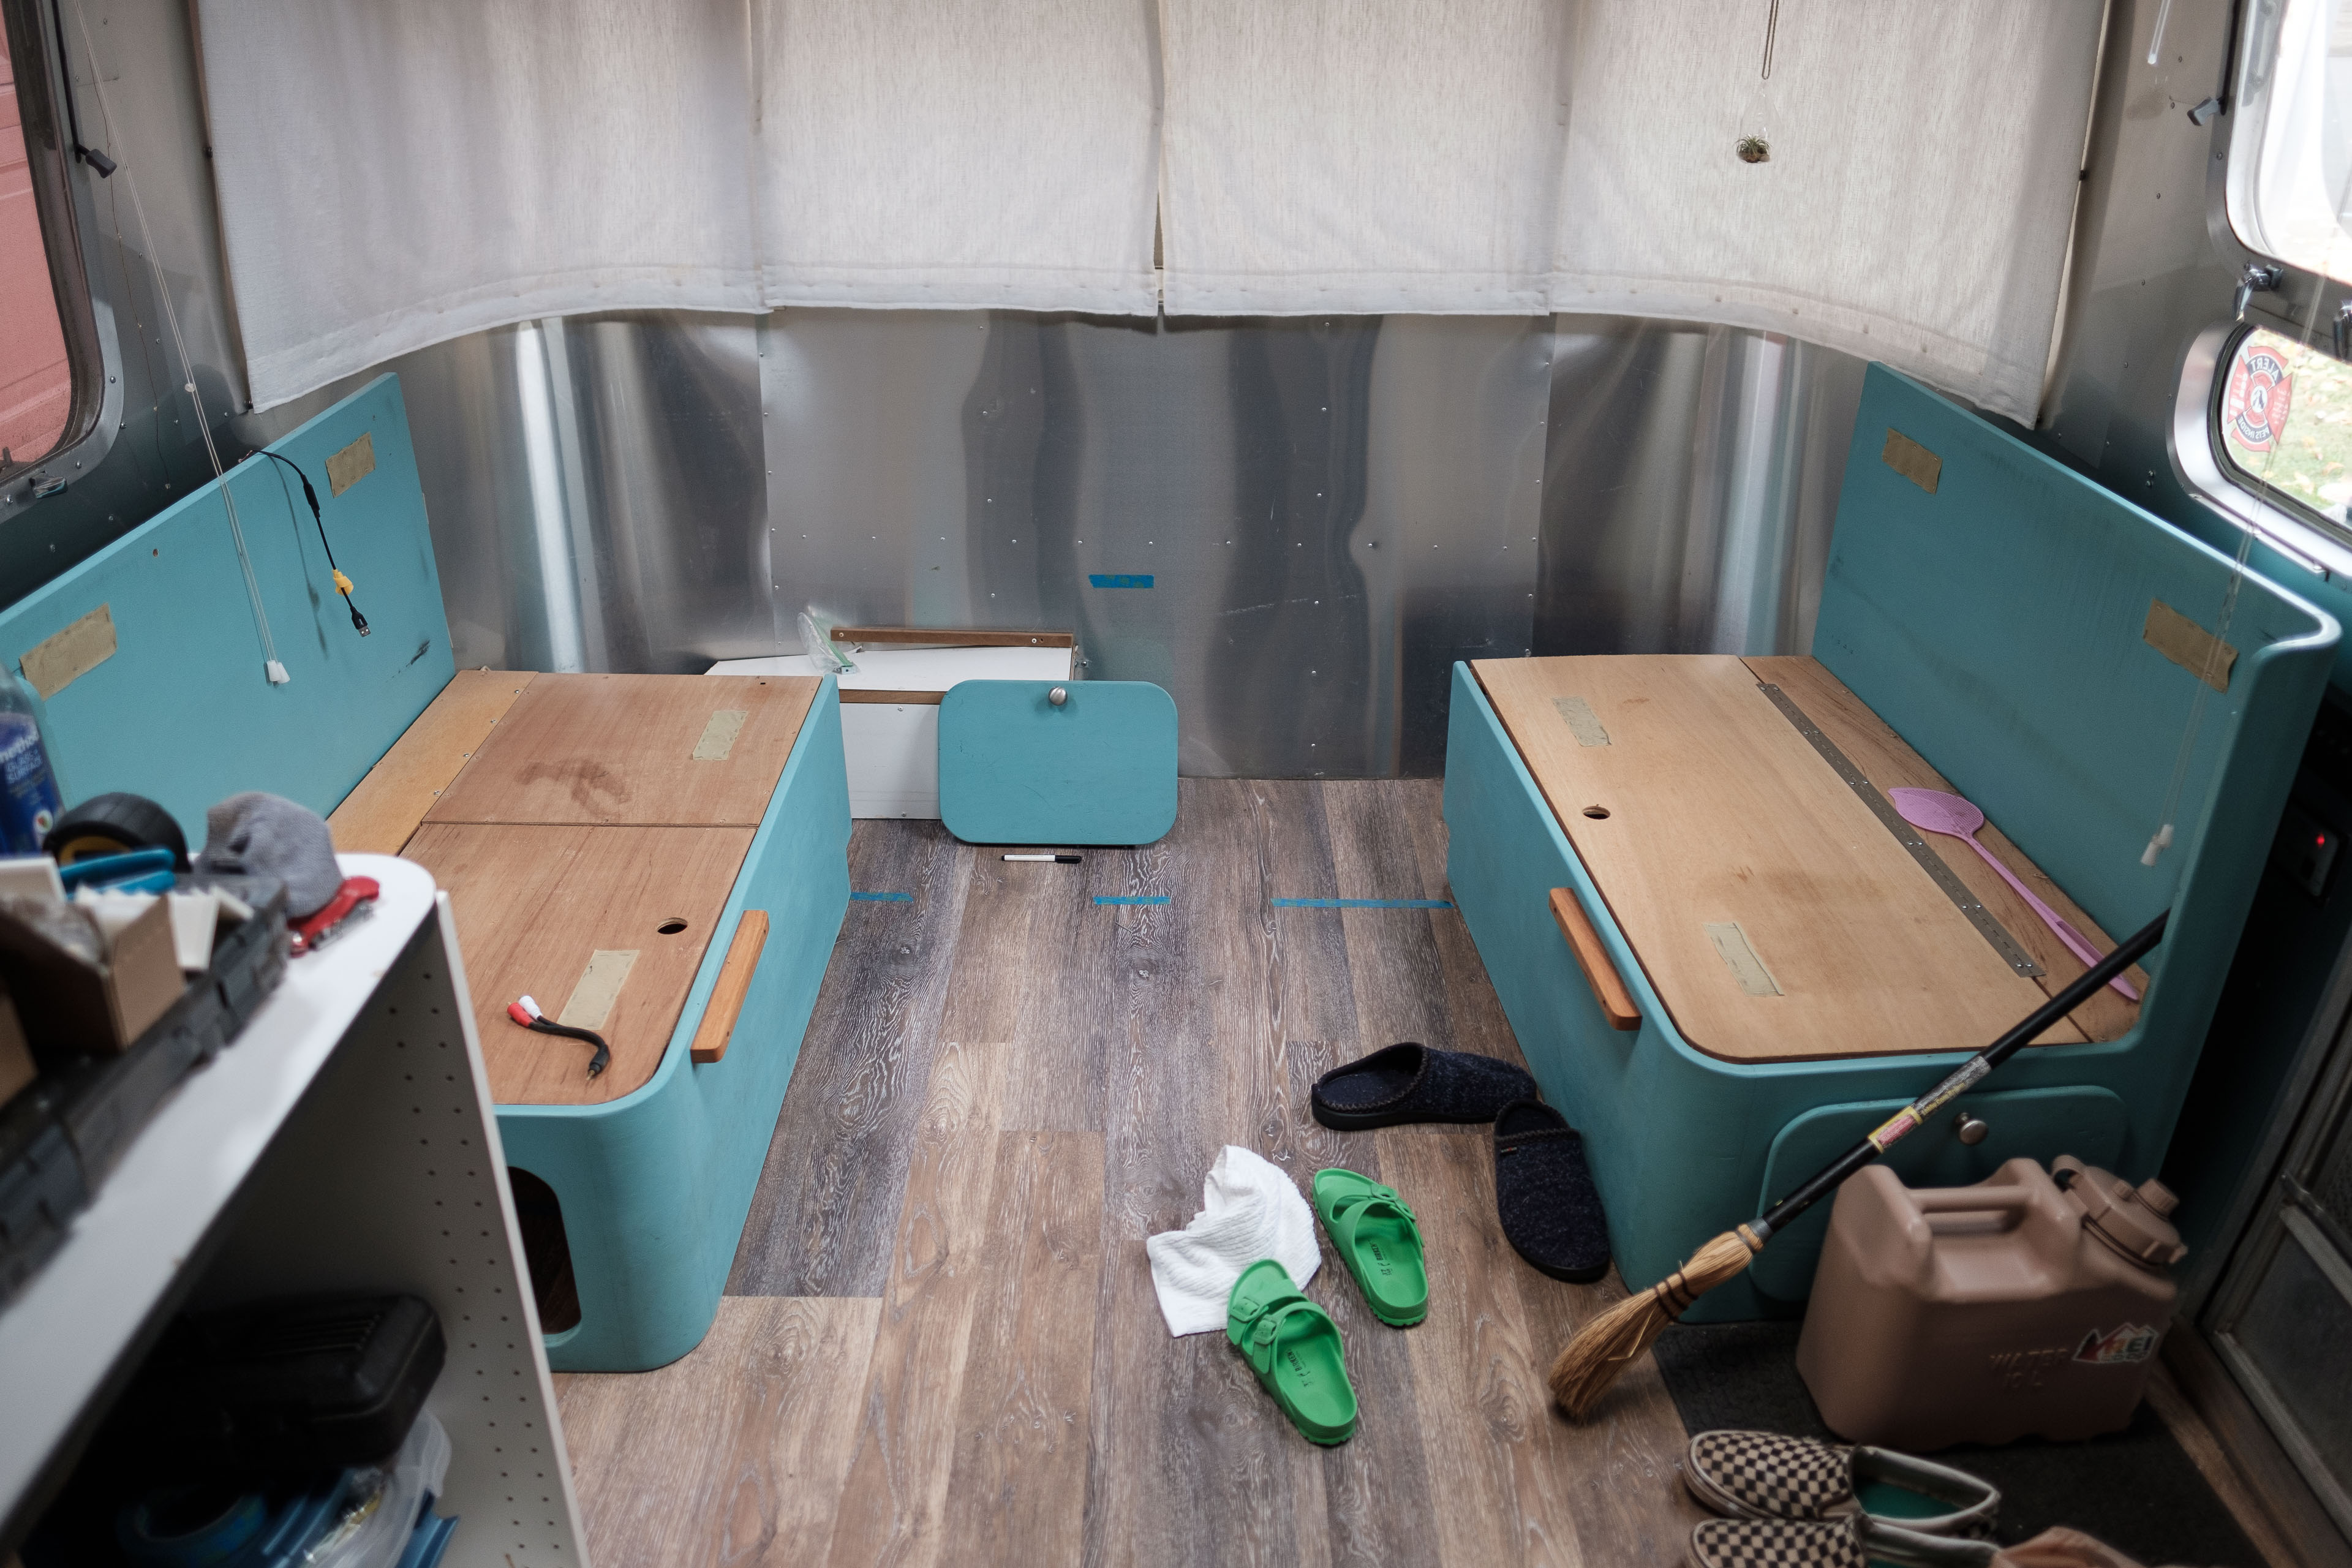
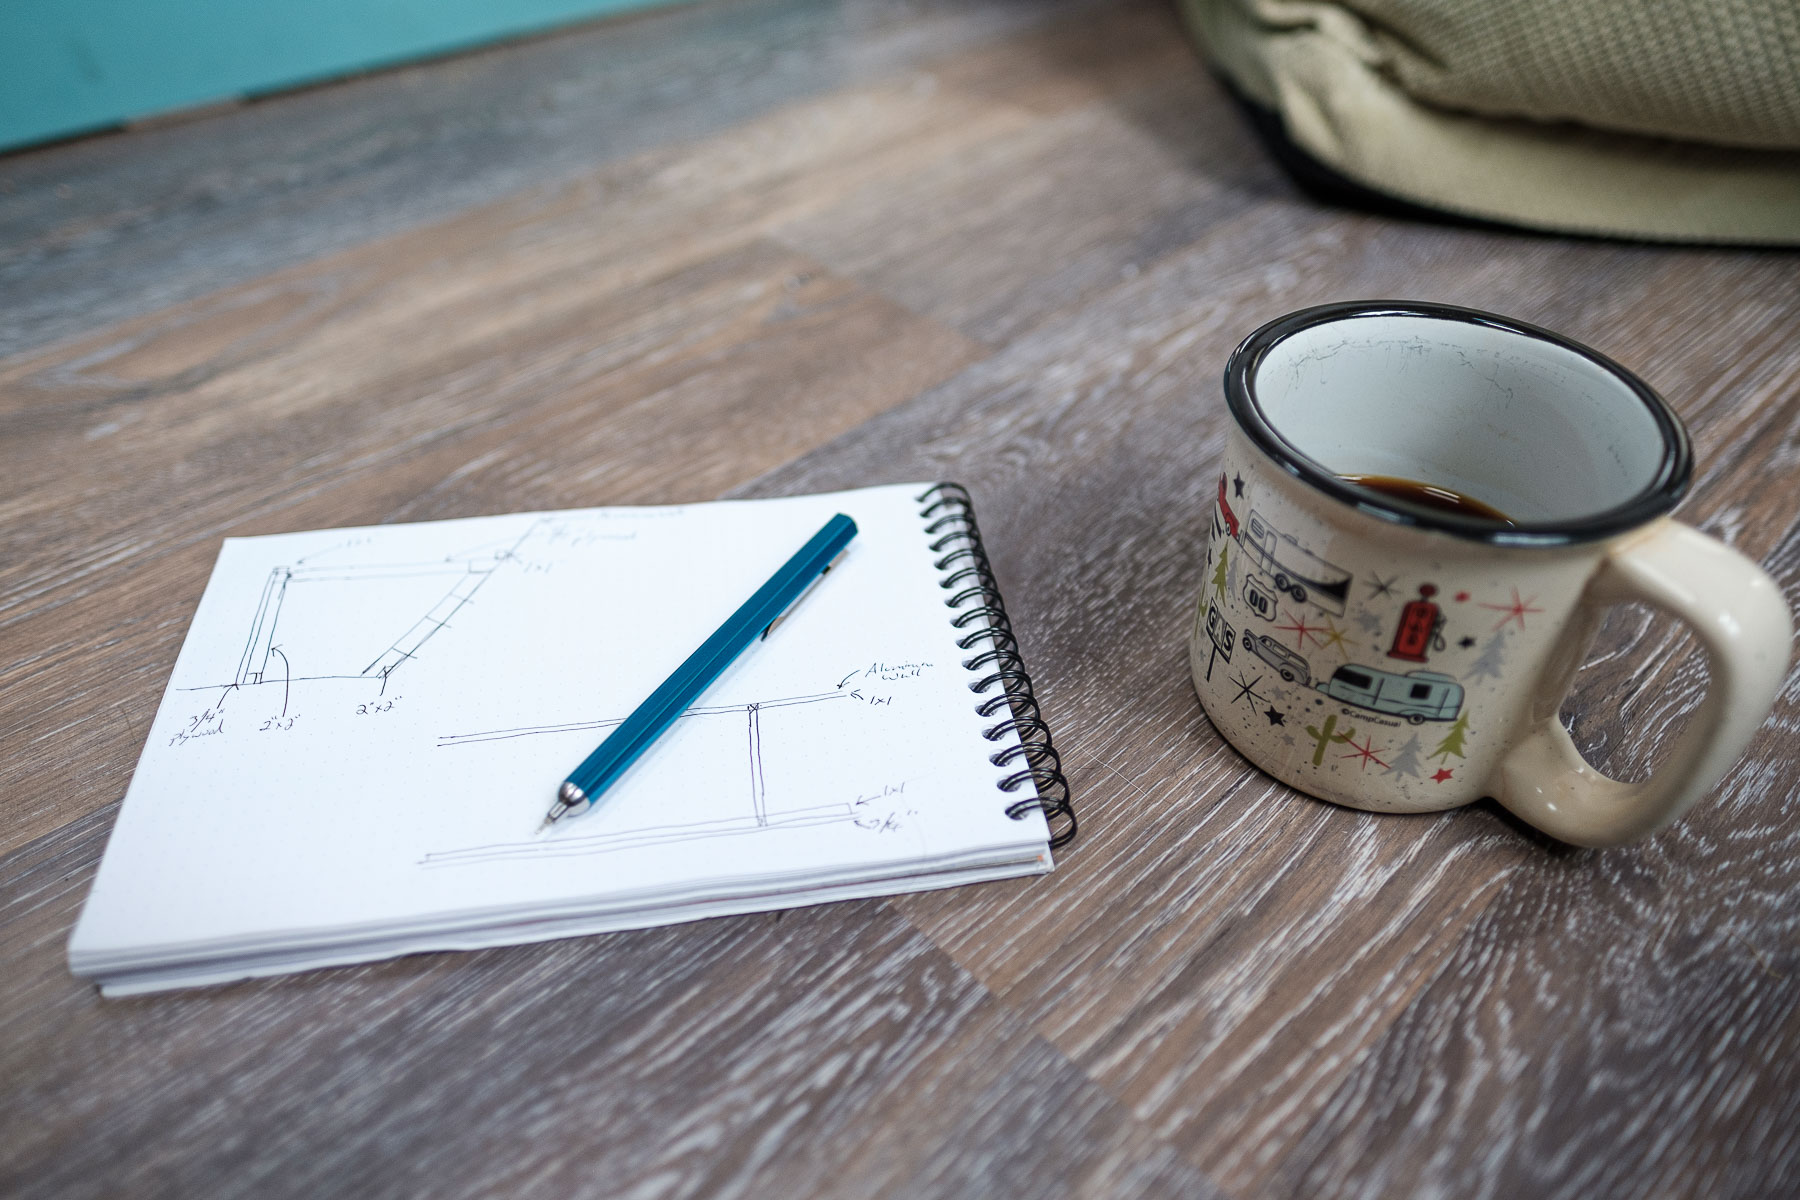
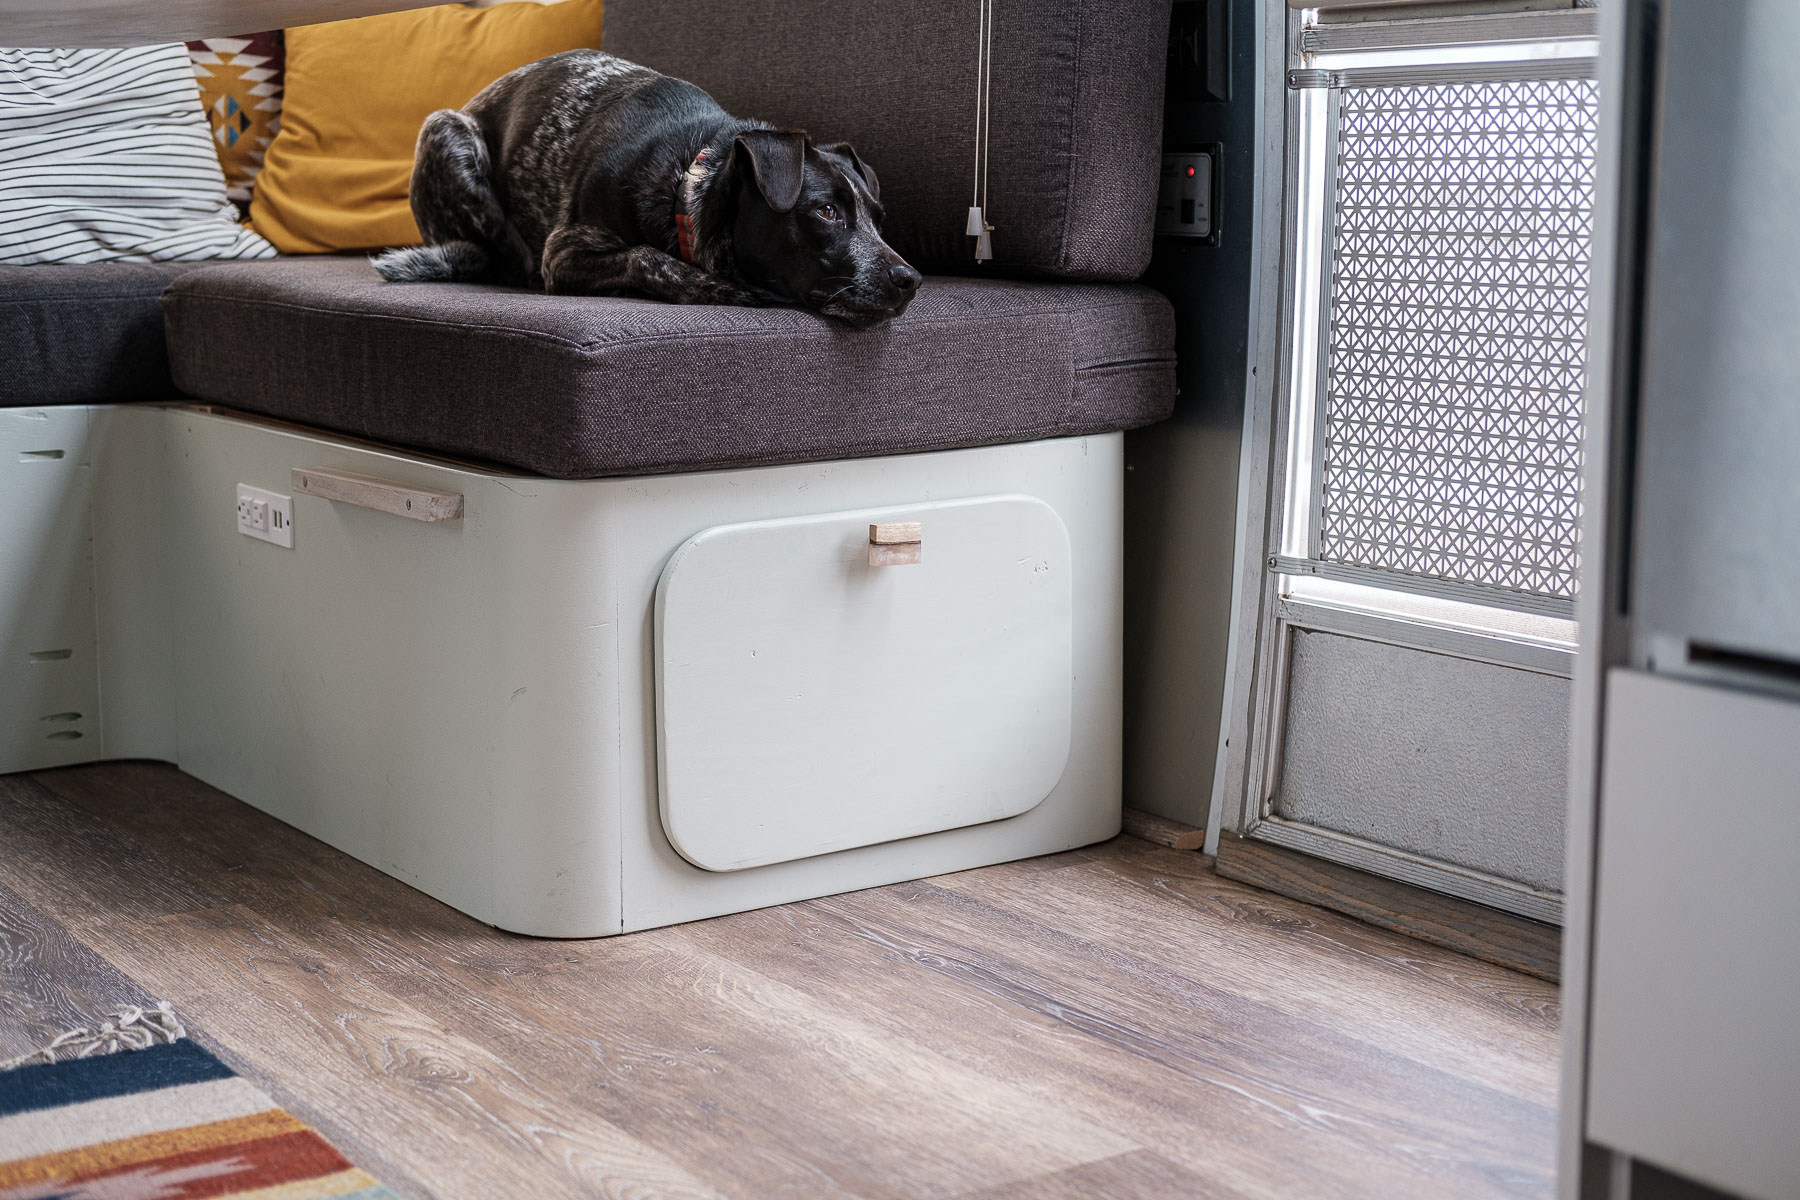
We cut off the back-rests of the dinette, since the wall would now act as a back rest. The backs were then used to span the distance between the 2 benches to create a third bench against the front wall. The benches against the side walls of the trailer had enough support to stand on their own, so they just needed to be screwed to the floor.
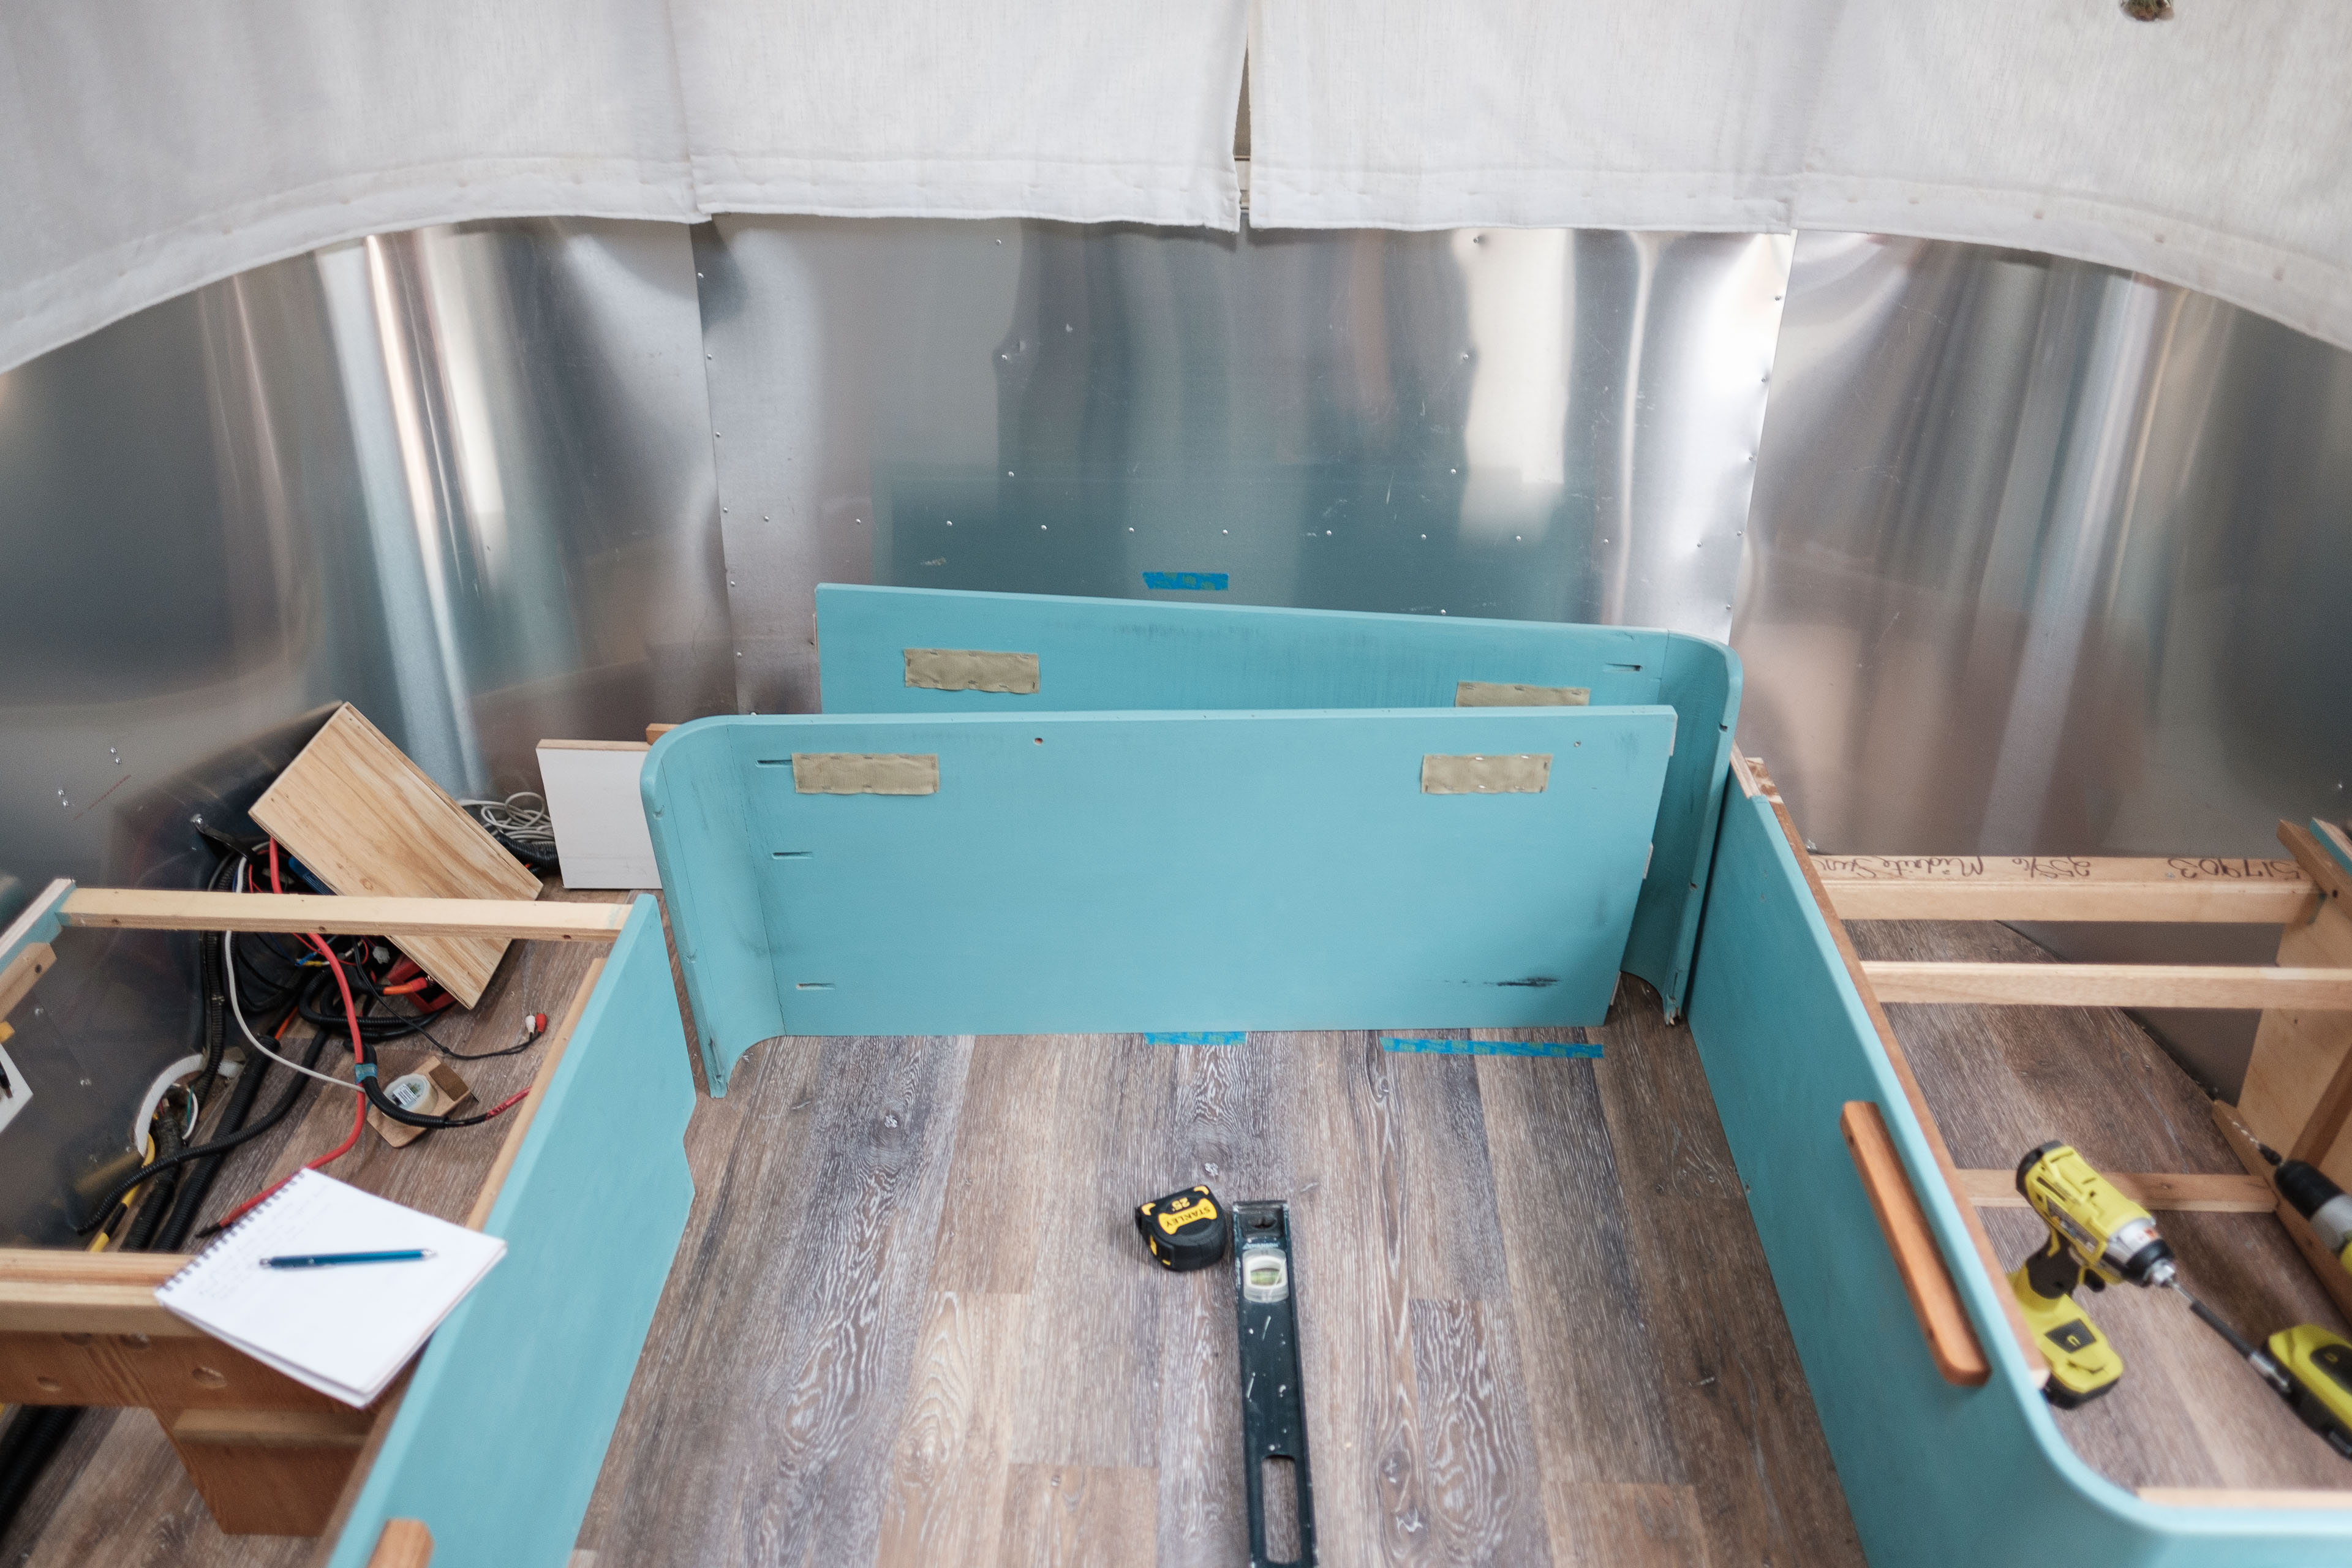
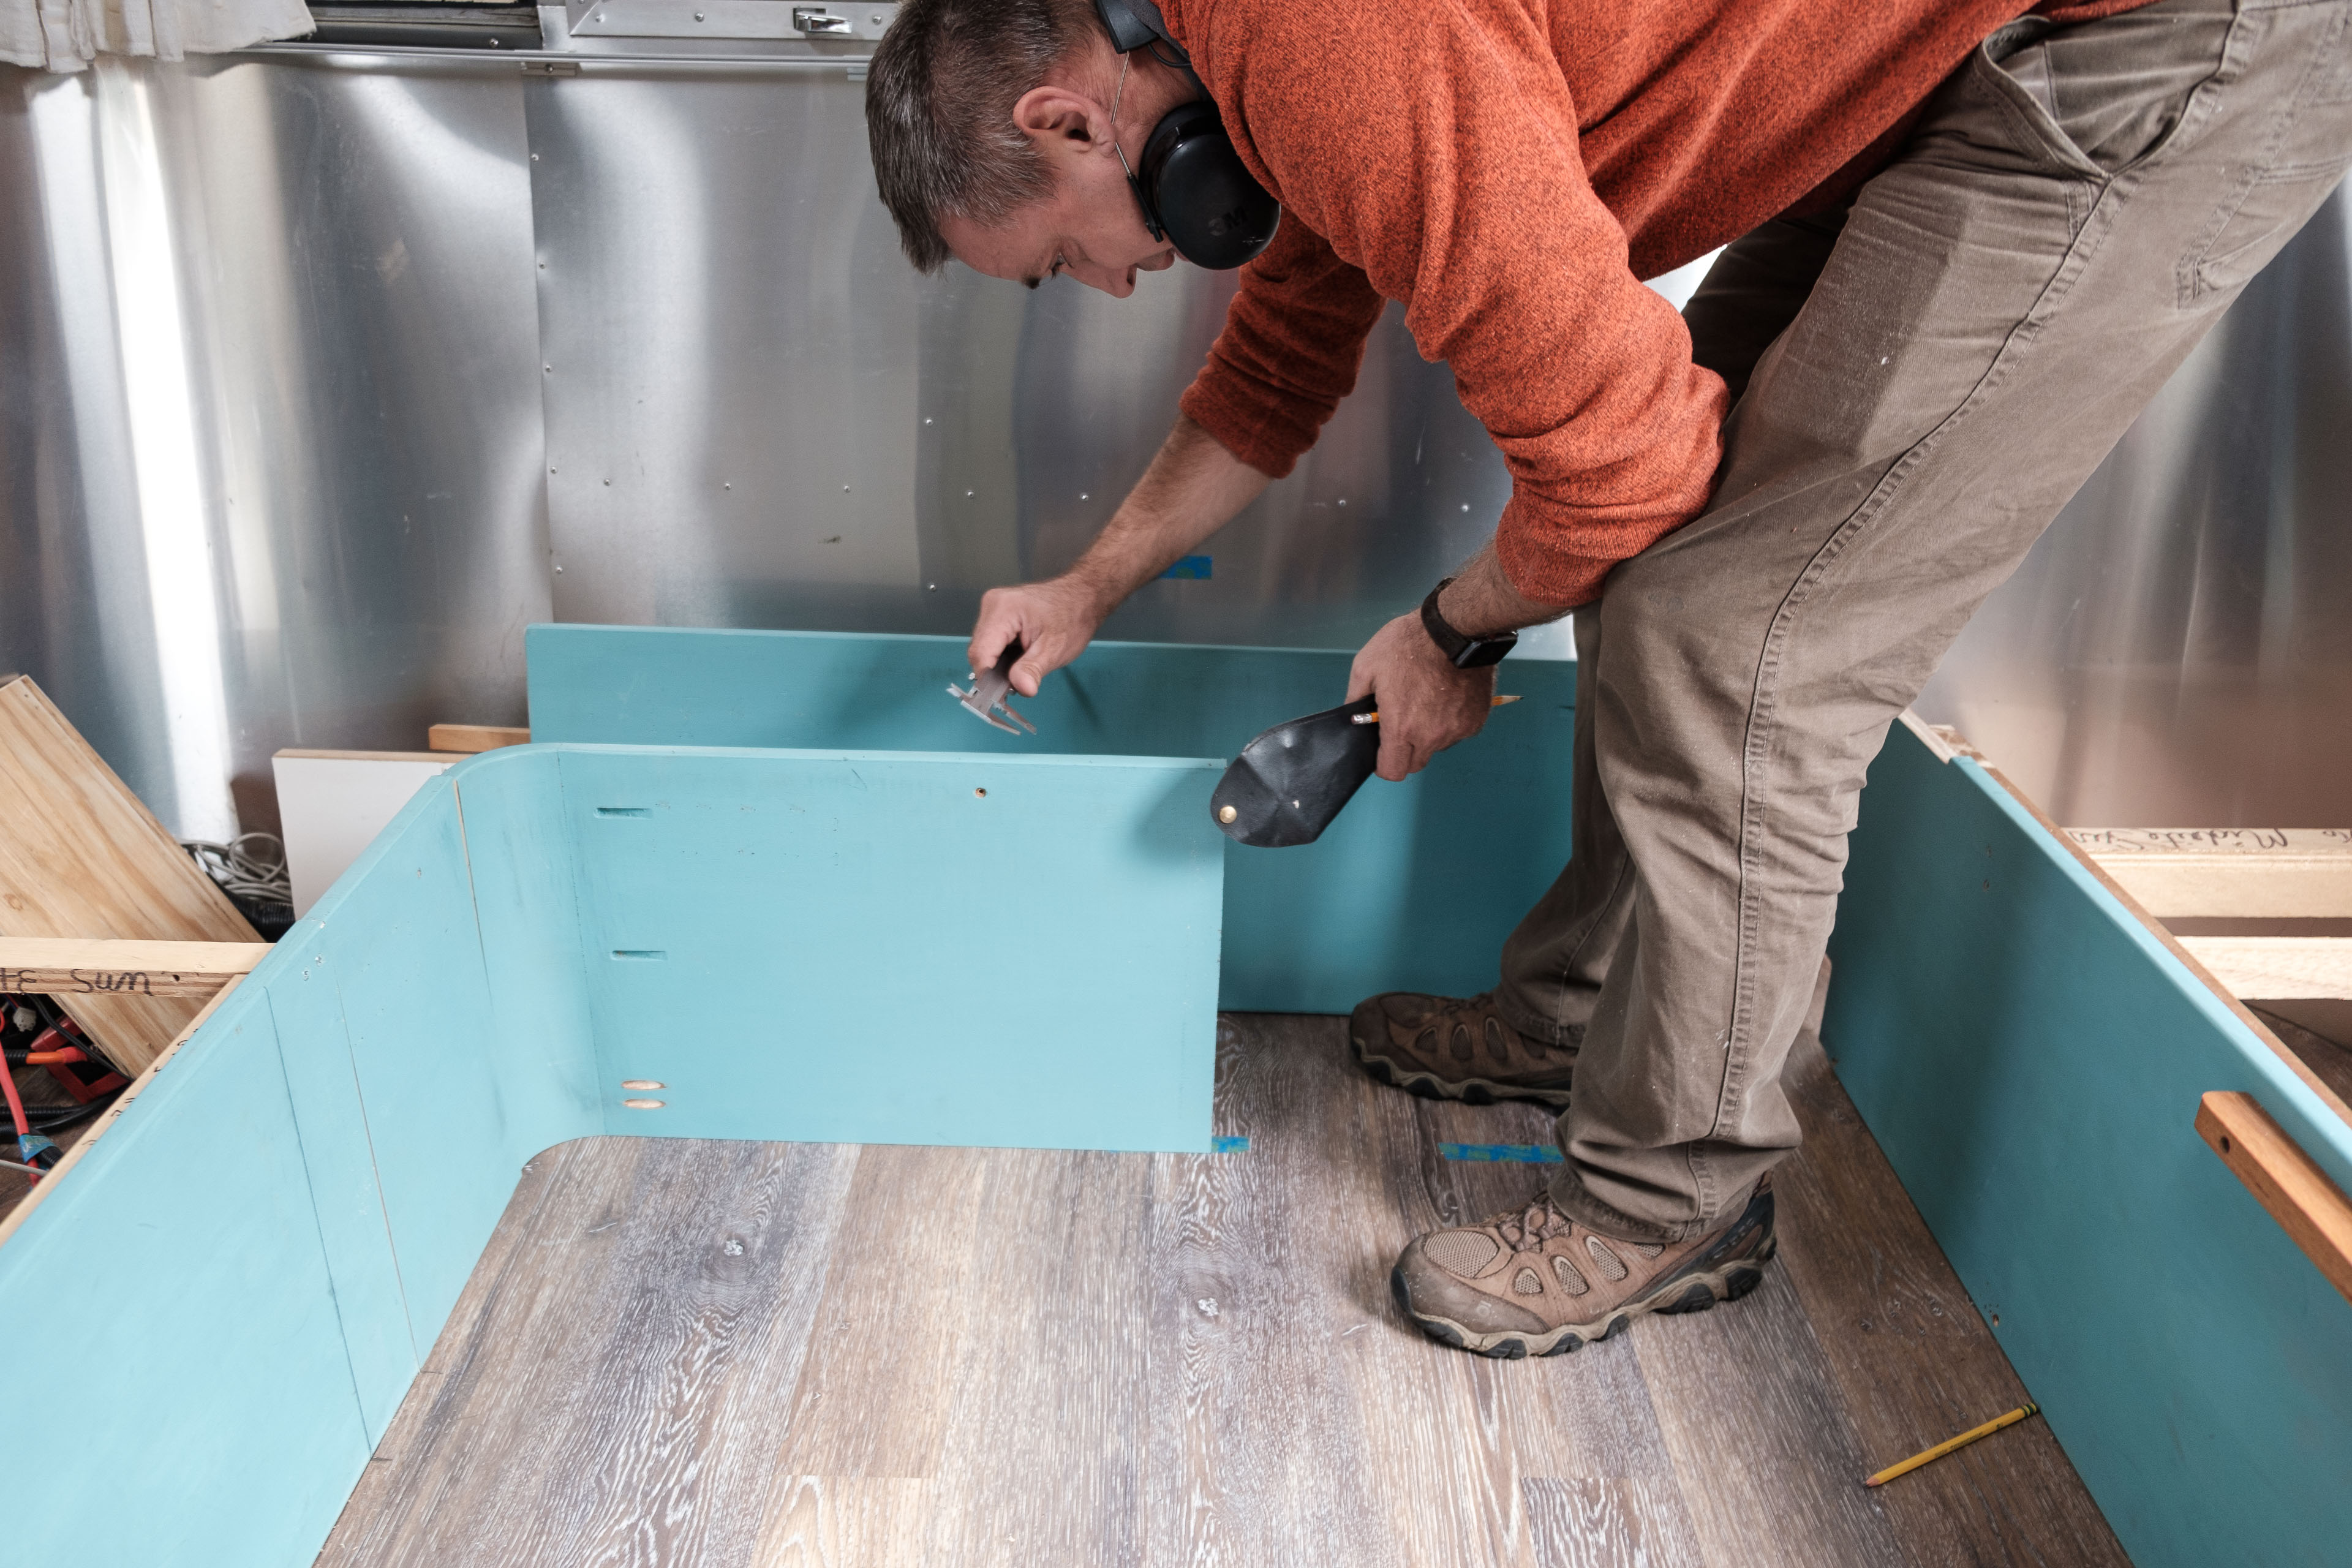
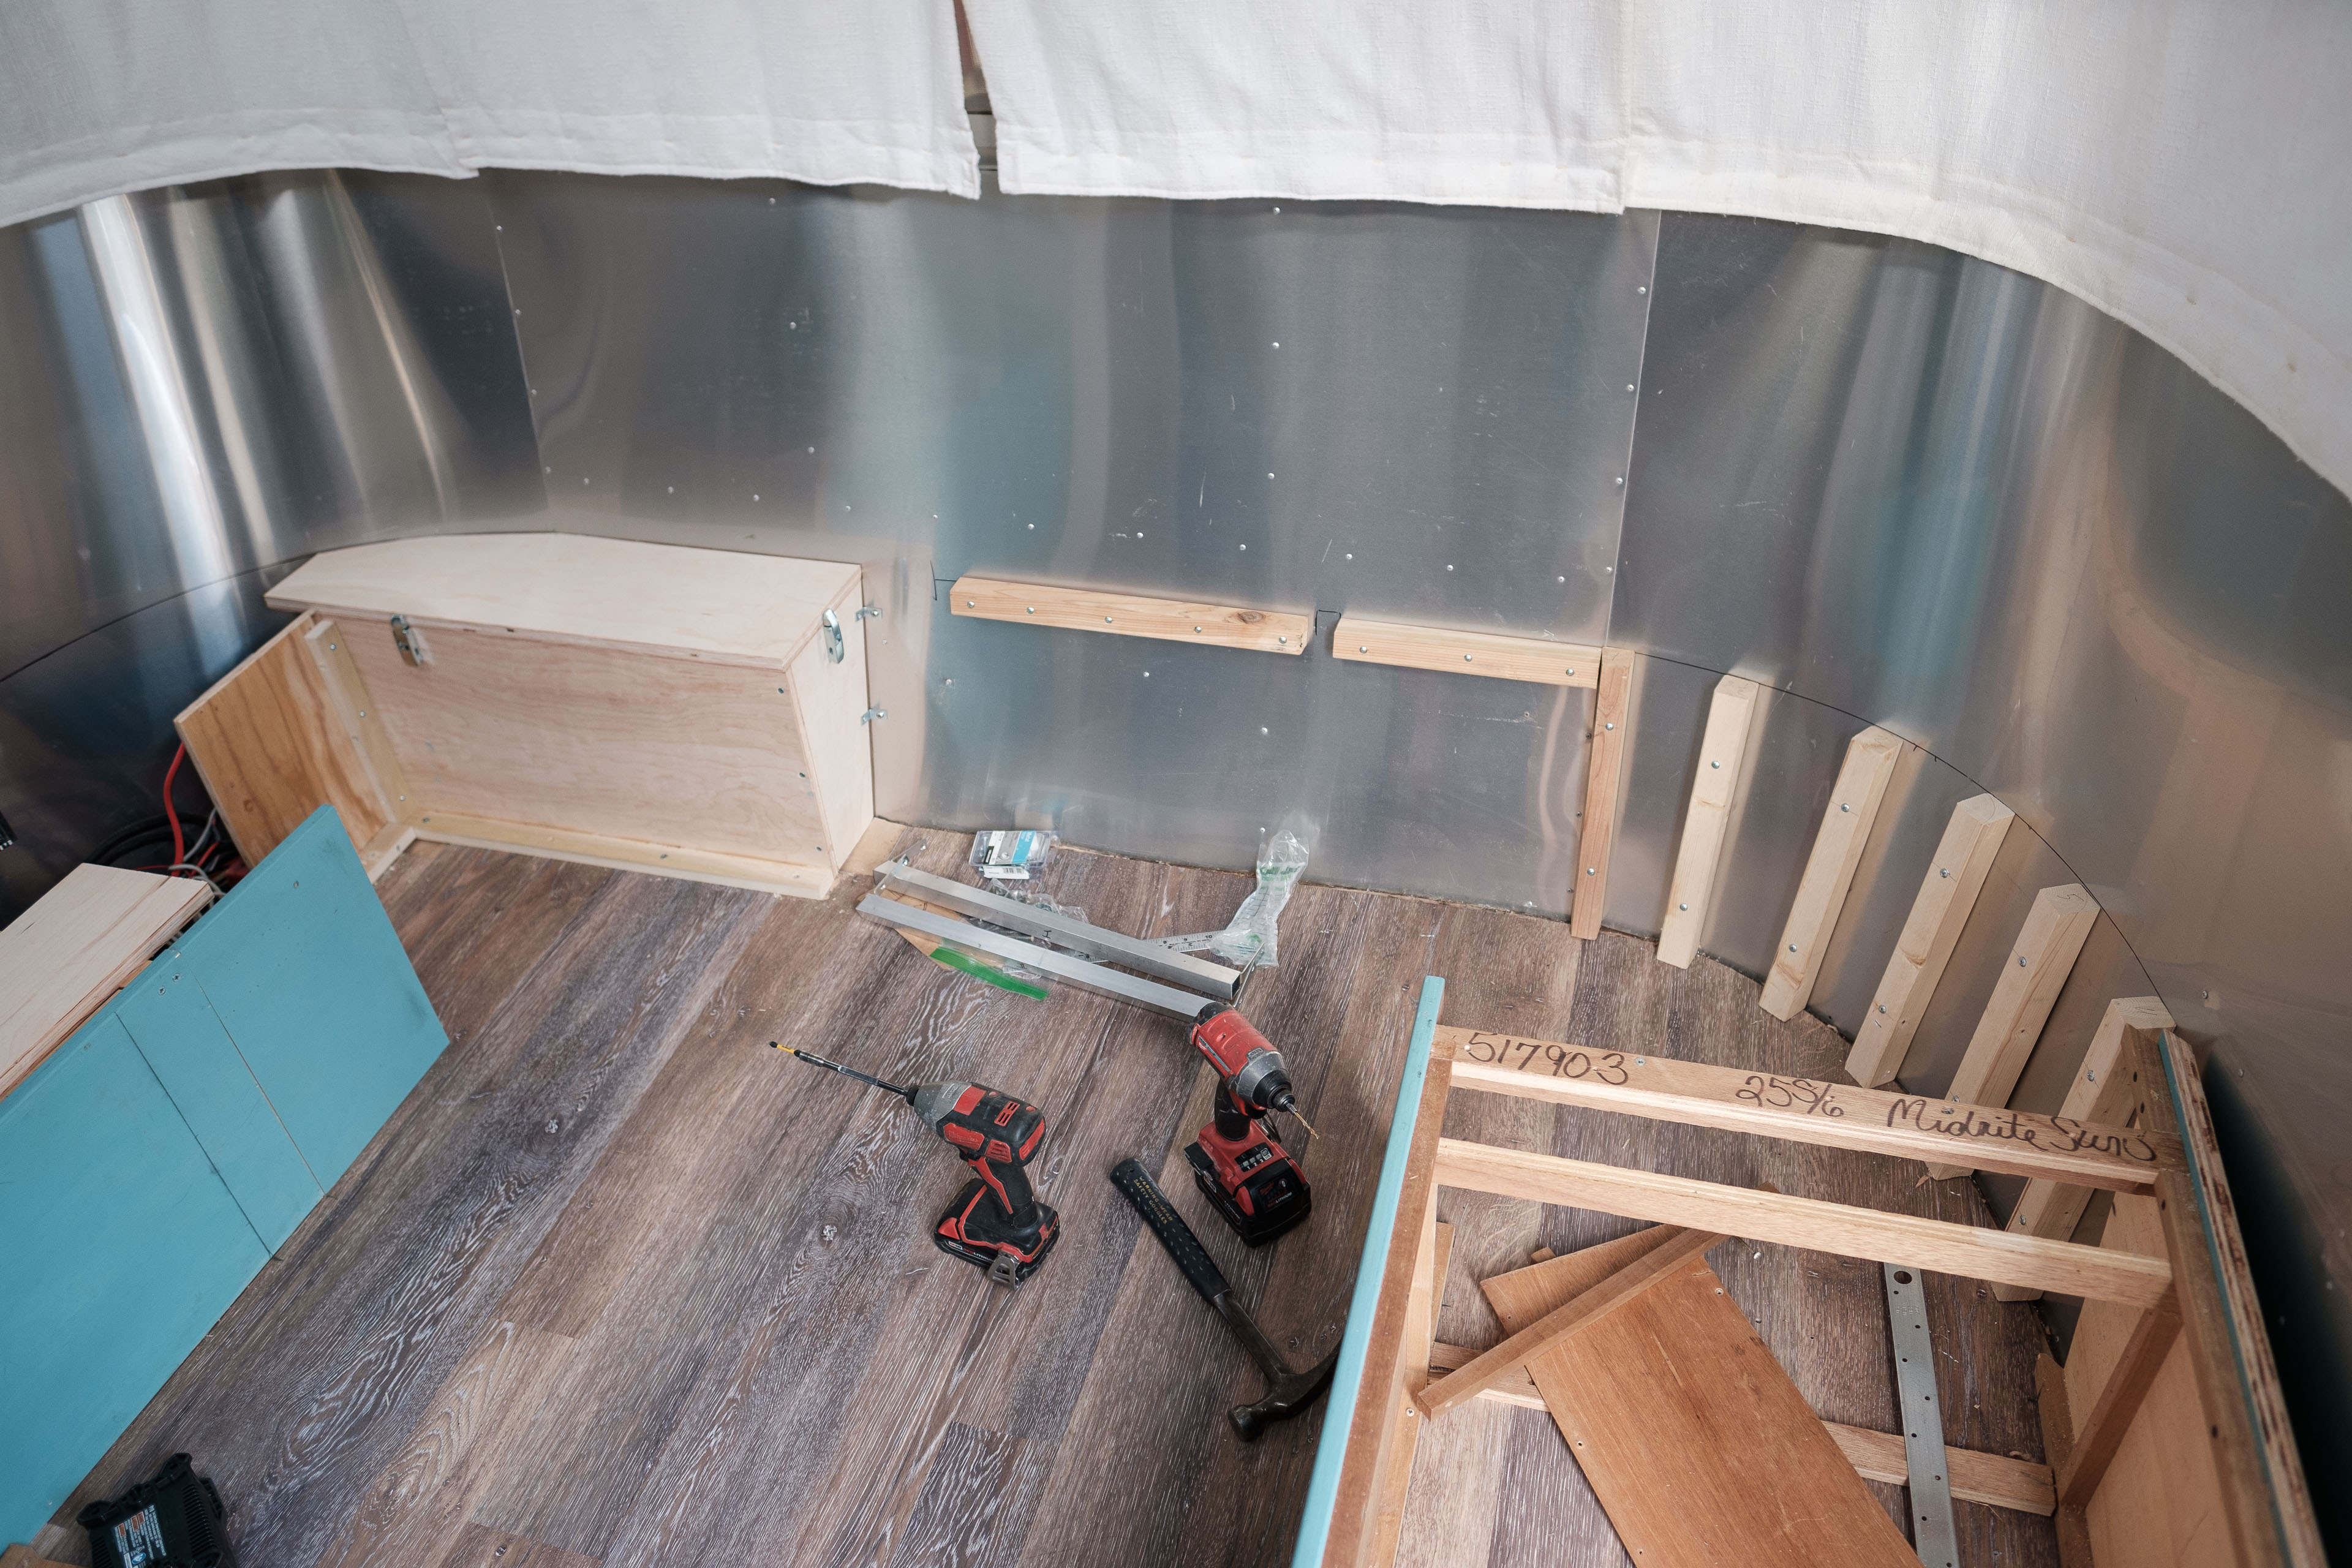
The new bench against the front wall needed supports and bracing added to be able to sit on it. This was done by using 1”x1” aluminum supports riveted to the Airstream walls with L-brackets. We built a wooden box to protect the electrical components stored under the dinette which also served as an additional bench support. 2”x2” studs were placed vertically along the curve of the Airstream to support the bench as well.
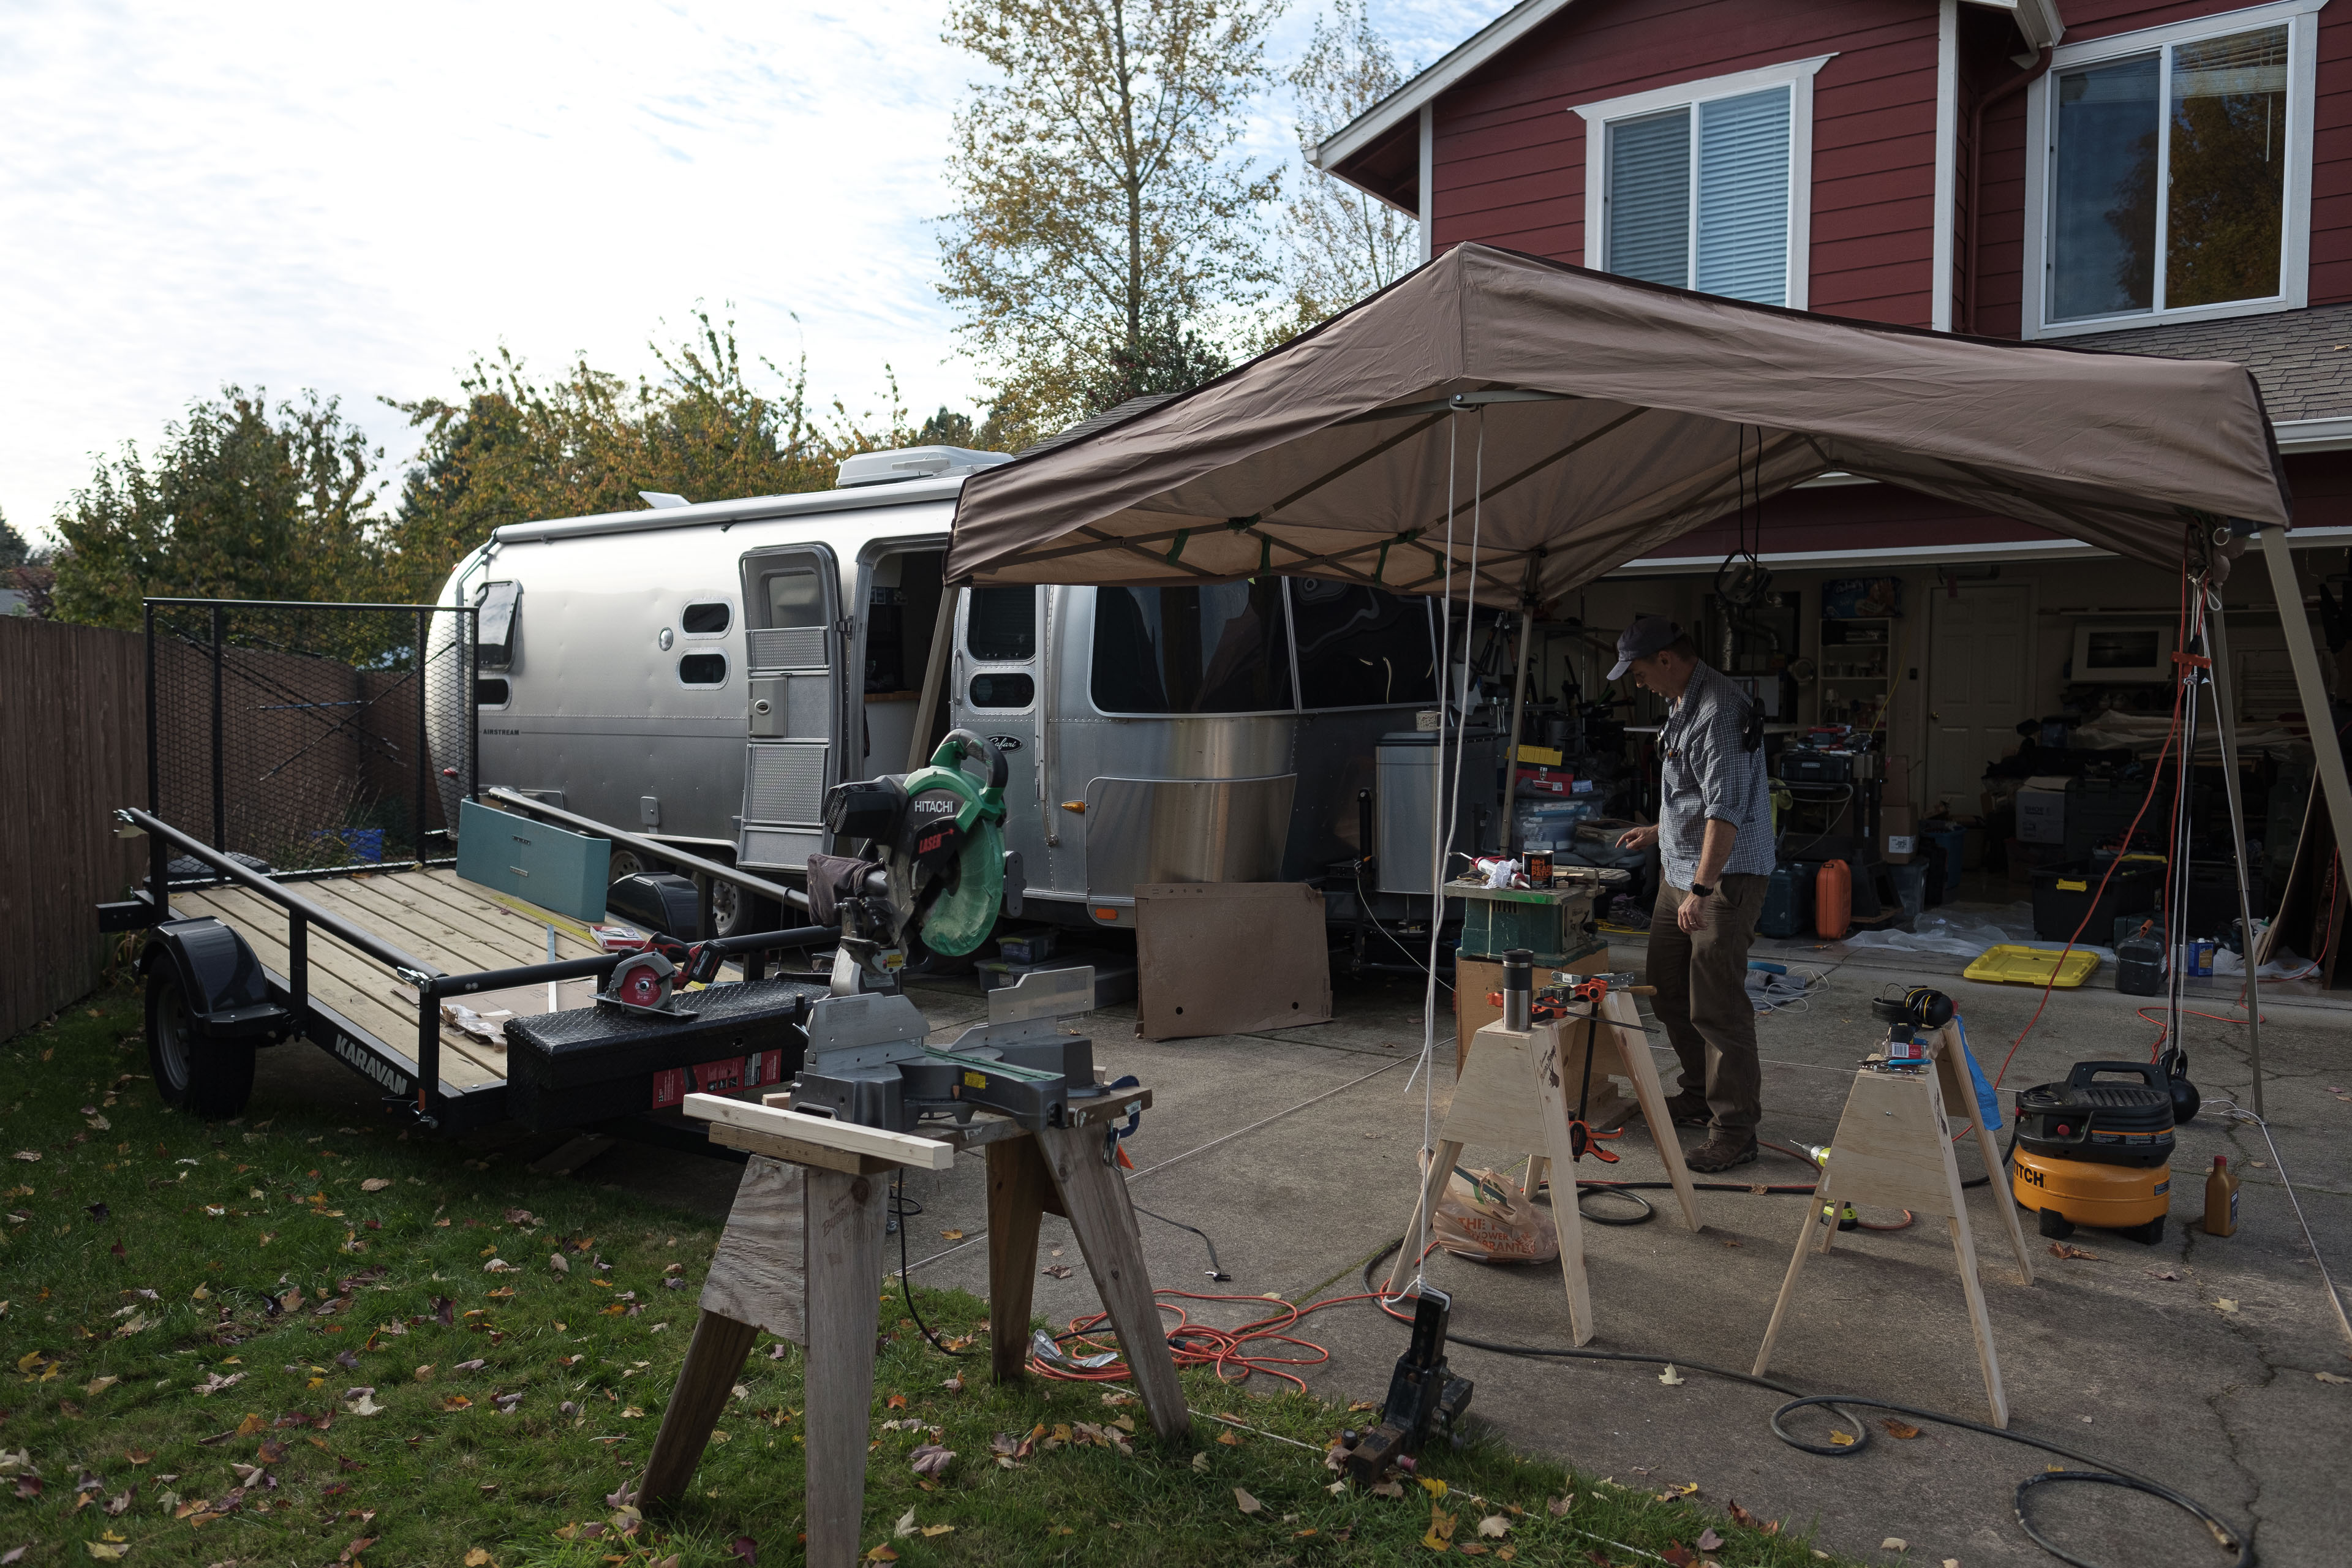
This whole part of the construction was very unplanned and involved a lot of creative adaptation to make things work. It was a semi-stressful but fun part of the project that let us explore a lot of different bracing options
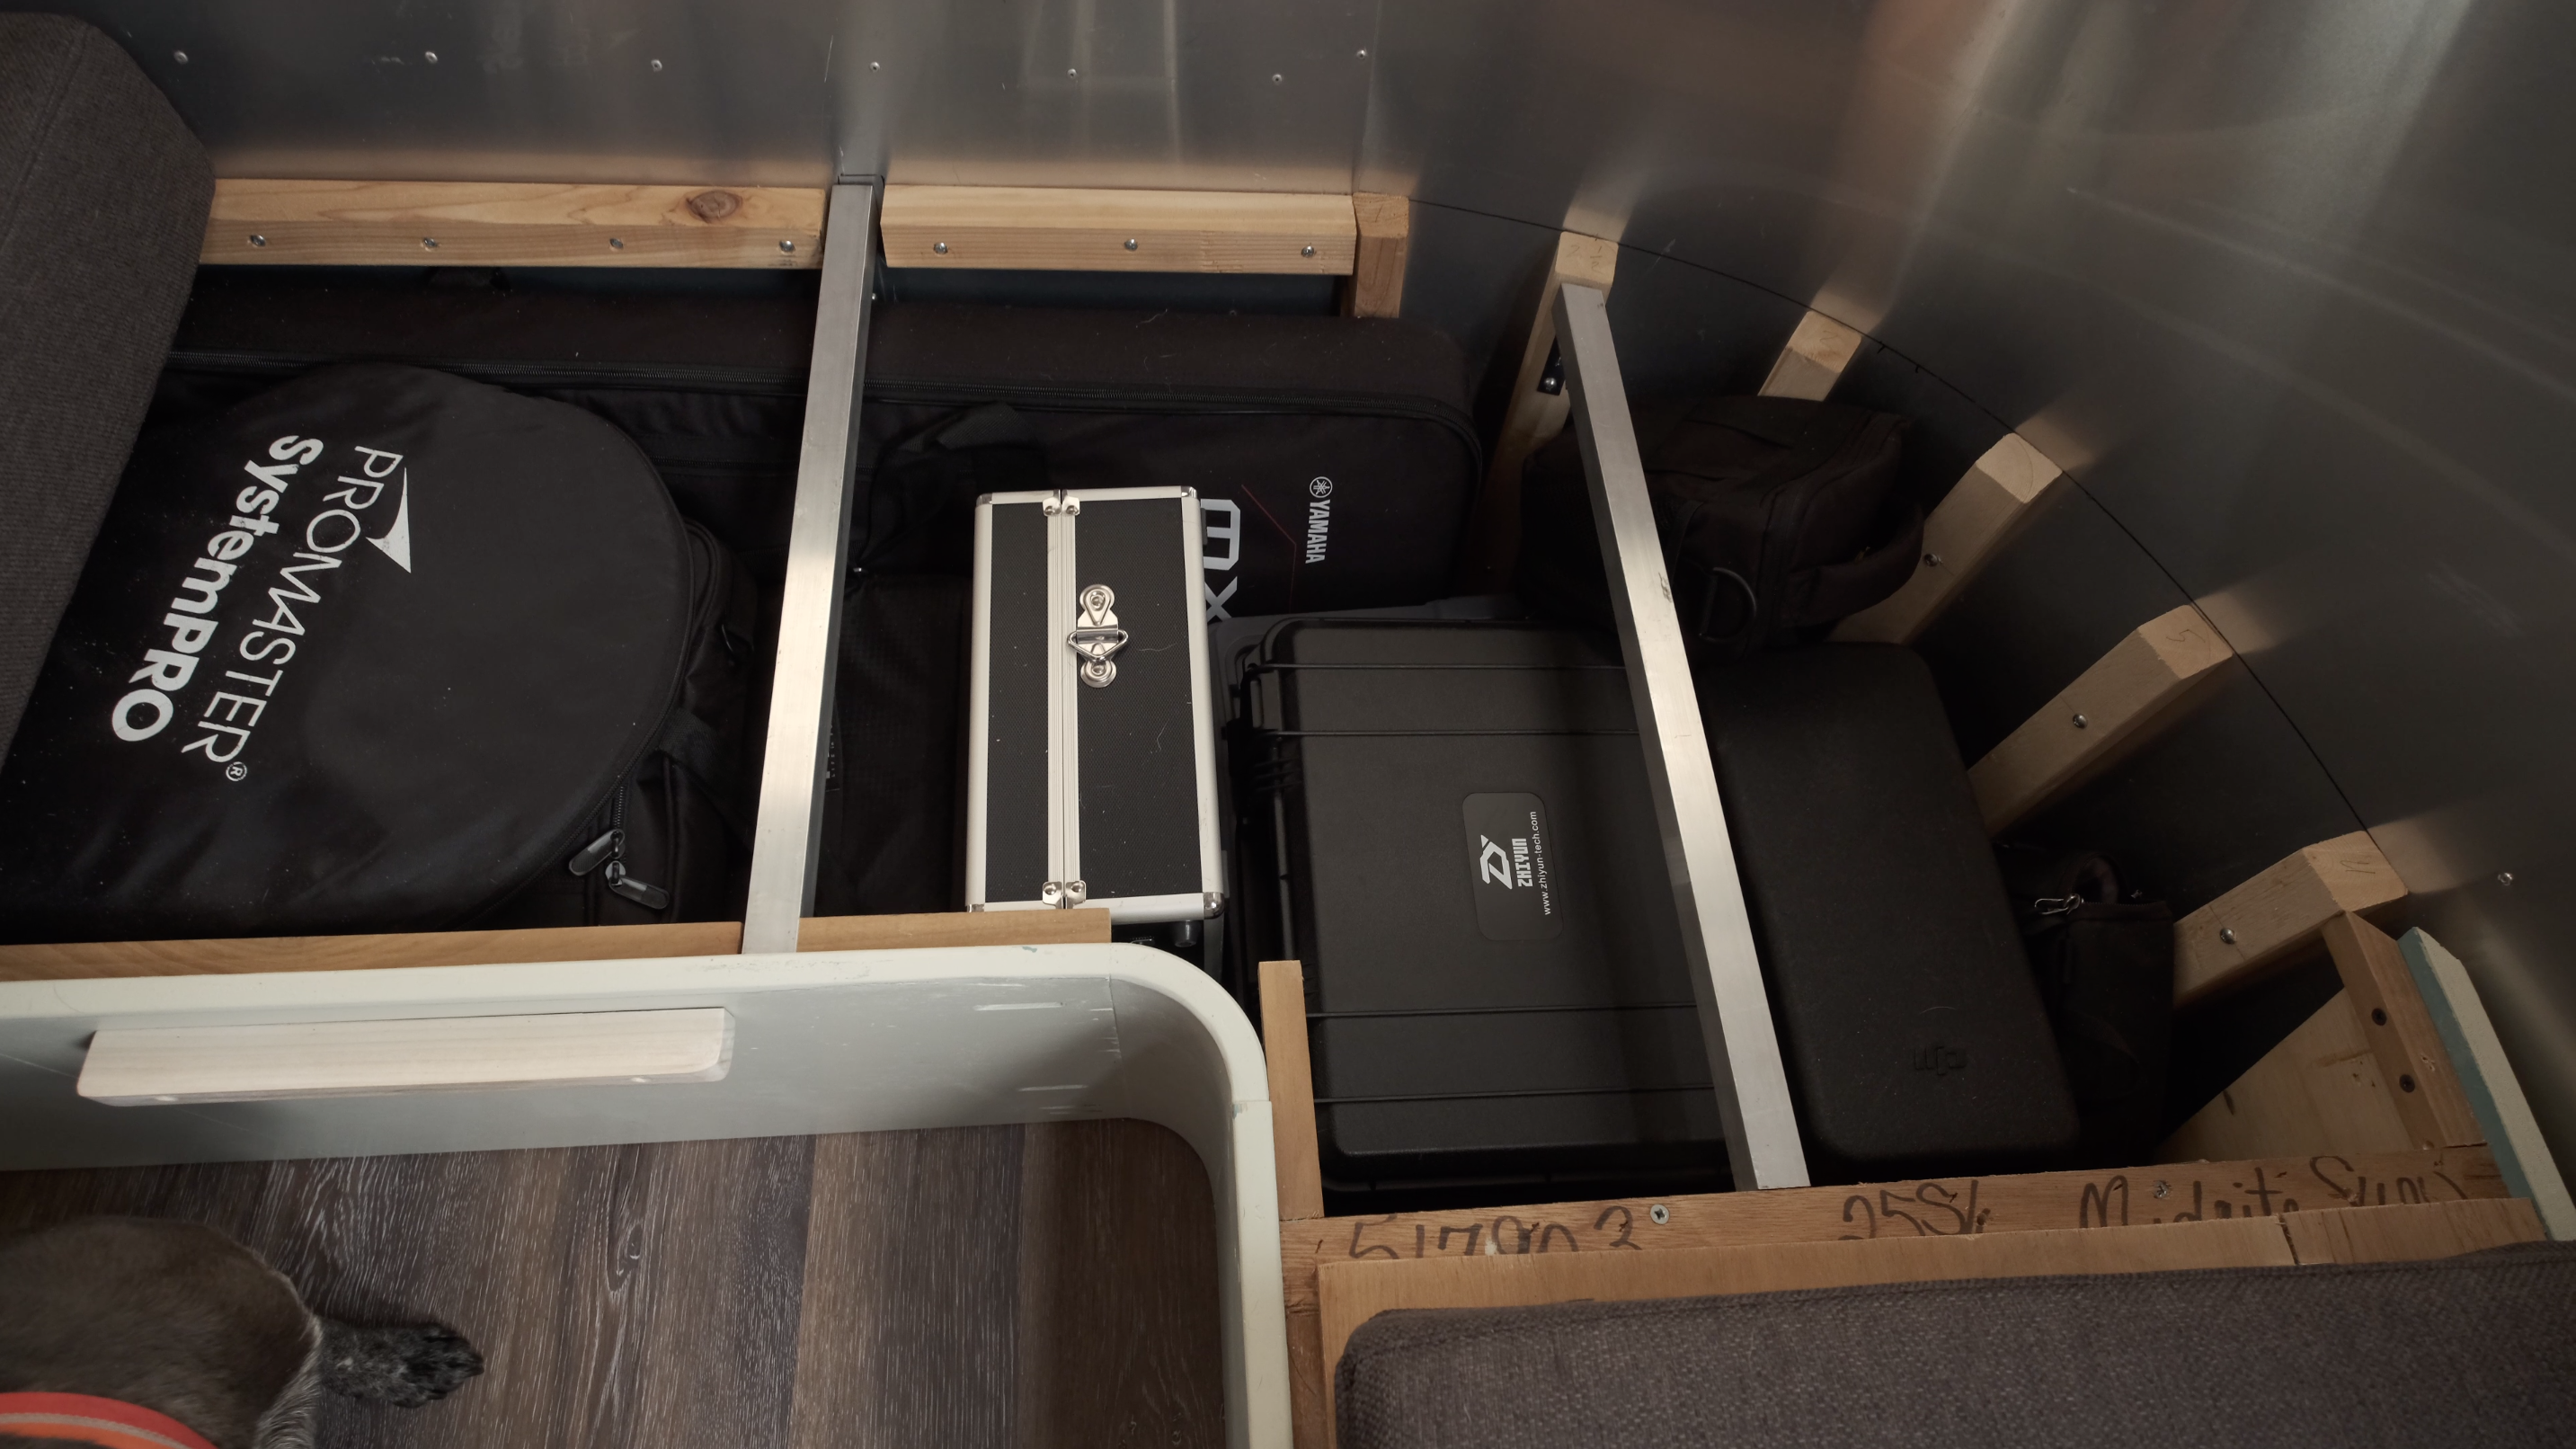

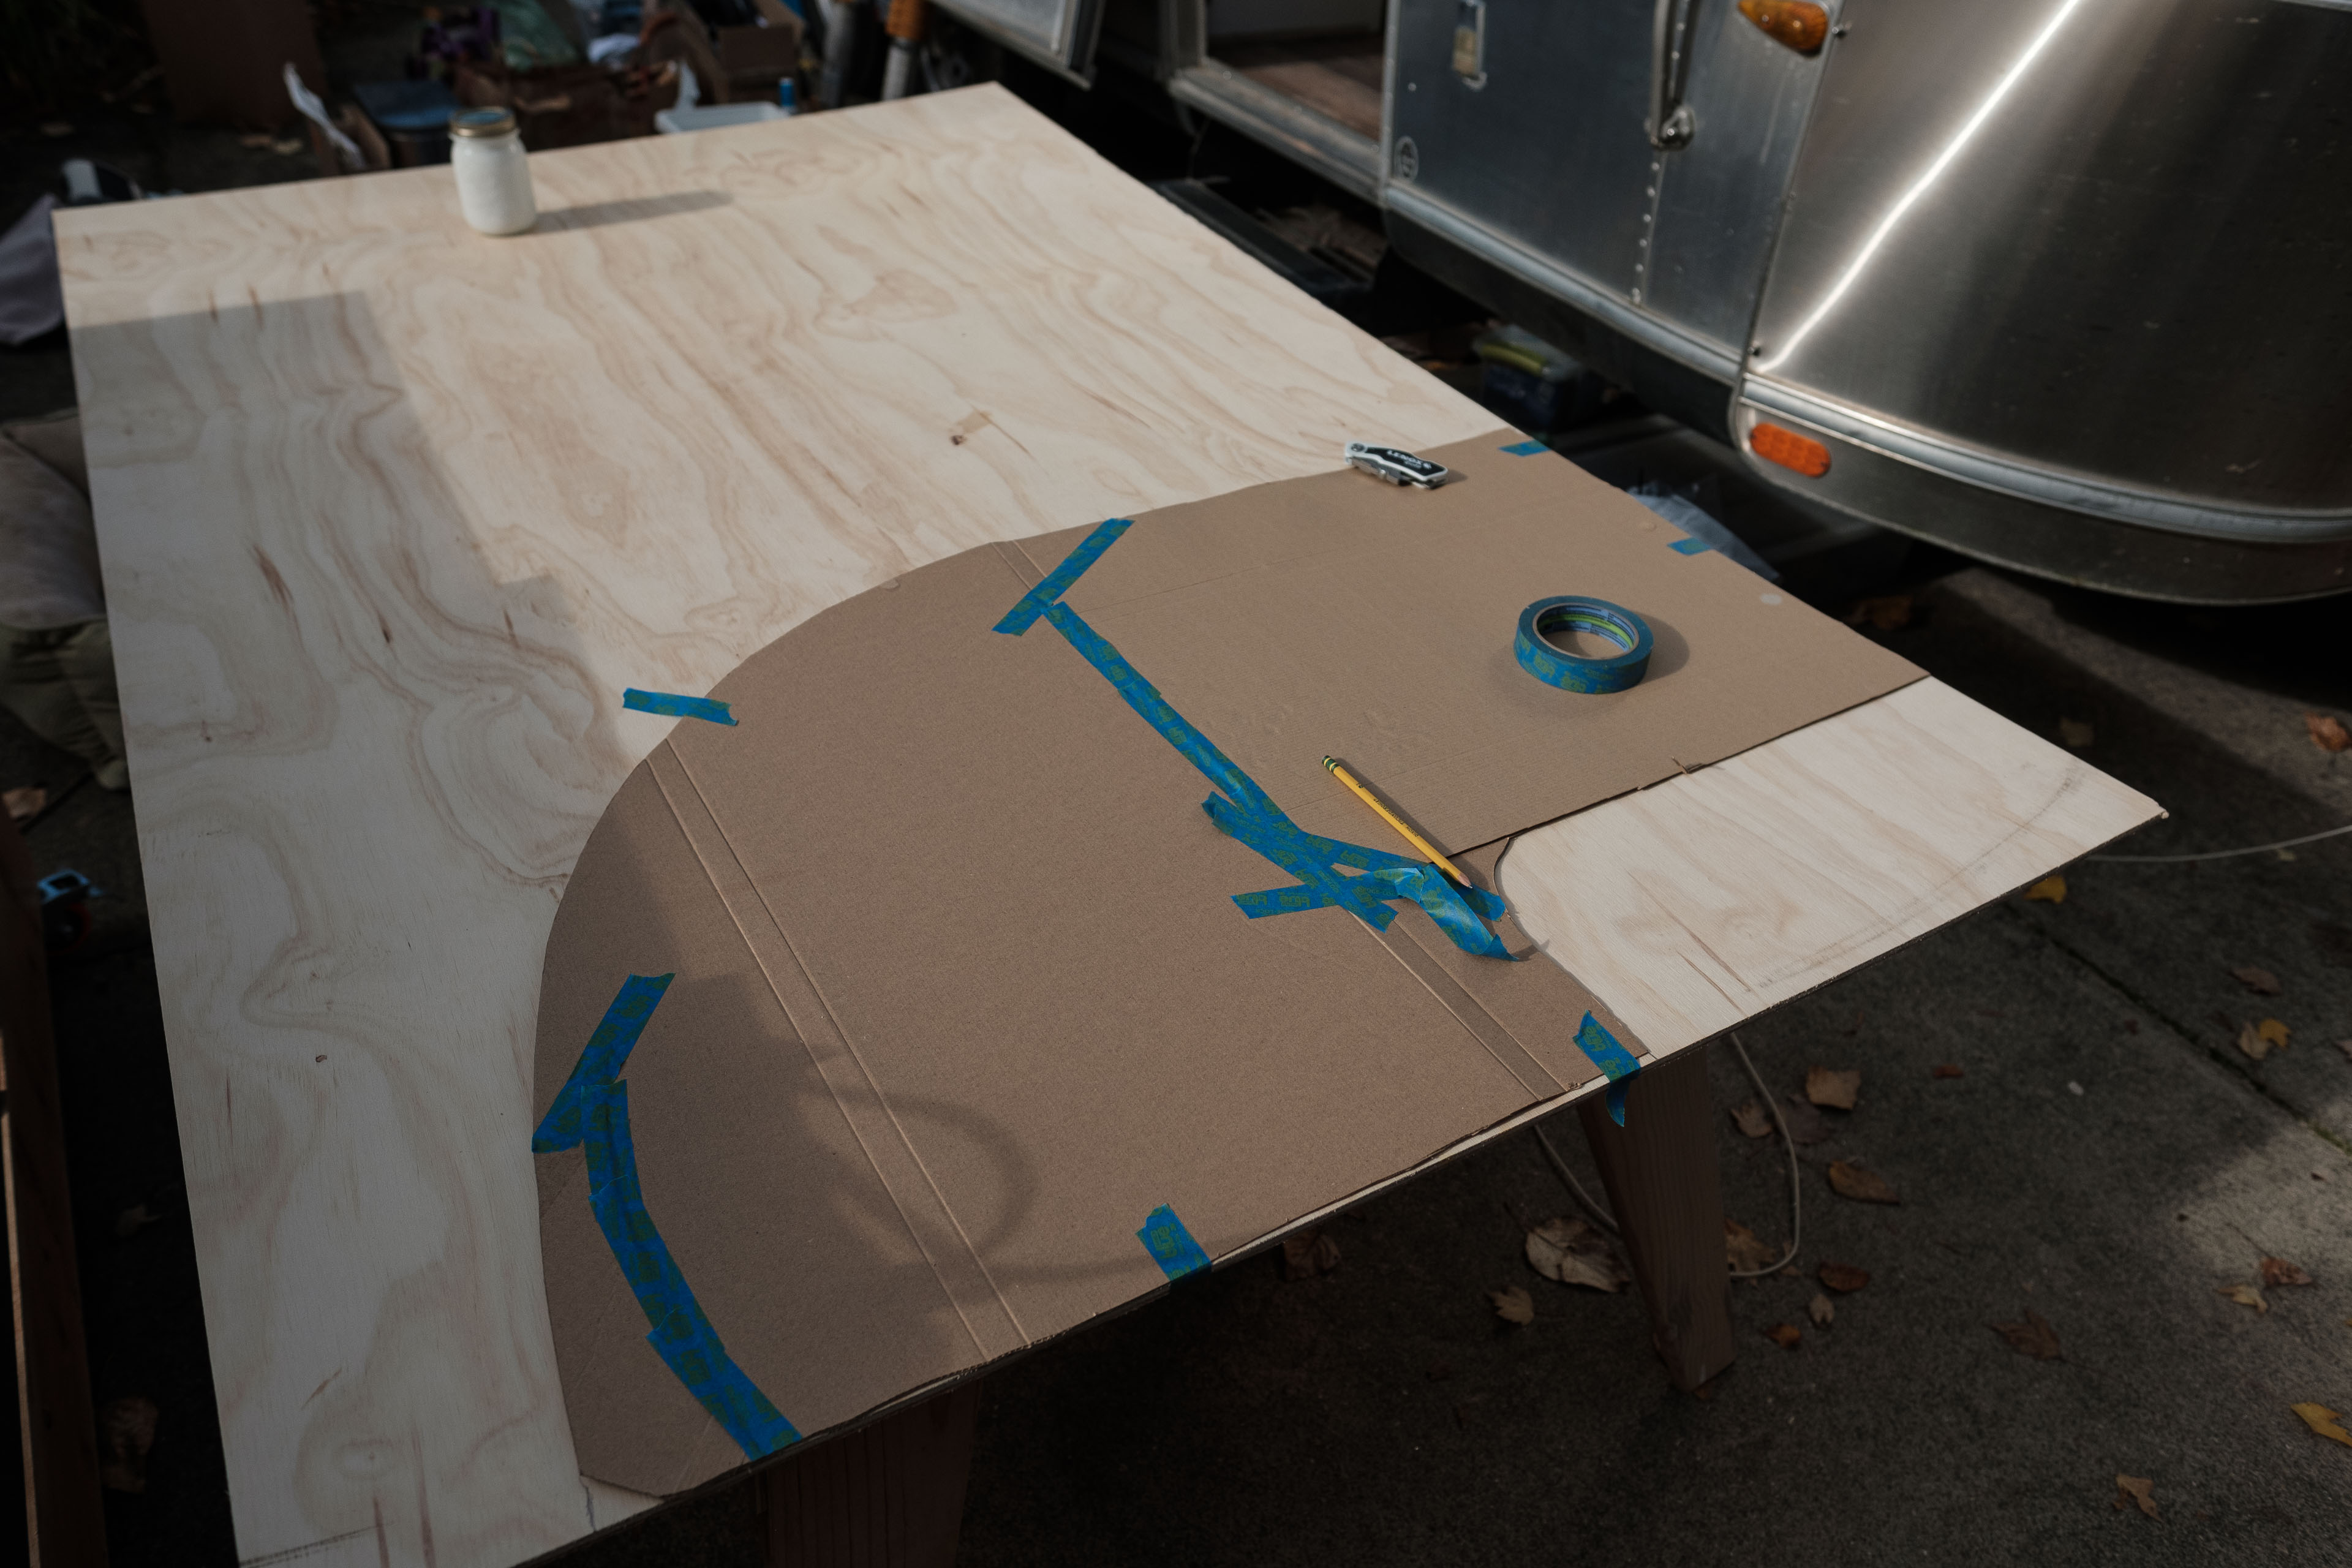
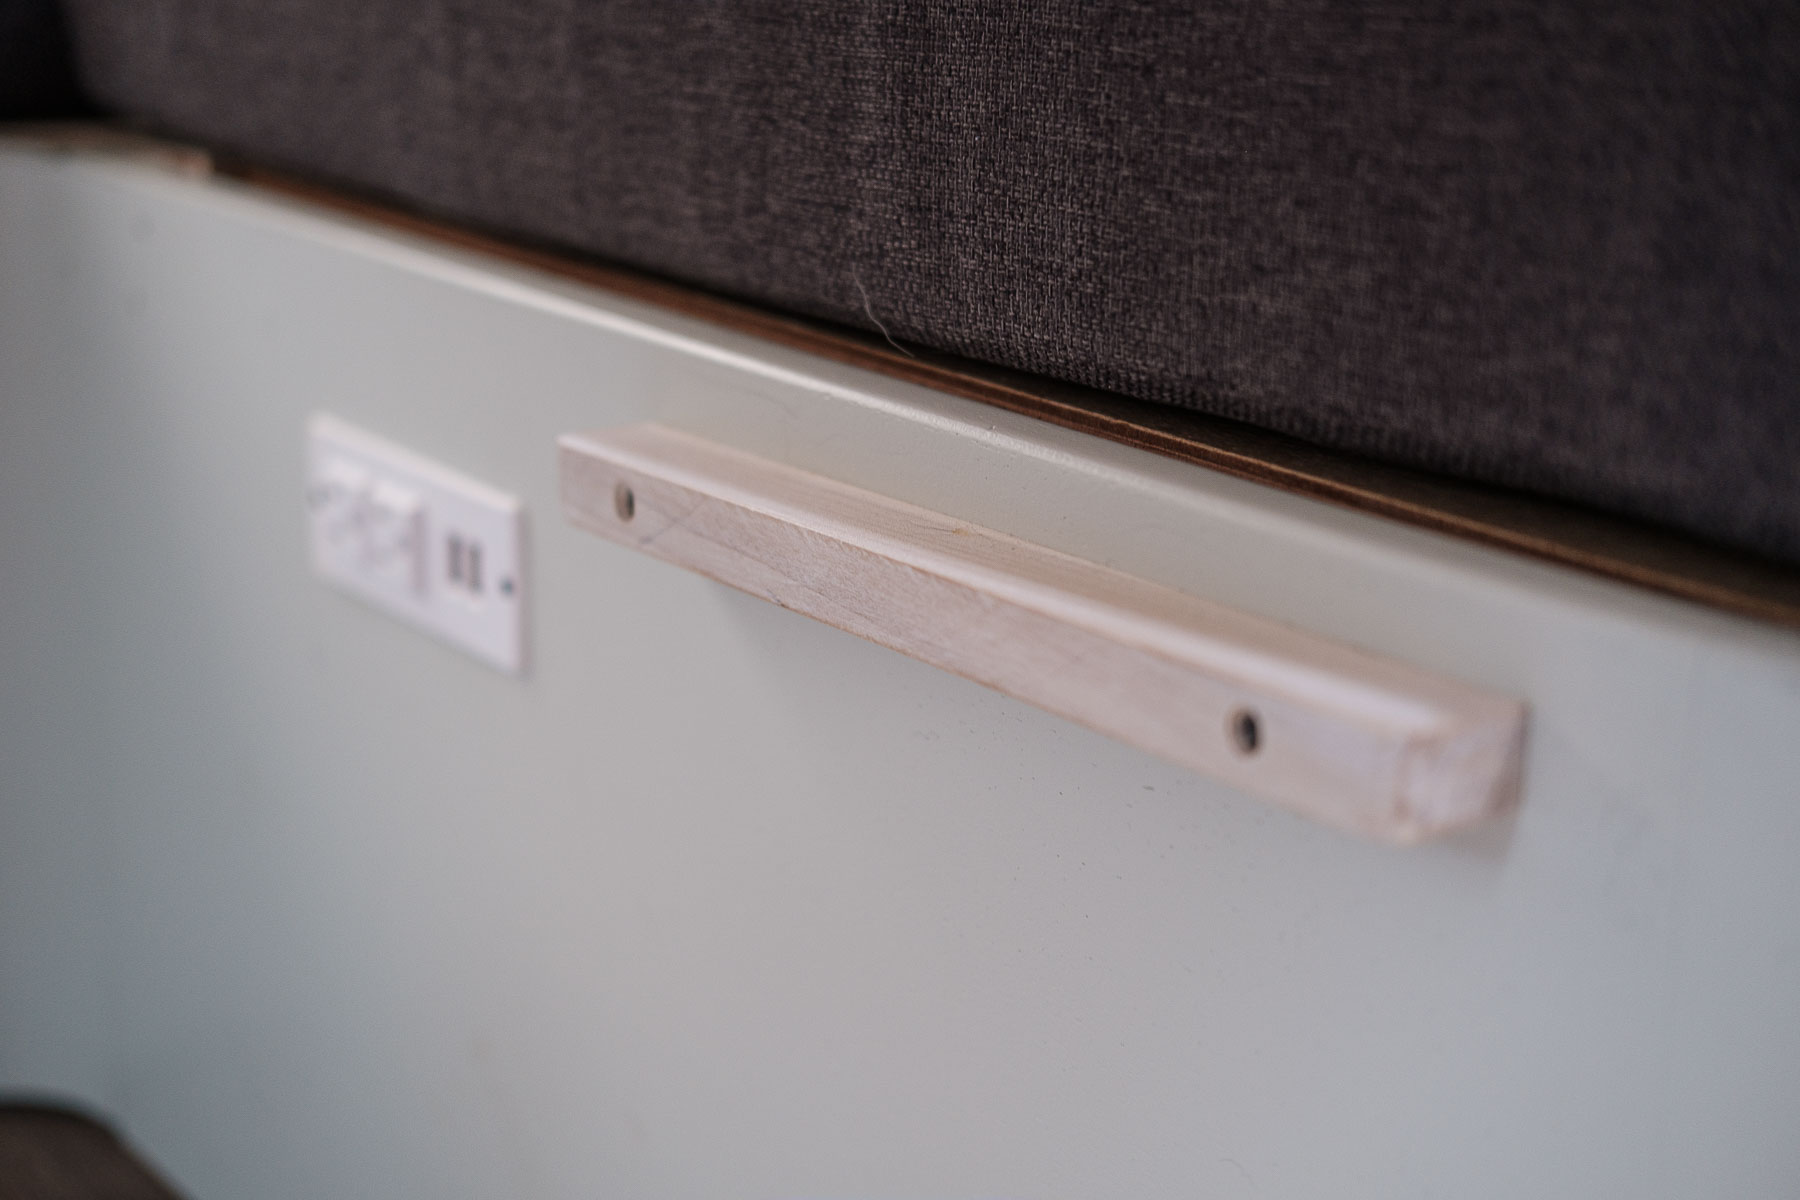
Once the benches were built, we cut out bench tops out of 11/32” fir plywood. To do this we made templates out of cardboard to match the curves of the Airstream. These bench tops can be lifted up to access storage under the dinette.
Building anything like this in an Airstream is very tricky due to all the curves and angles. It’s a lot like building something in a crooked house. You have to adapt to the surroundings as you build.
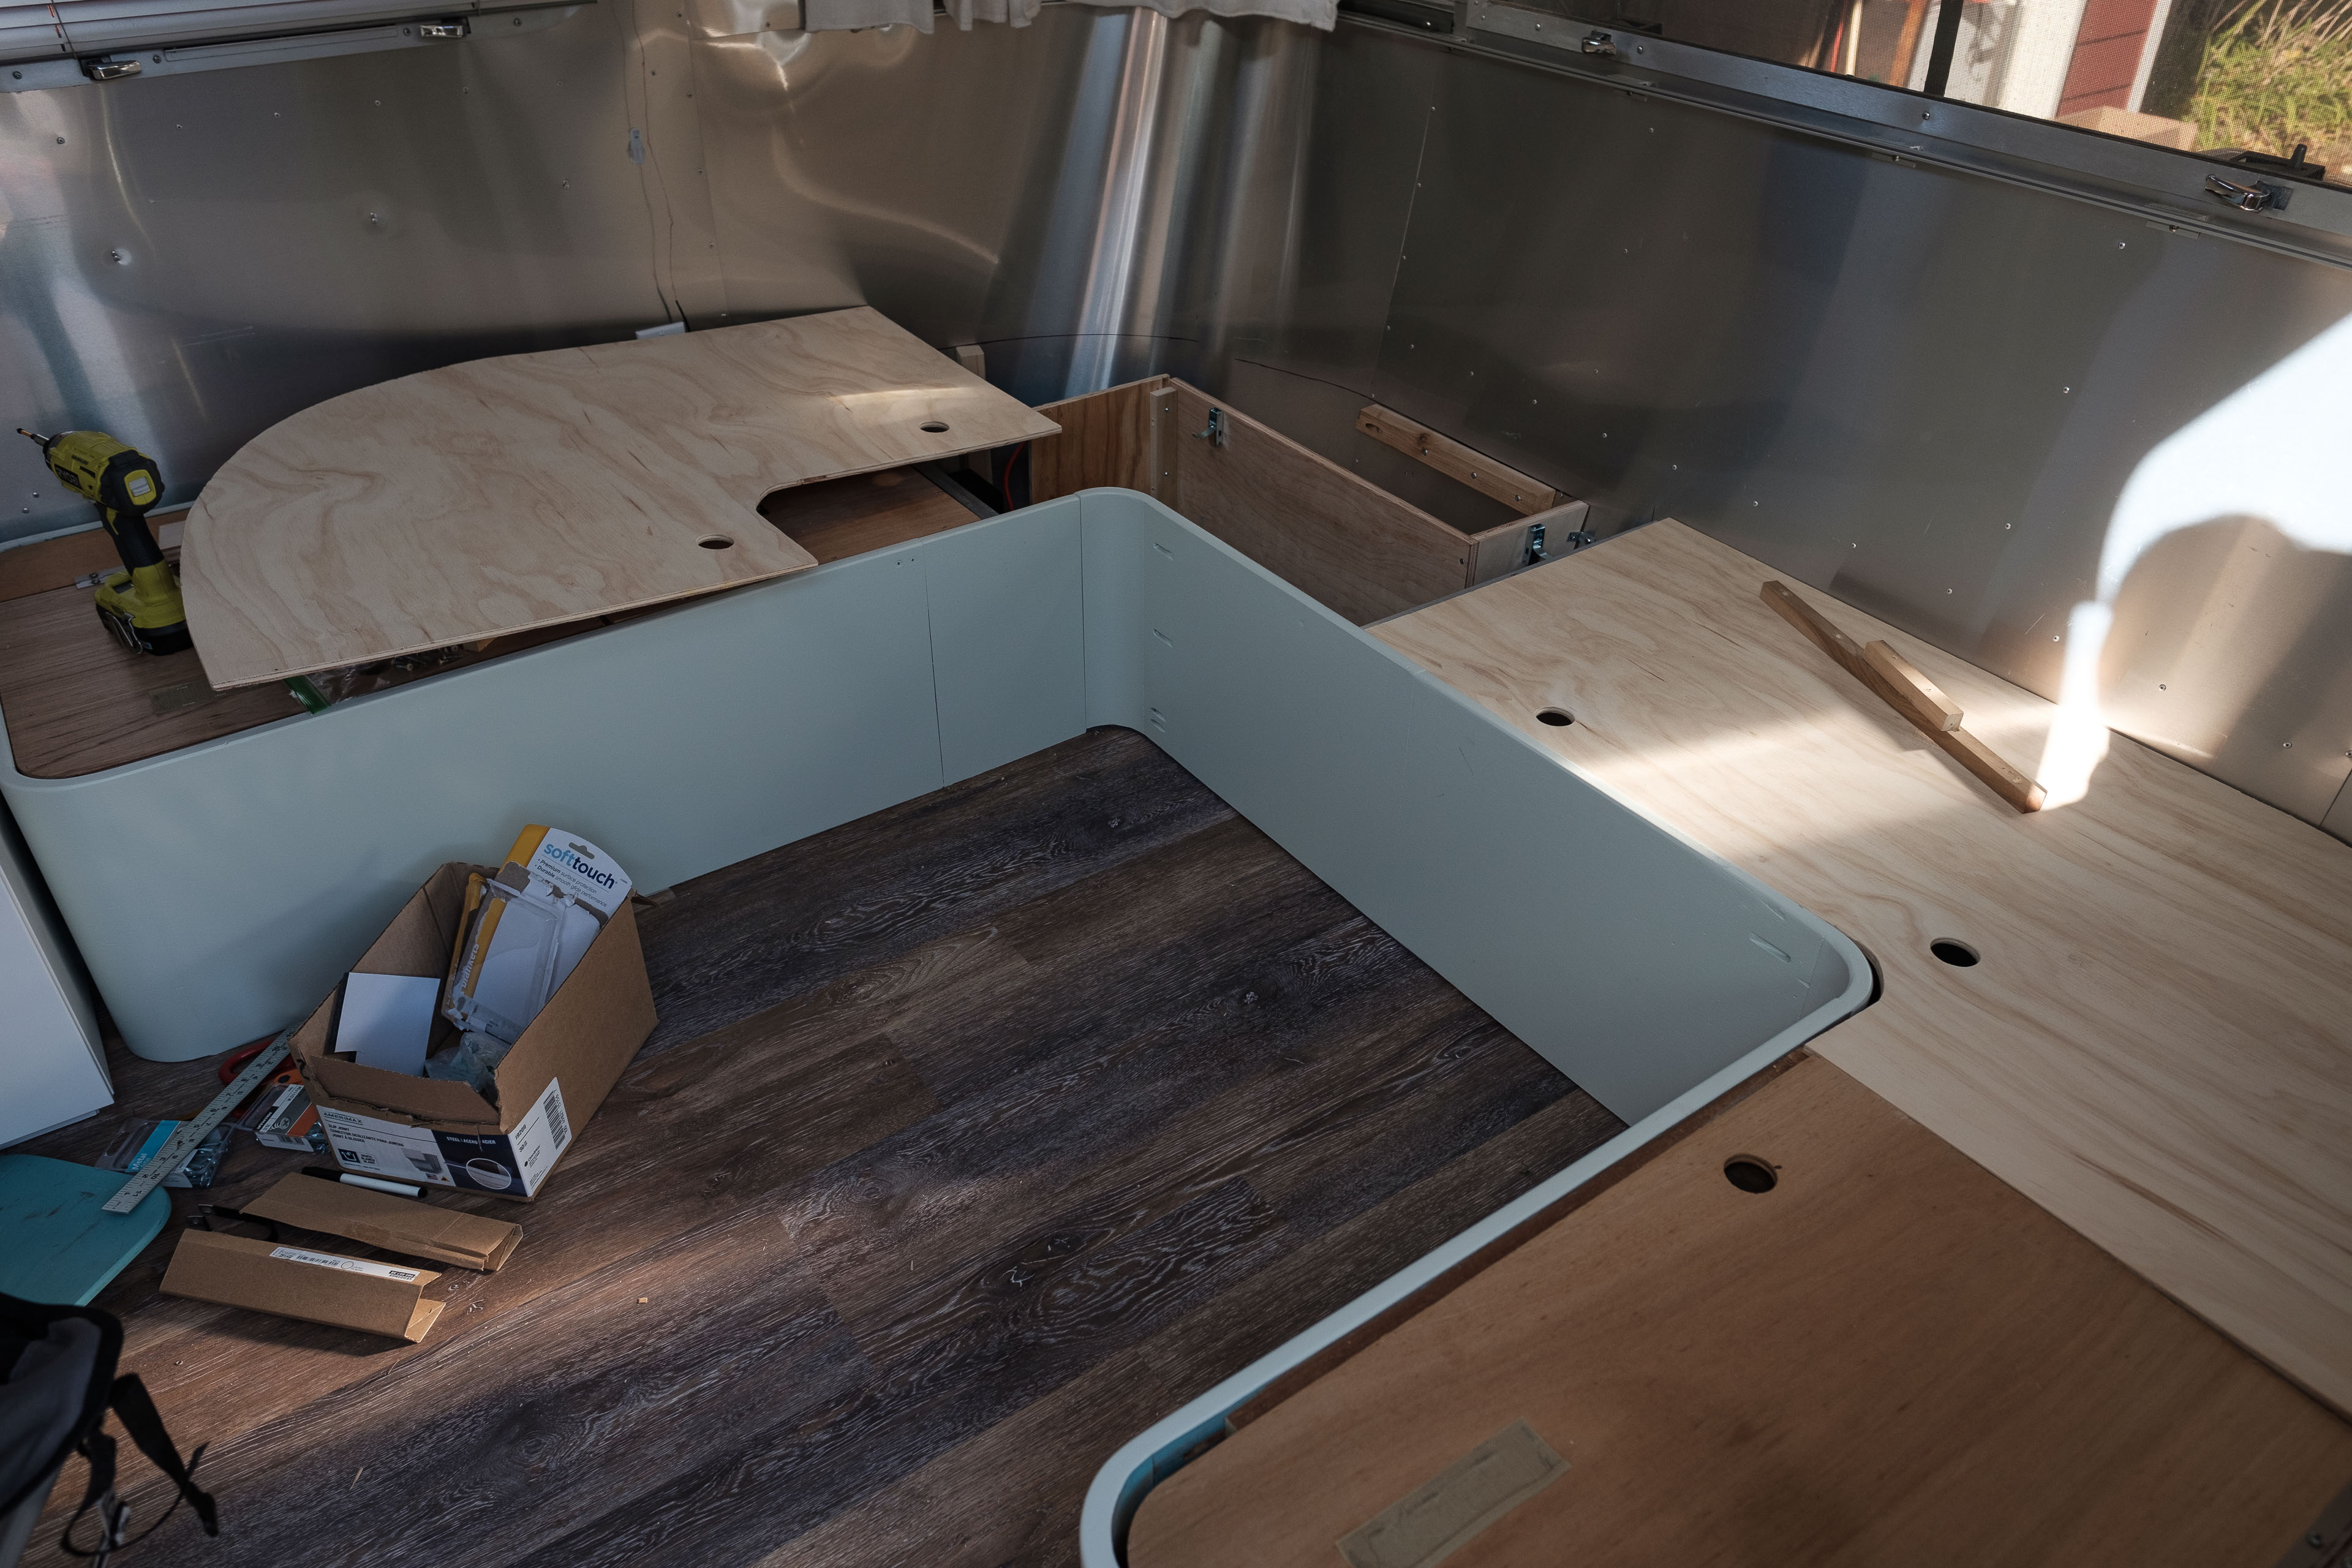
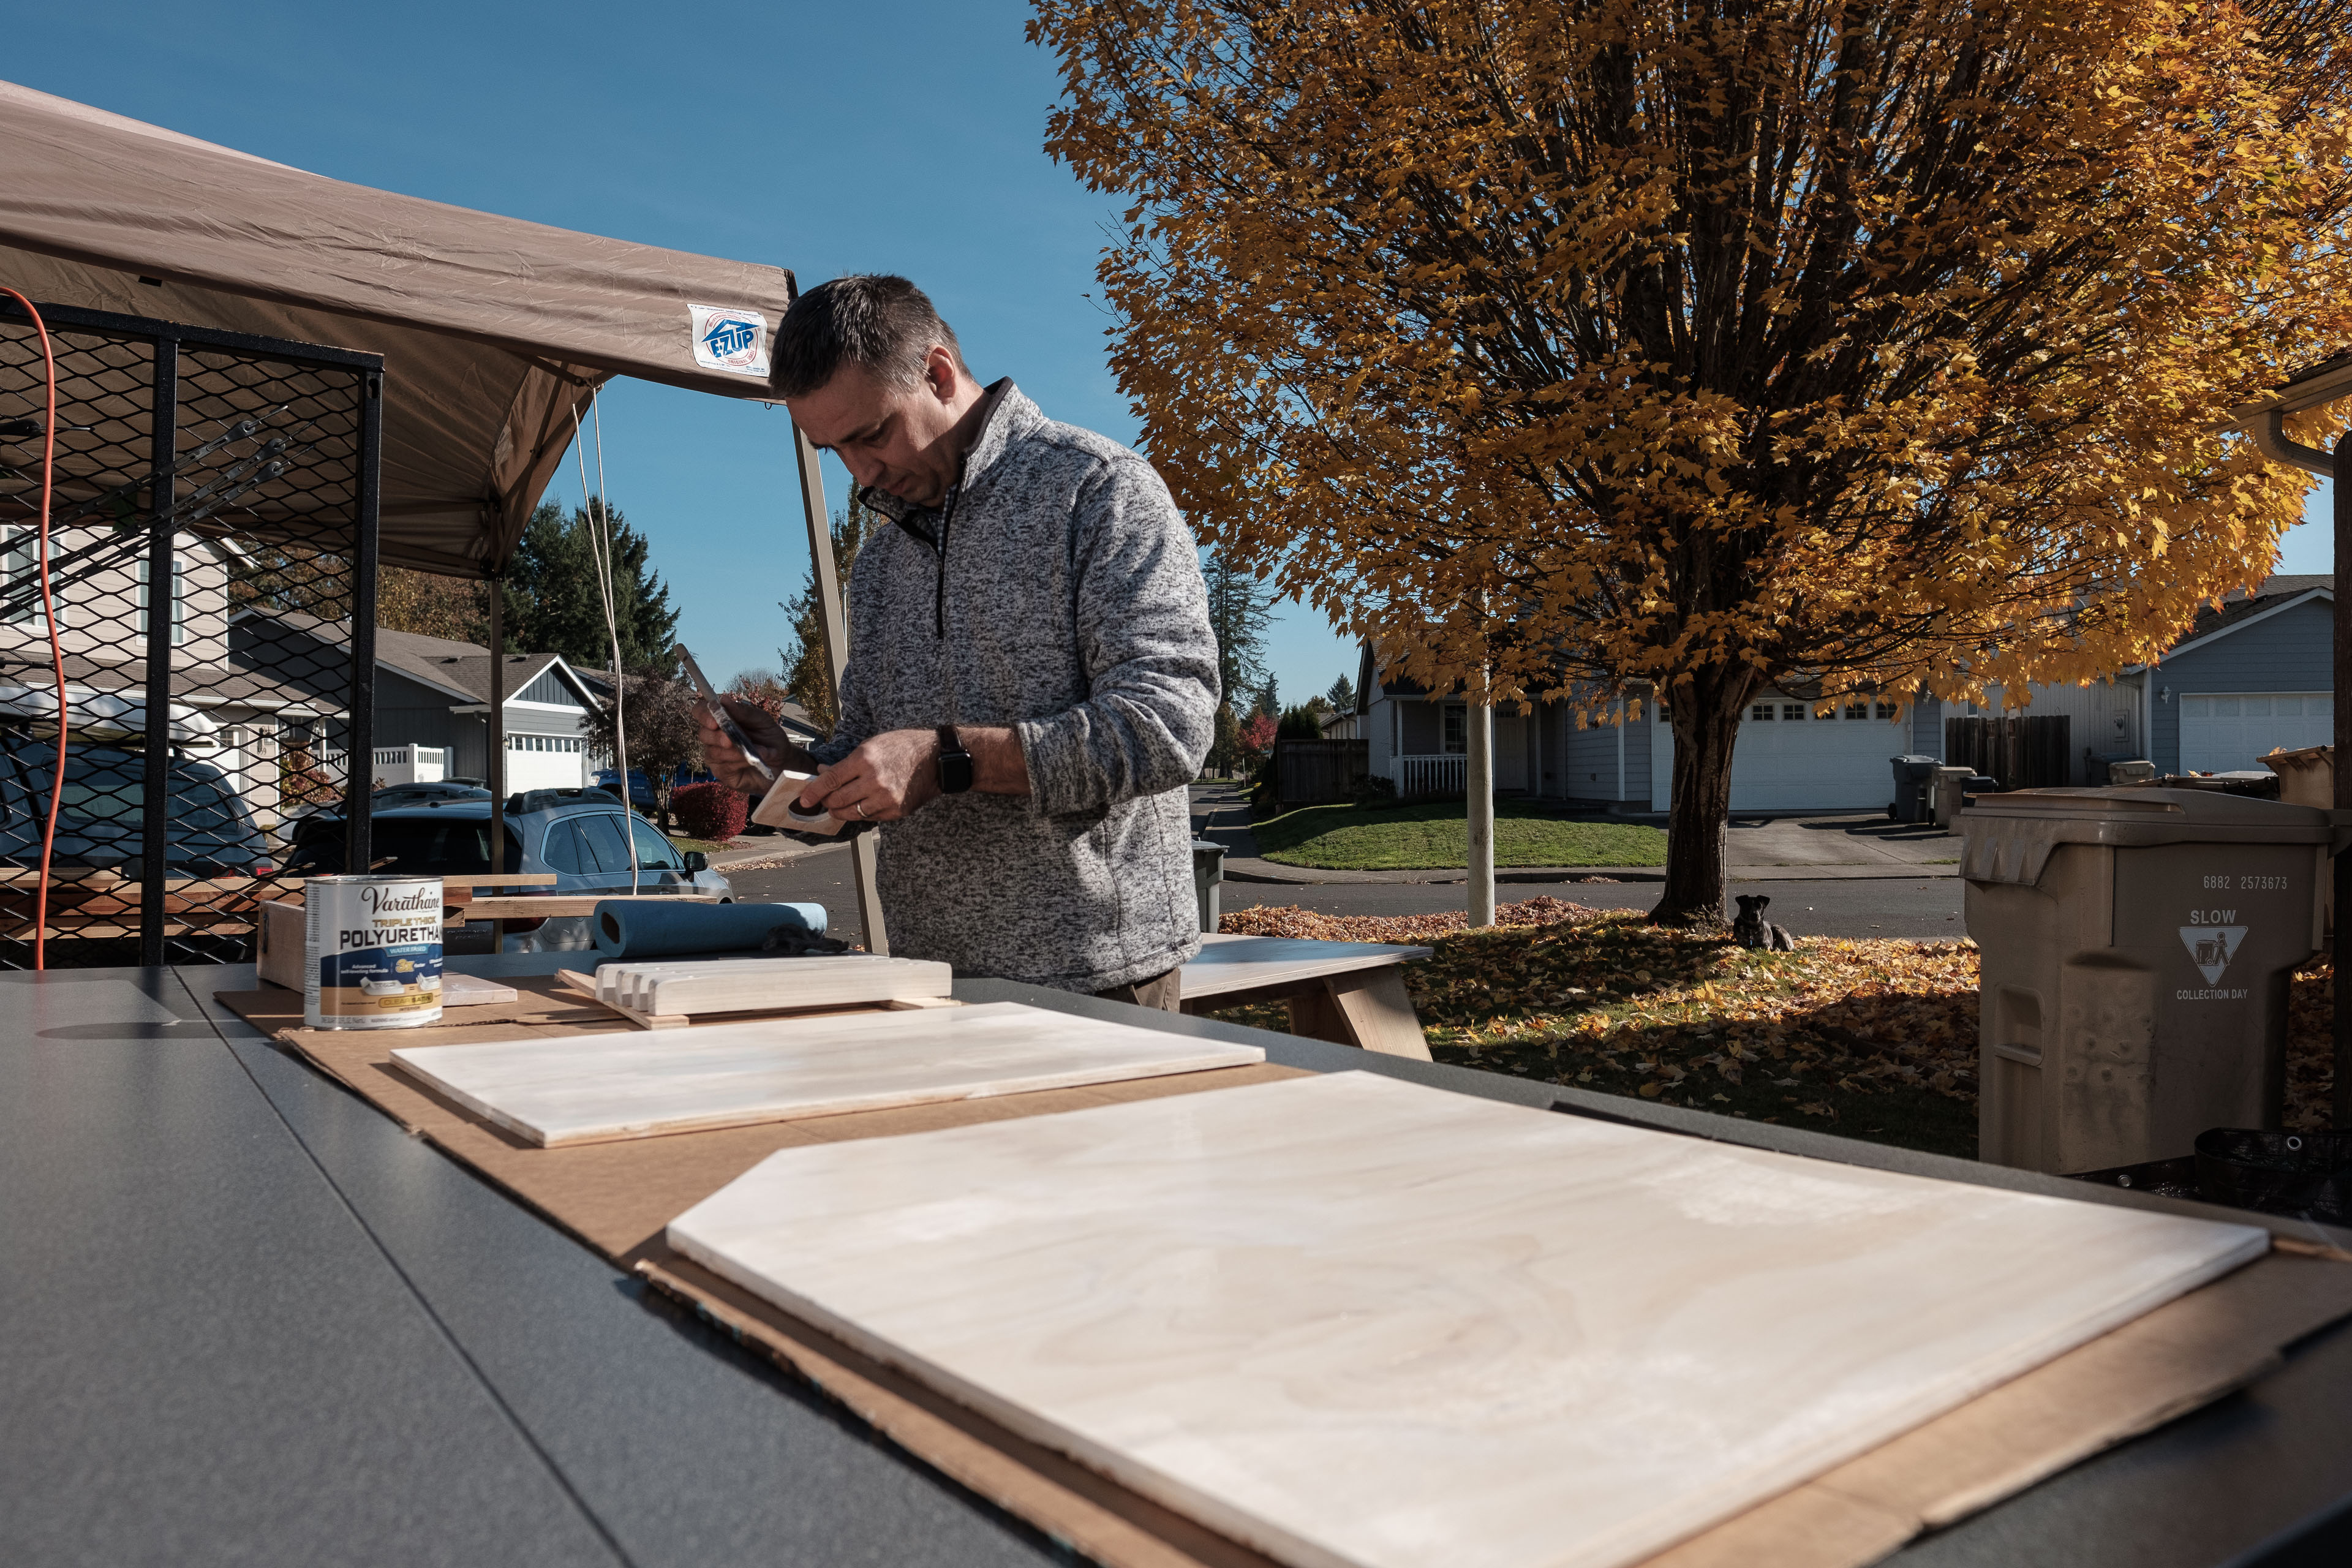
We painted the benches with a minty white Valspar furniture paint. It seems to hold up pretty well, but we already have a few chips. It’s something we’re keeping with us to do touch ups in the future.
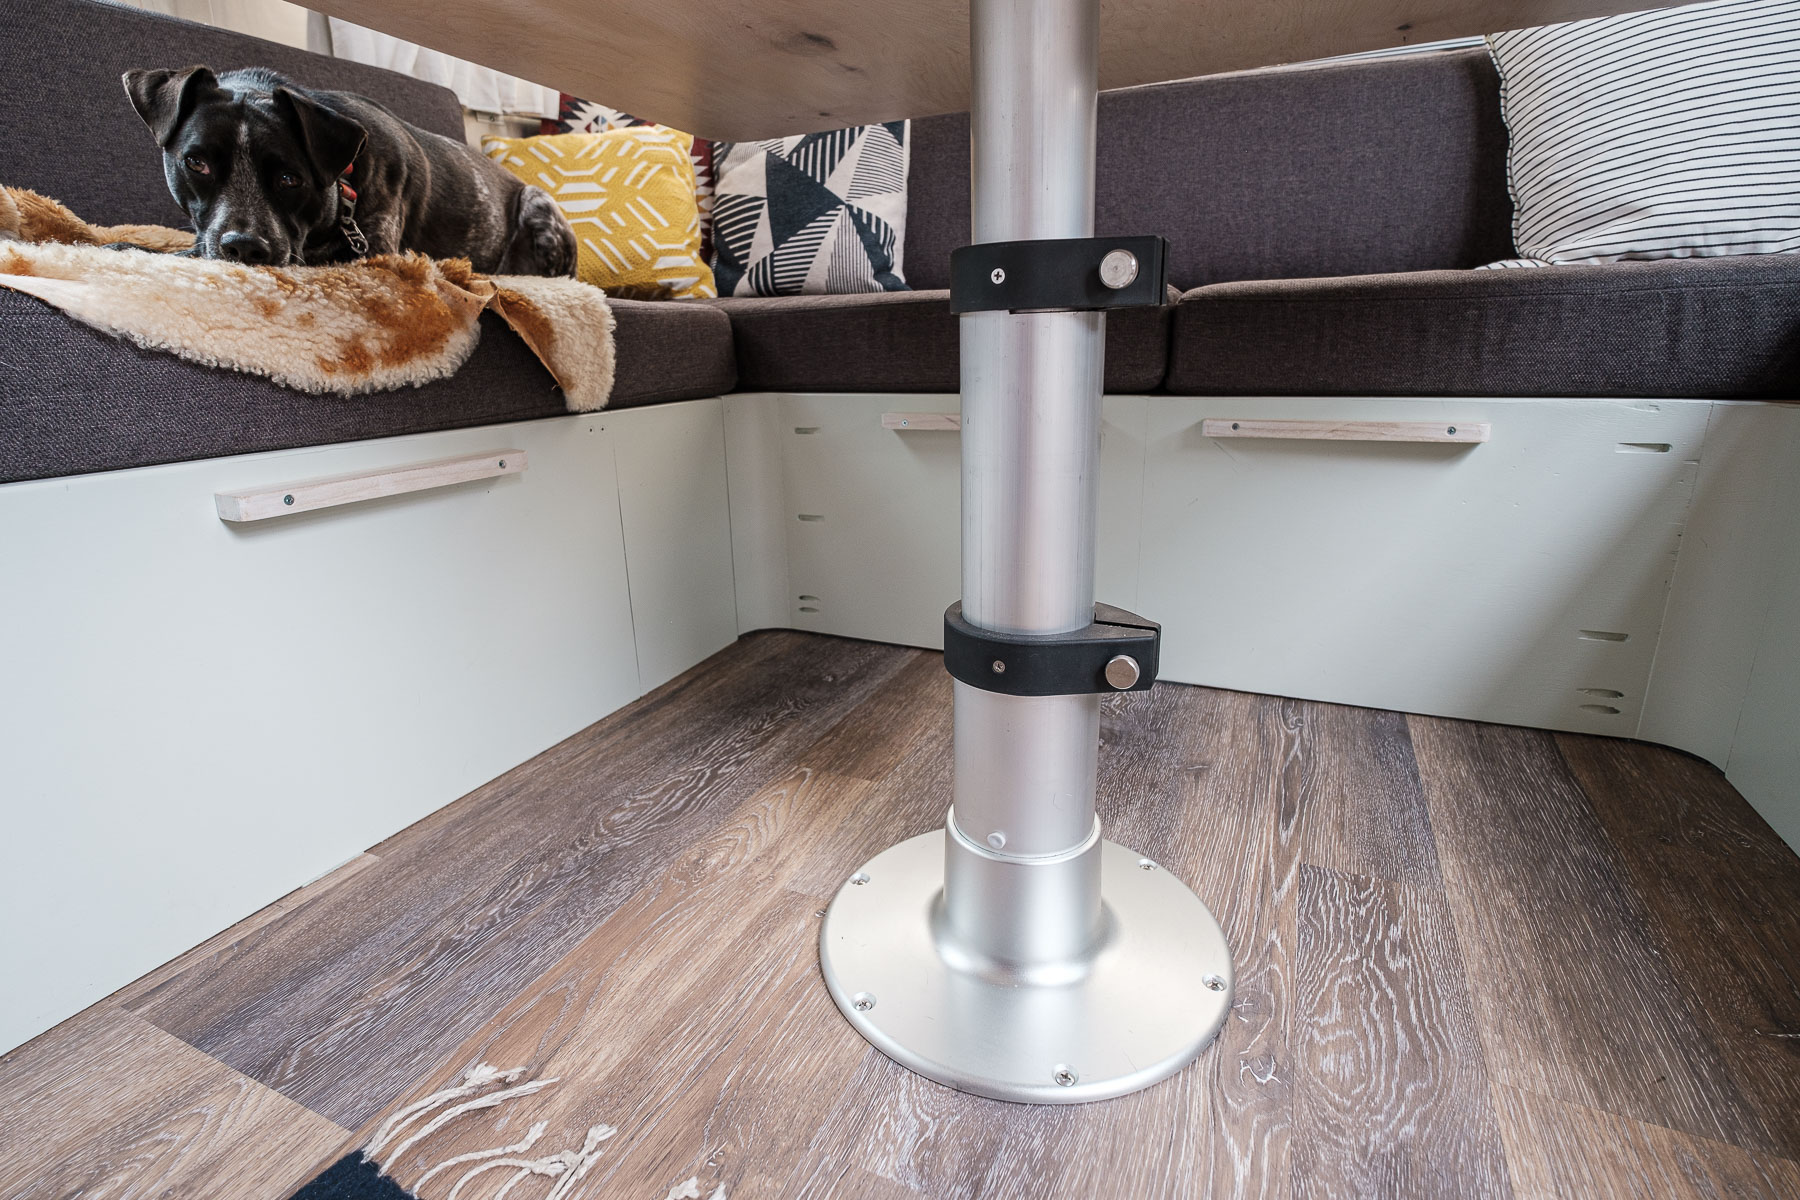
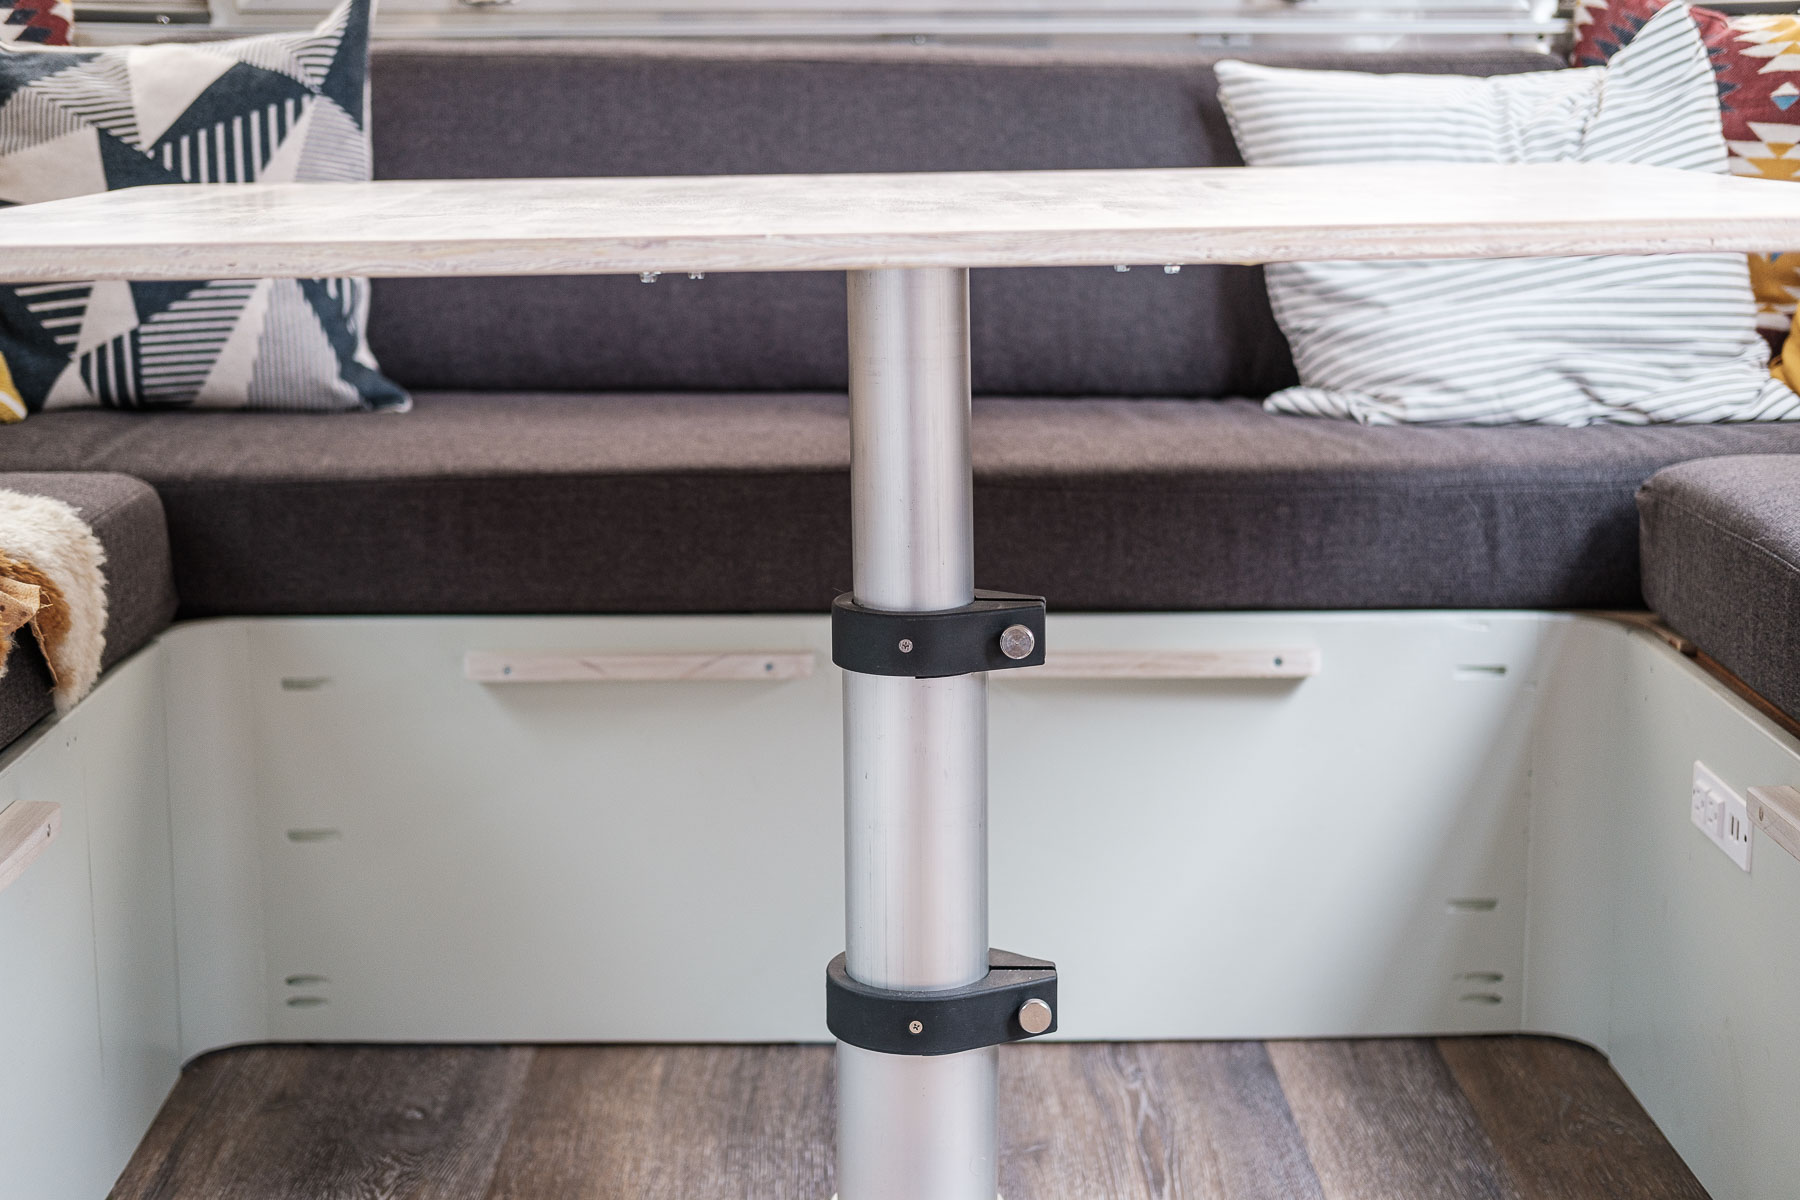
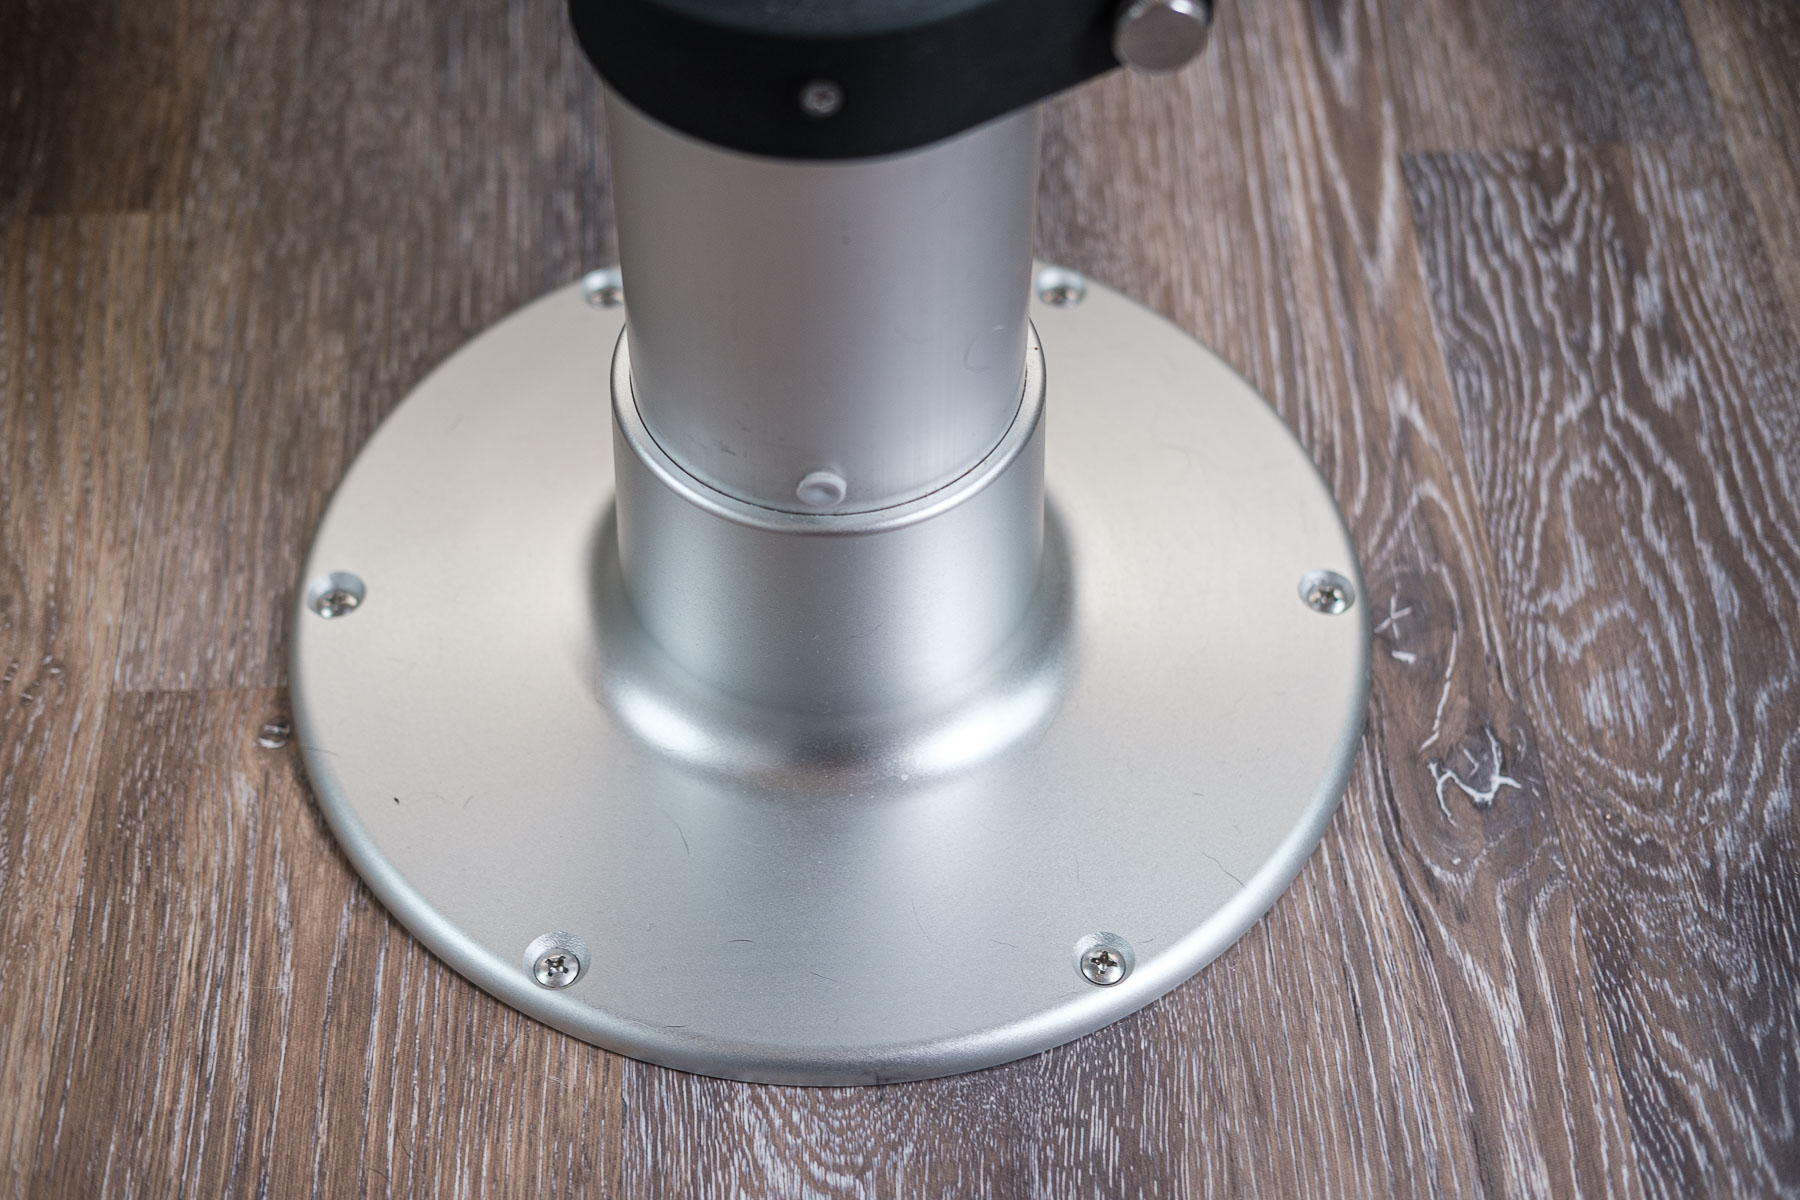
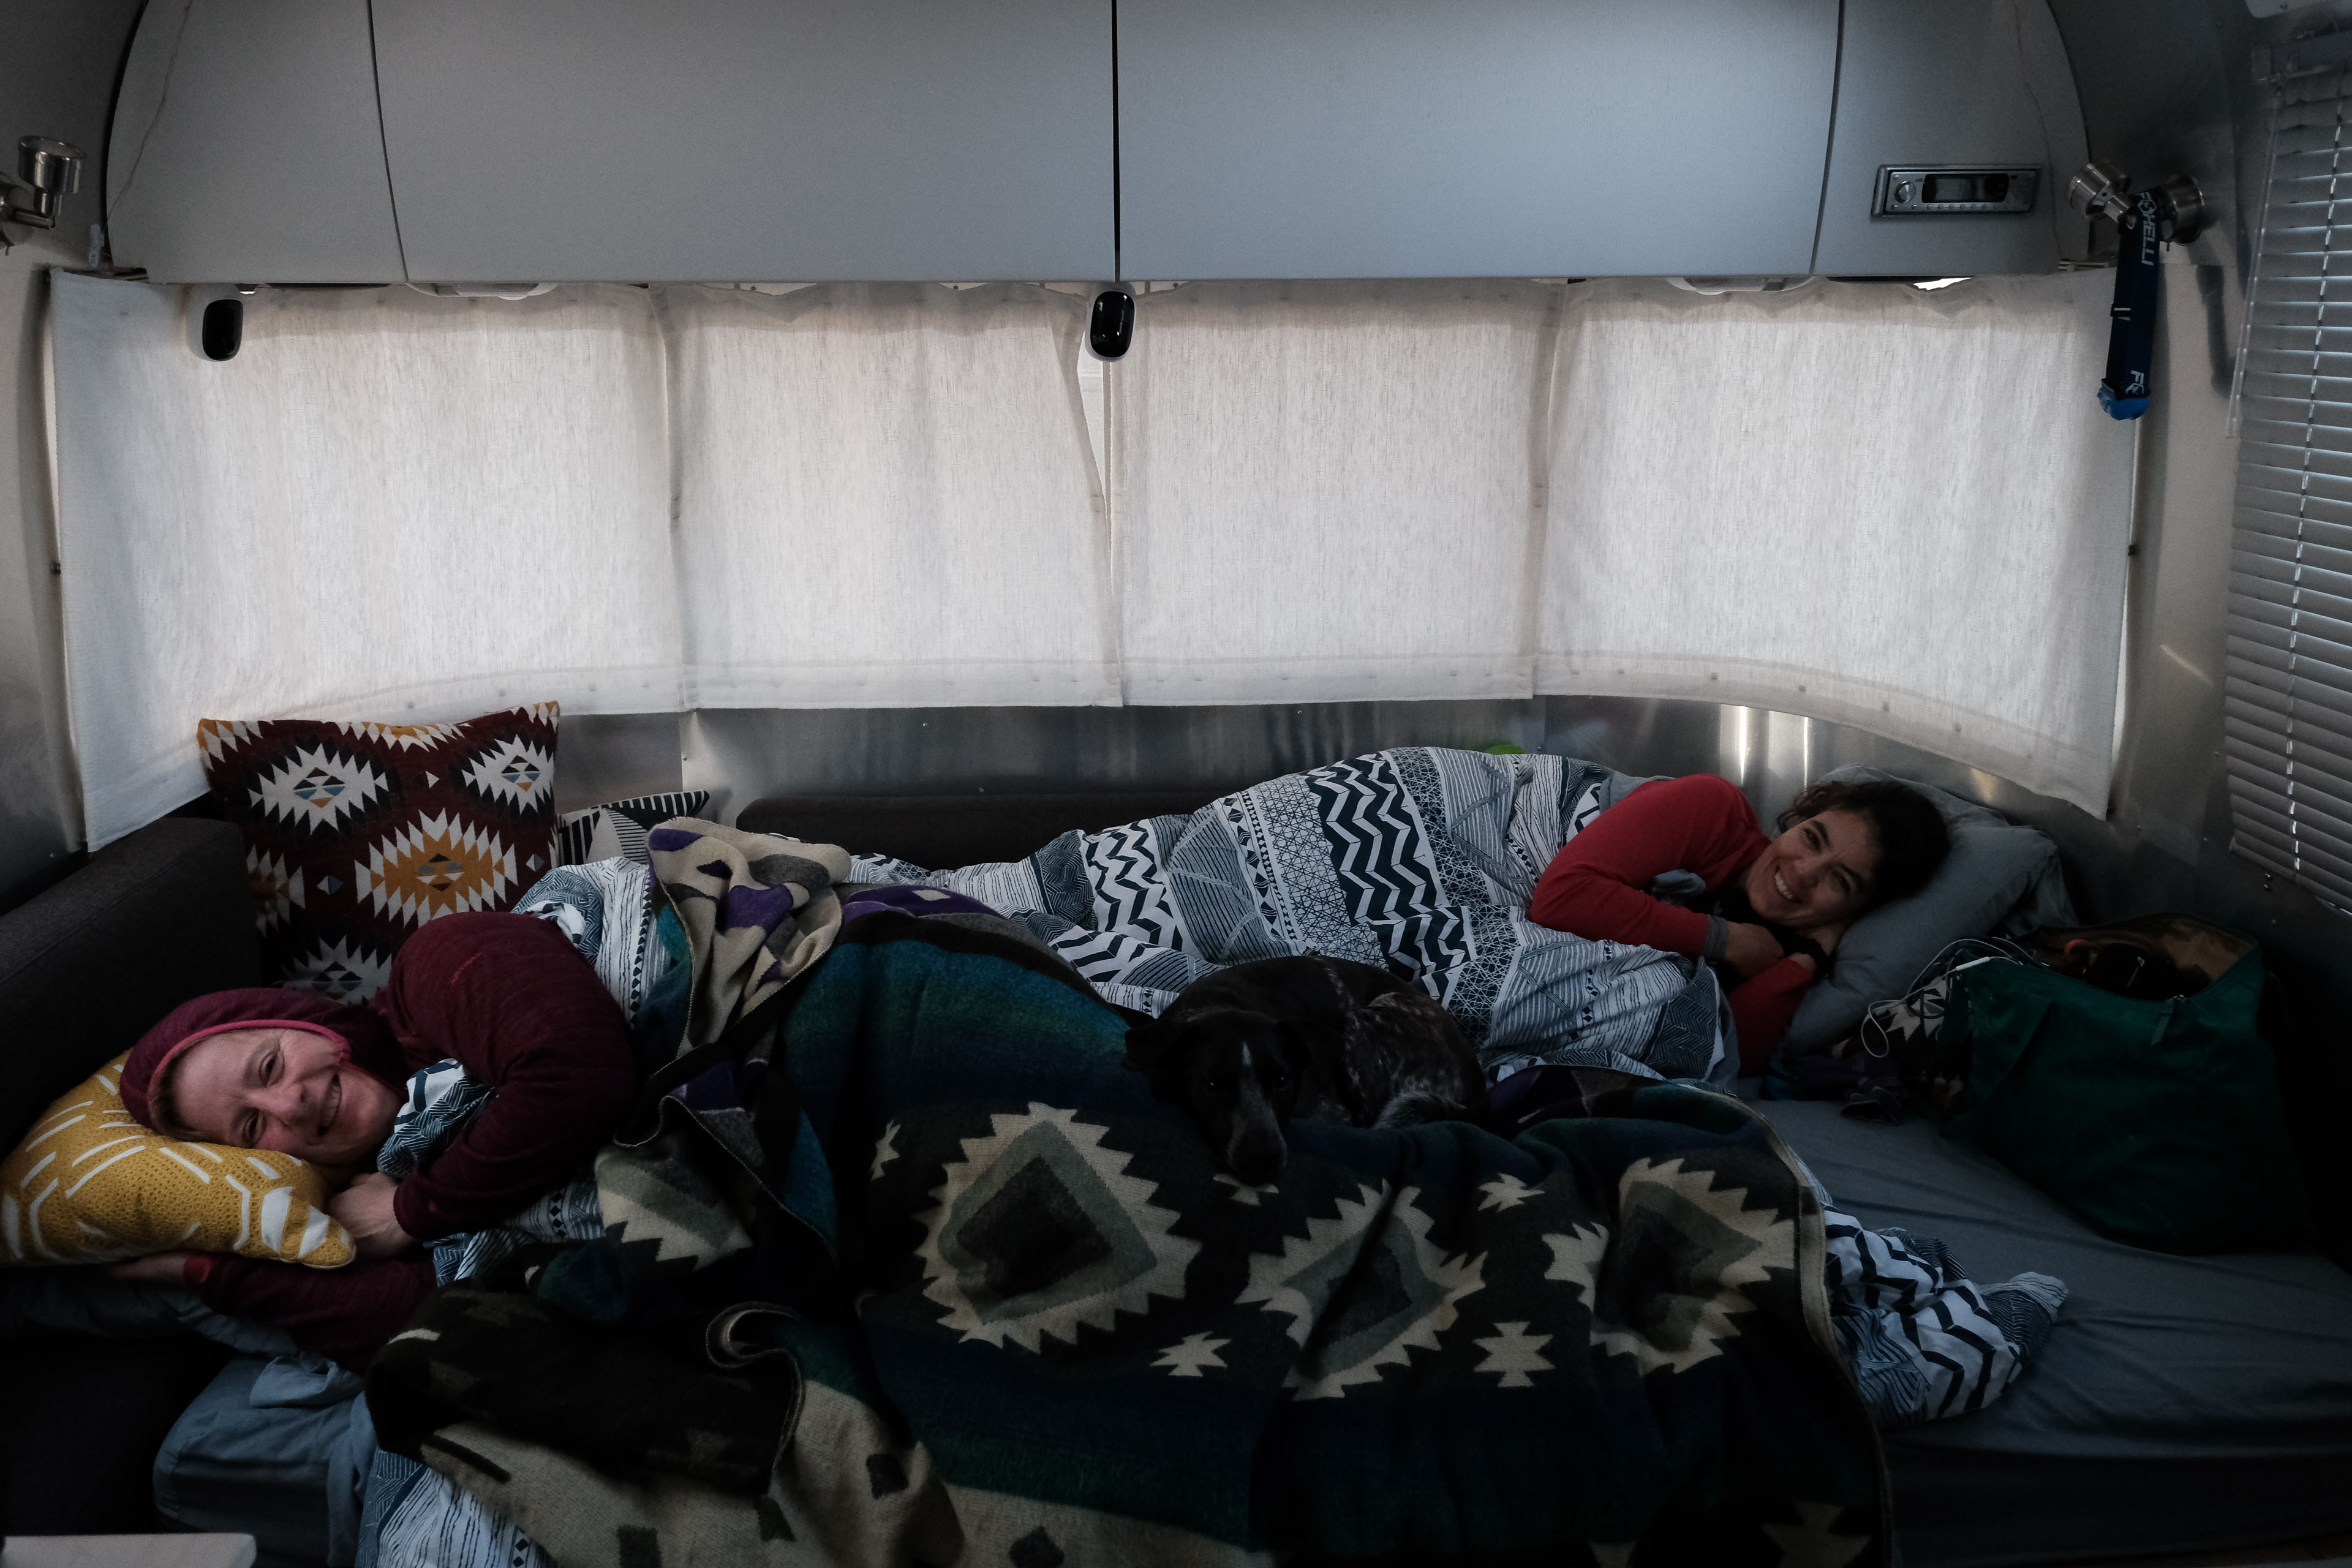
The table top is made from the same 3/4” maple we used for the galley top. It’s been white washed and sealed in the same way as well. The dinette top is mounted to a Springfield 3-Stage Pedestal. This allows it to be easily lowered to match the height of the benches. Then the pillows can be reconfigured to create a sleeping area for guests, or a place to lounge around for movie night.
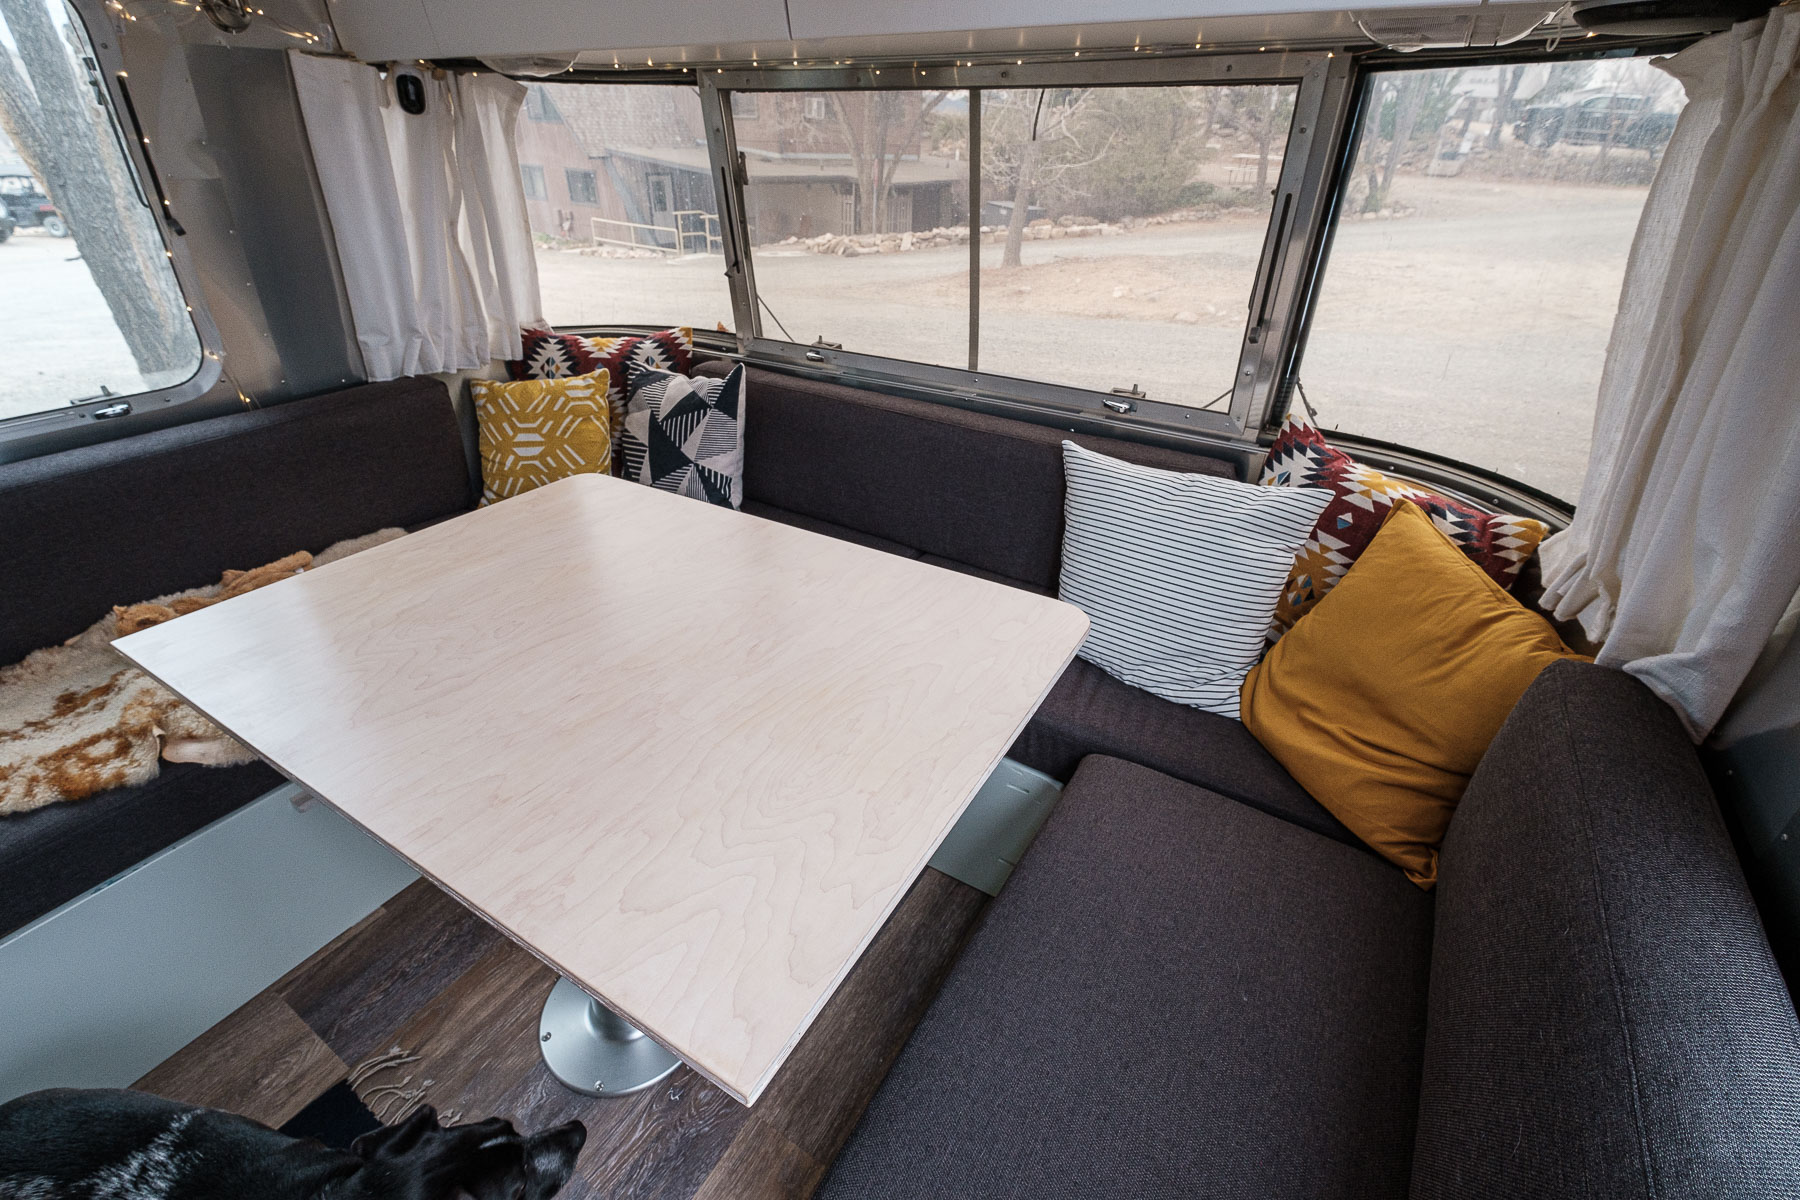
The last major part of the dinette is the cushions we had made. We drove from Oregon all the way to Las Vegas and straight to Galaxy Foam. We took measurements on the spot and had foam cut that morning.
Then we took the foam pieces directly over to Oscar’s Upholstery and had covers made for them. He also added dacron wrapping to the foam. All of this was very rushed and barely planned, but it still turned out great!
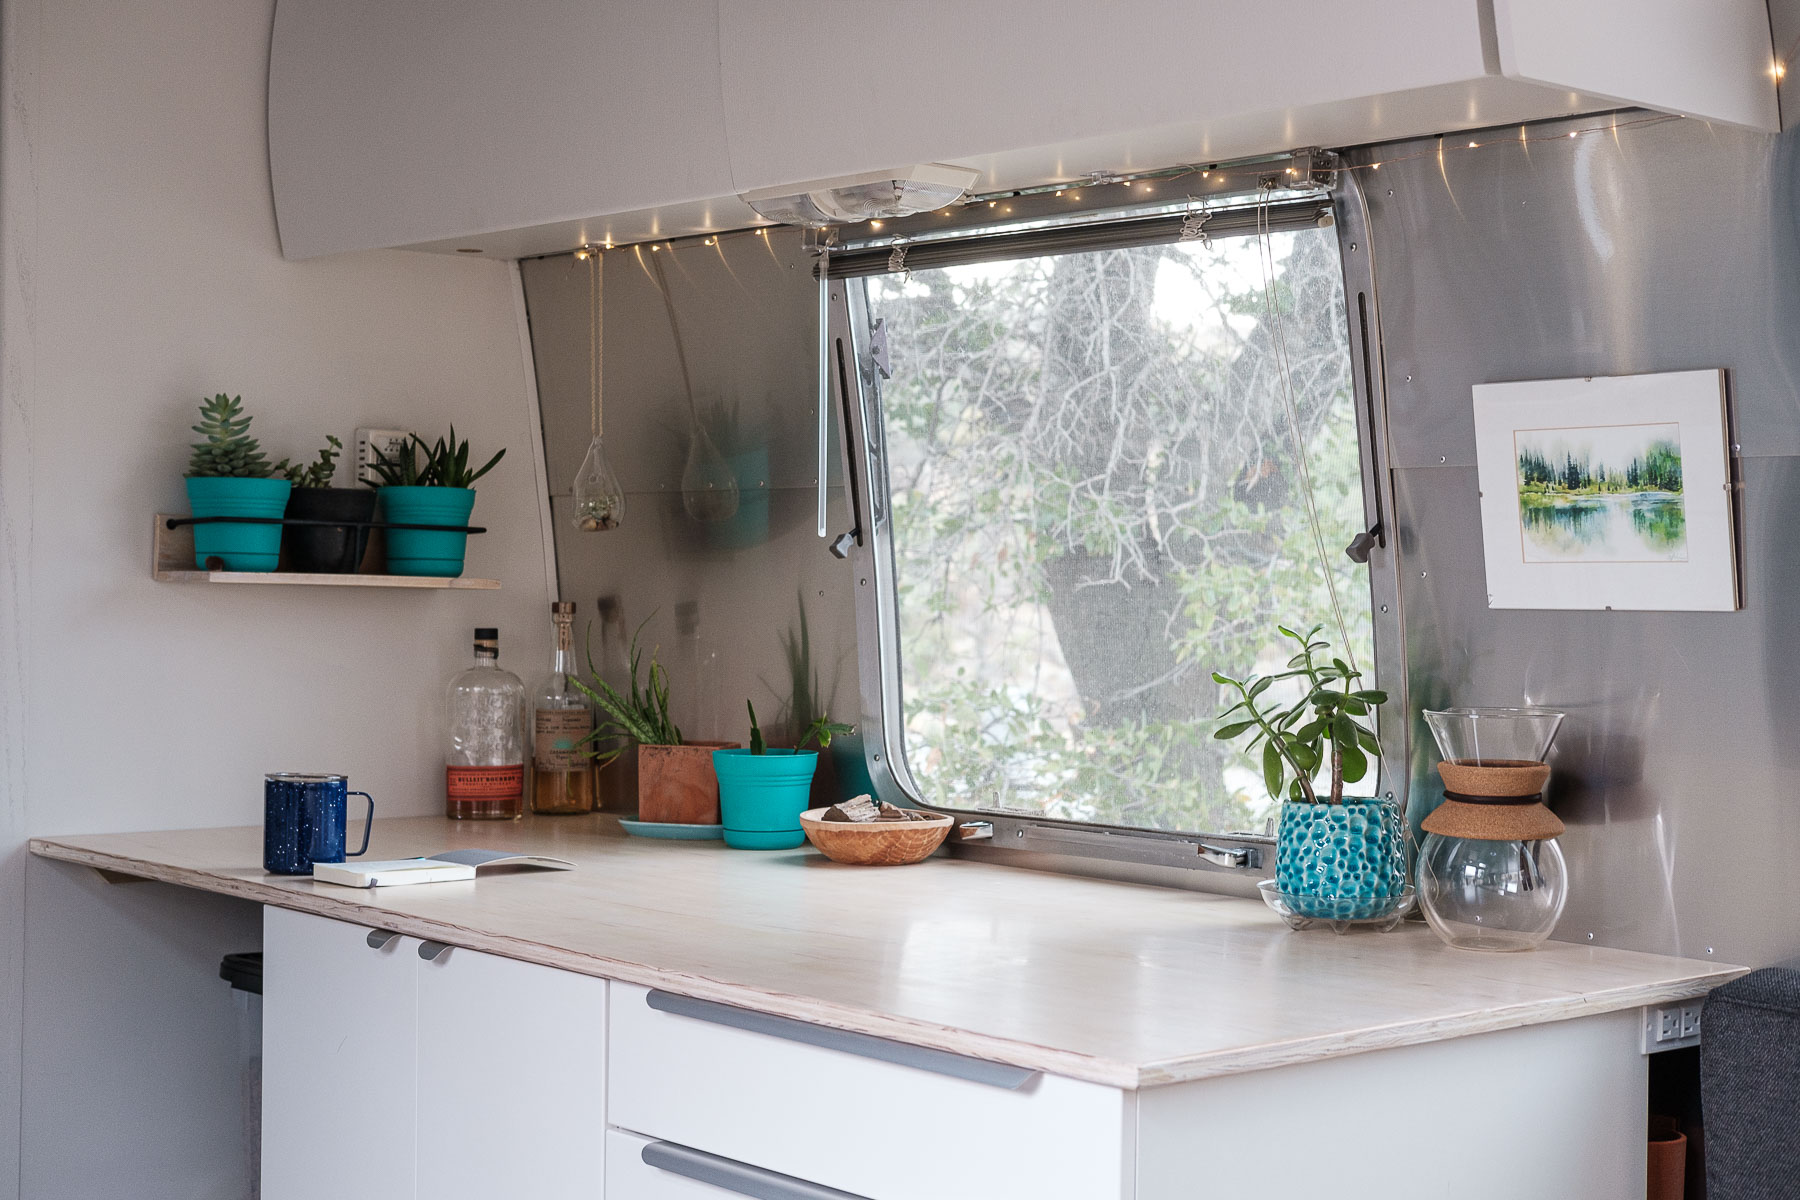
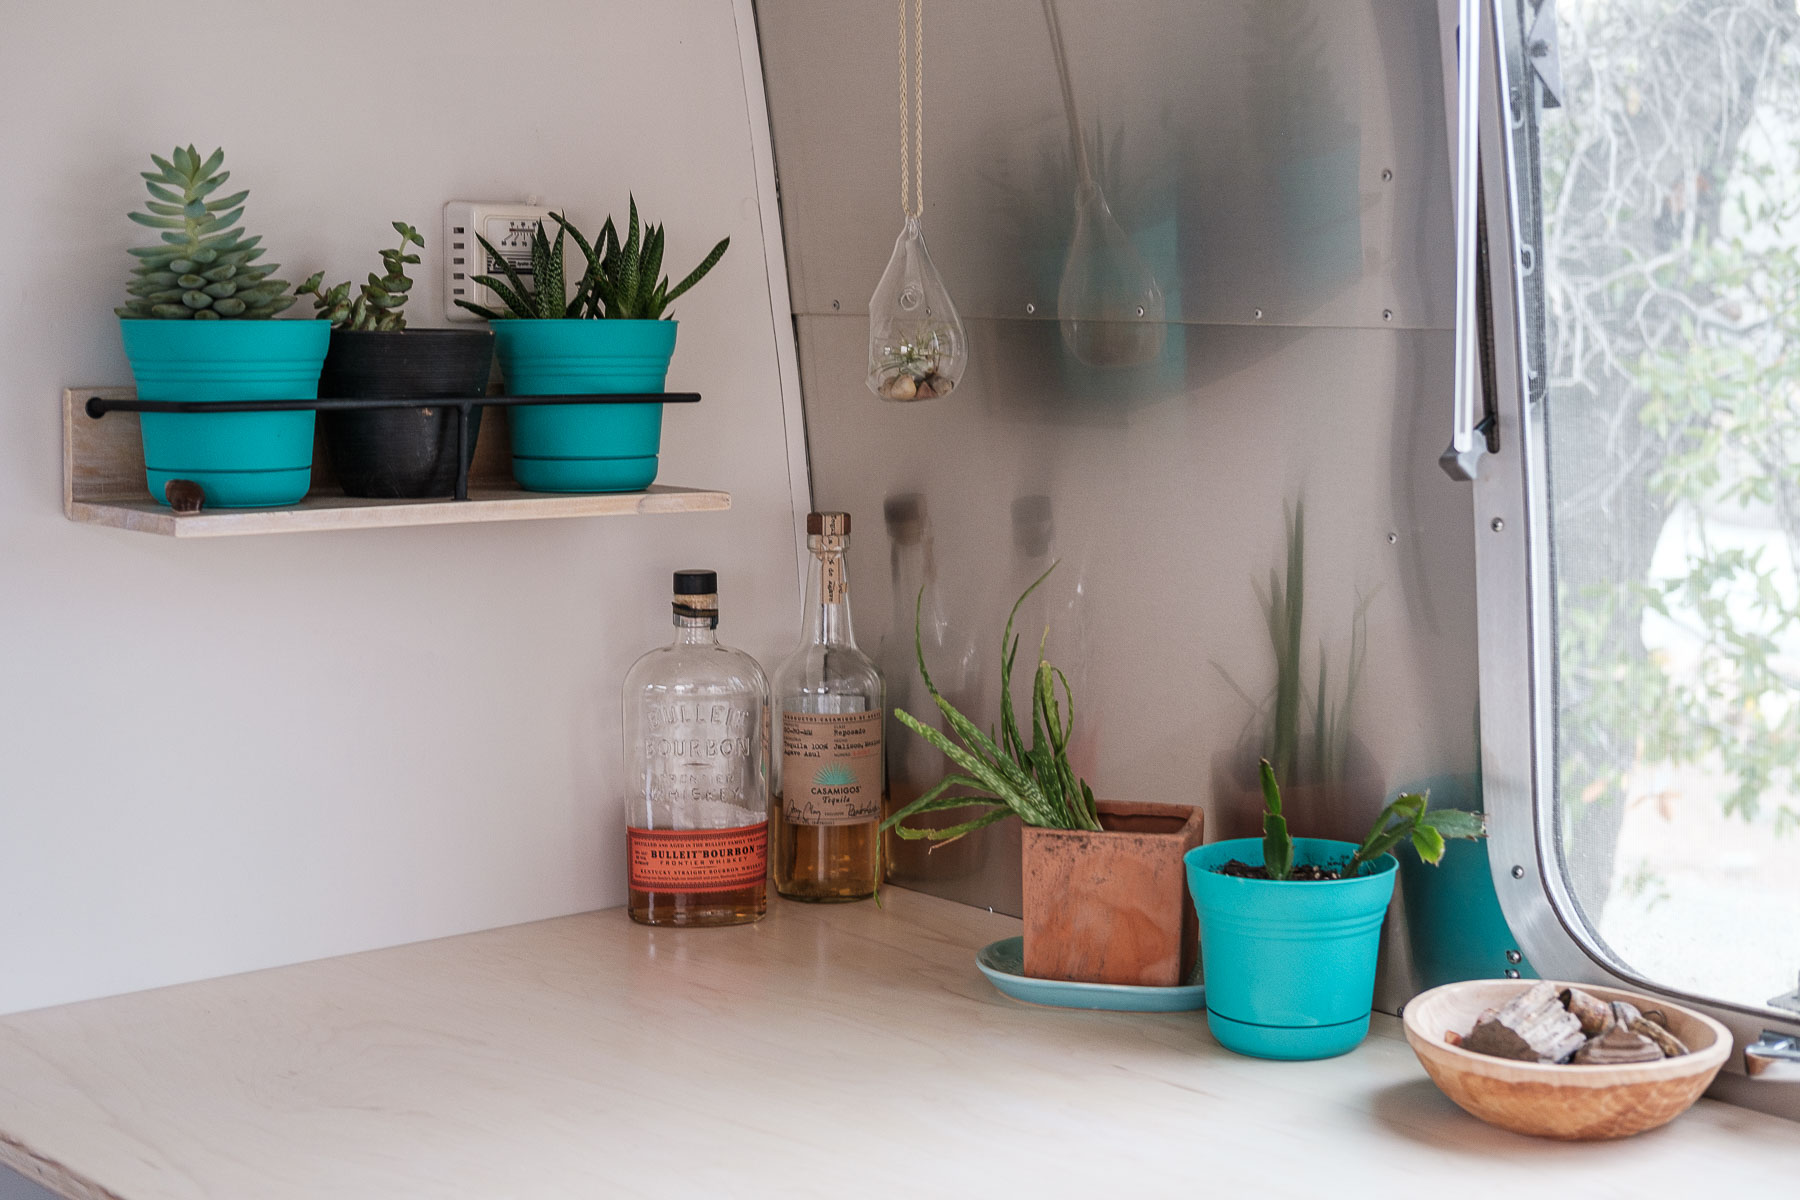
During the renovation we also removed our TV, which we rarely used, and replaced it with a plant shelf. This is way nicer to look at than the black box that almost never turned on.

Benefits of Renovating
Now that we’re done with this renovation we’re super stoked that we actually did it! We’ve found even more benefits than we expected! Here are just a few:
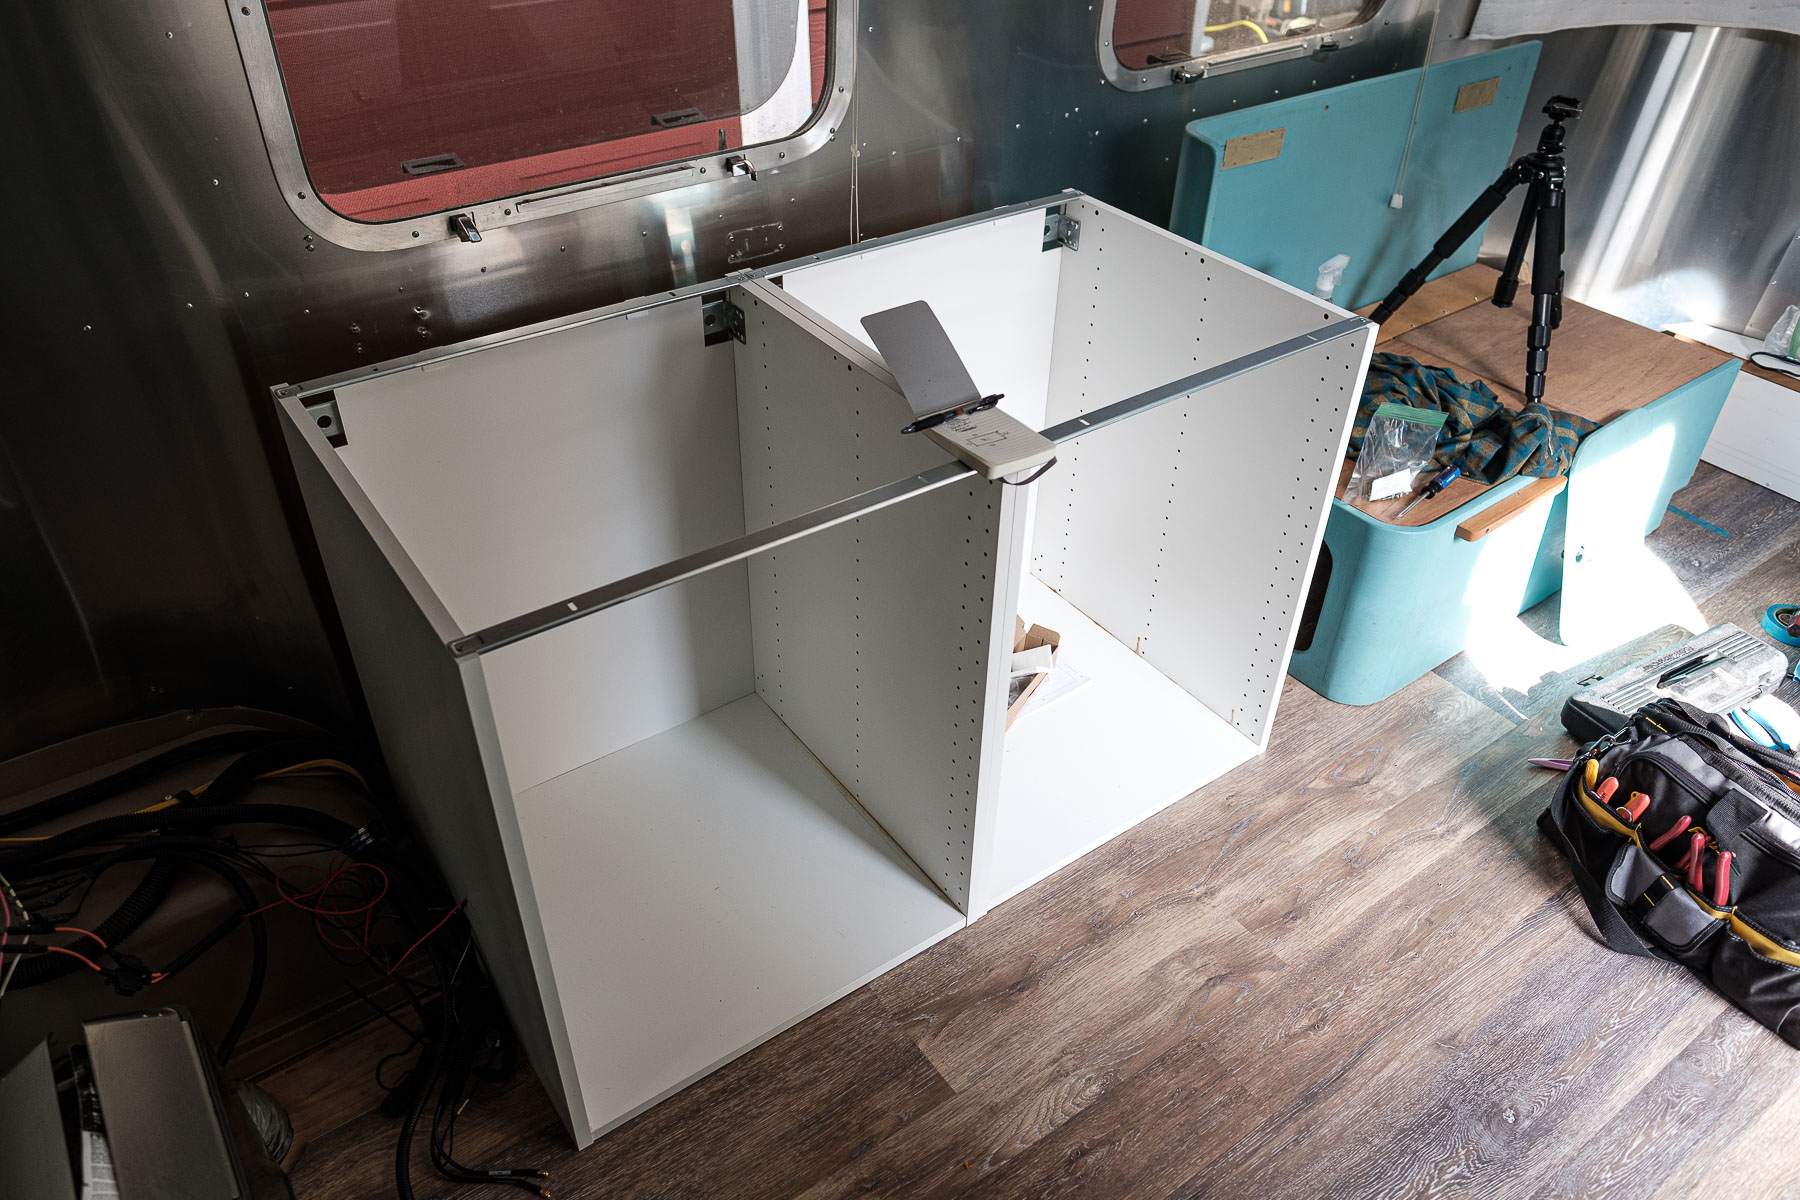
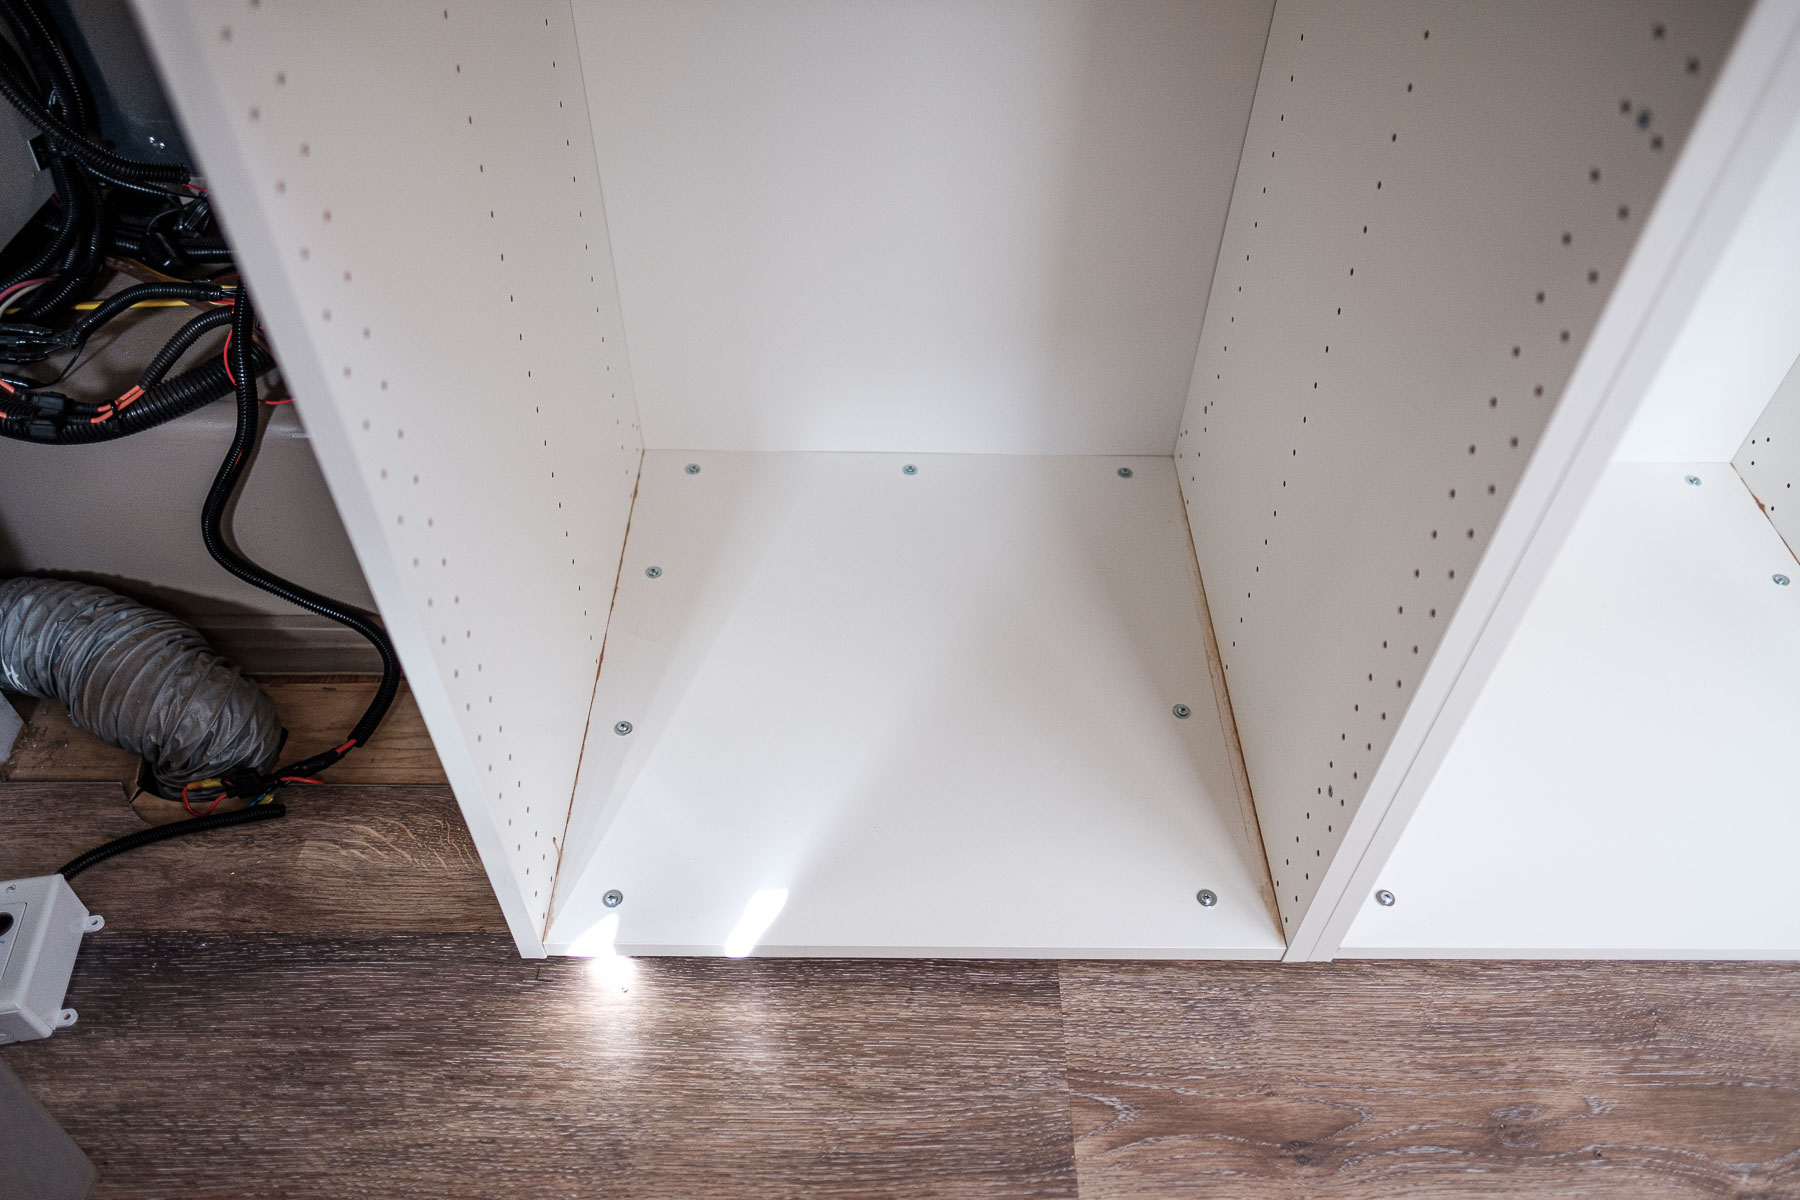
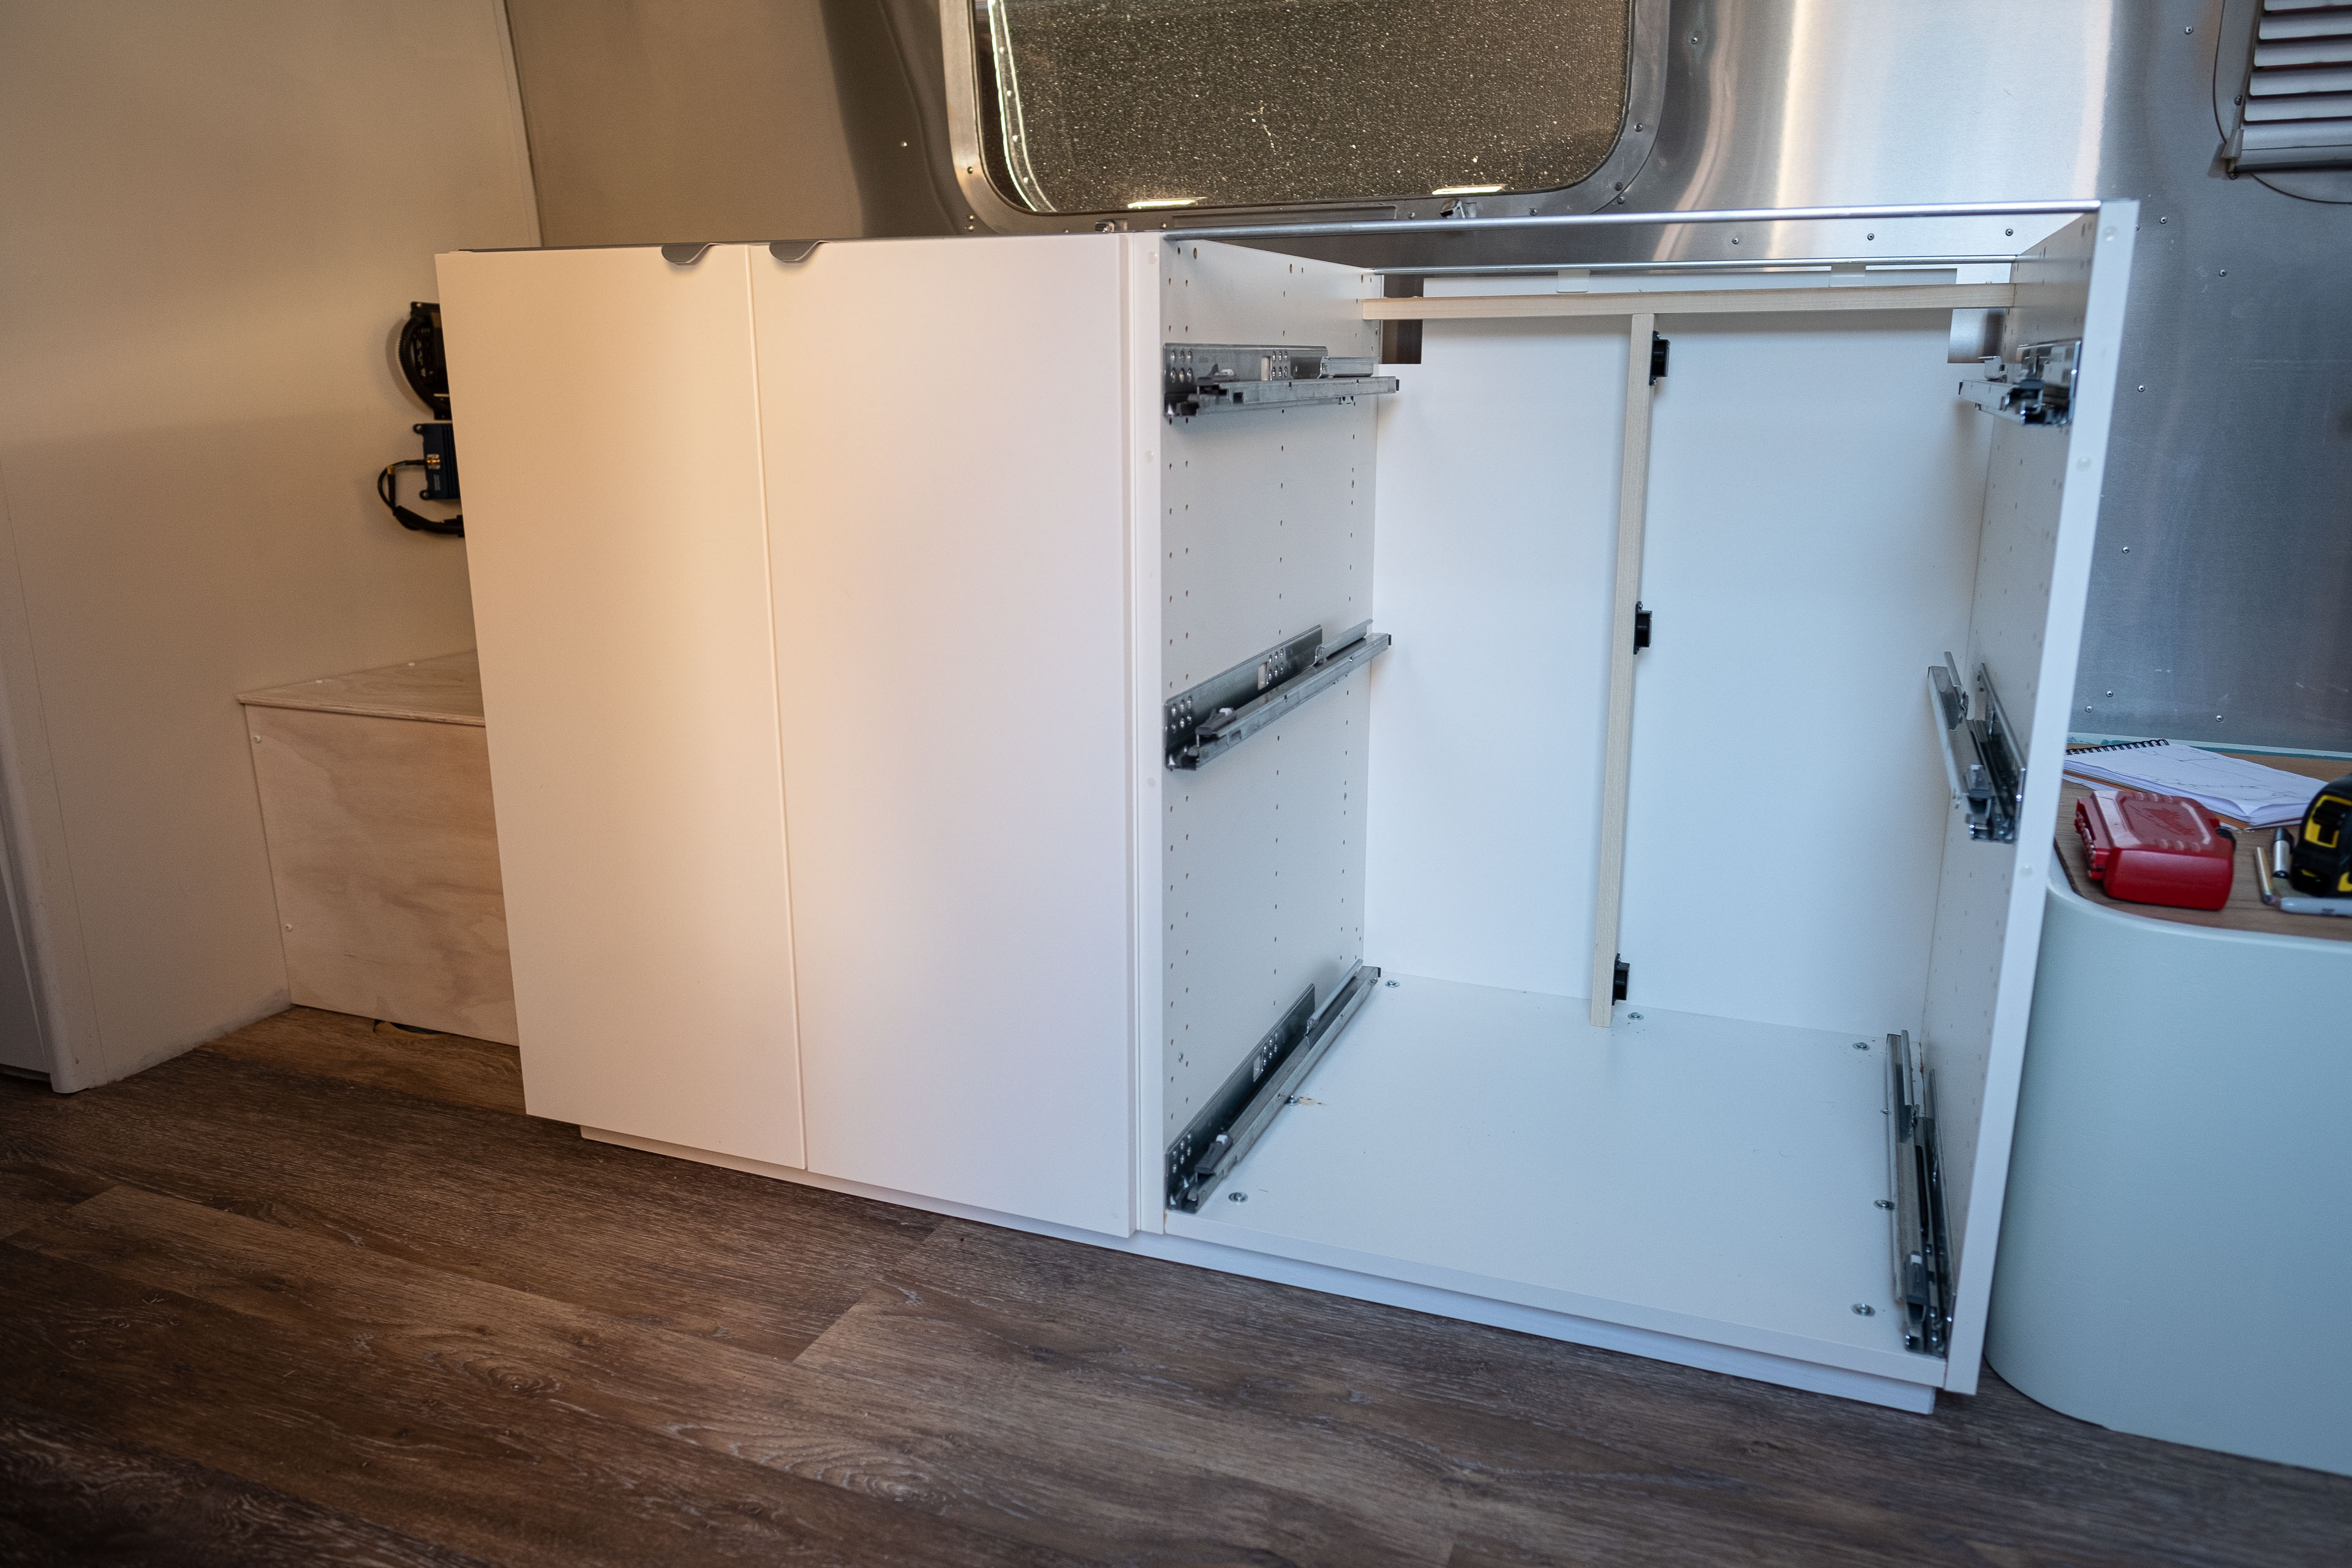
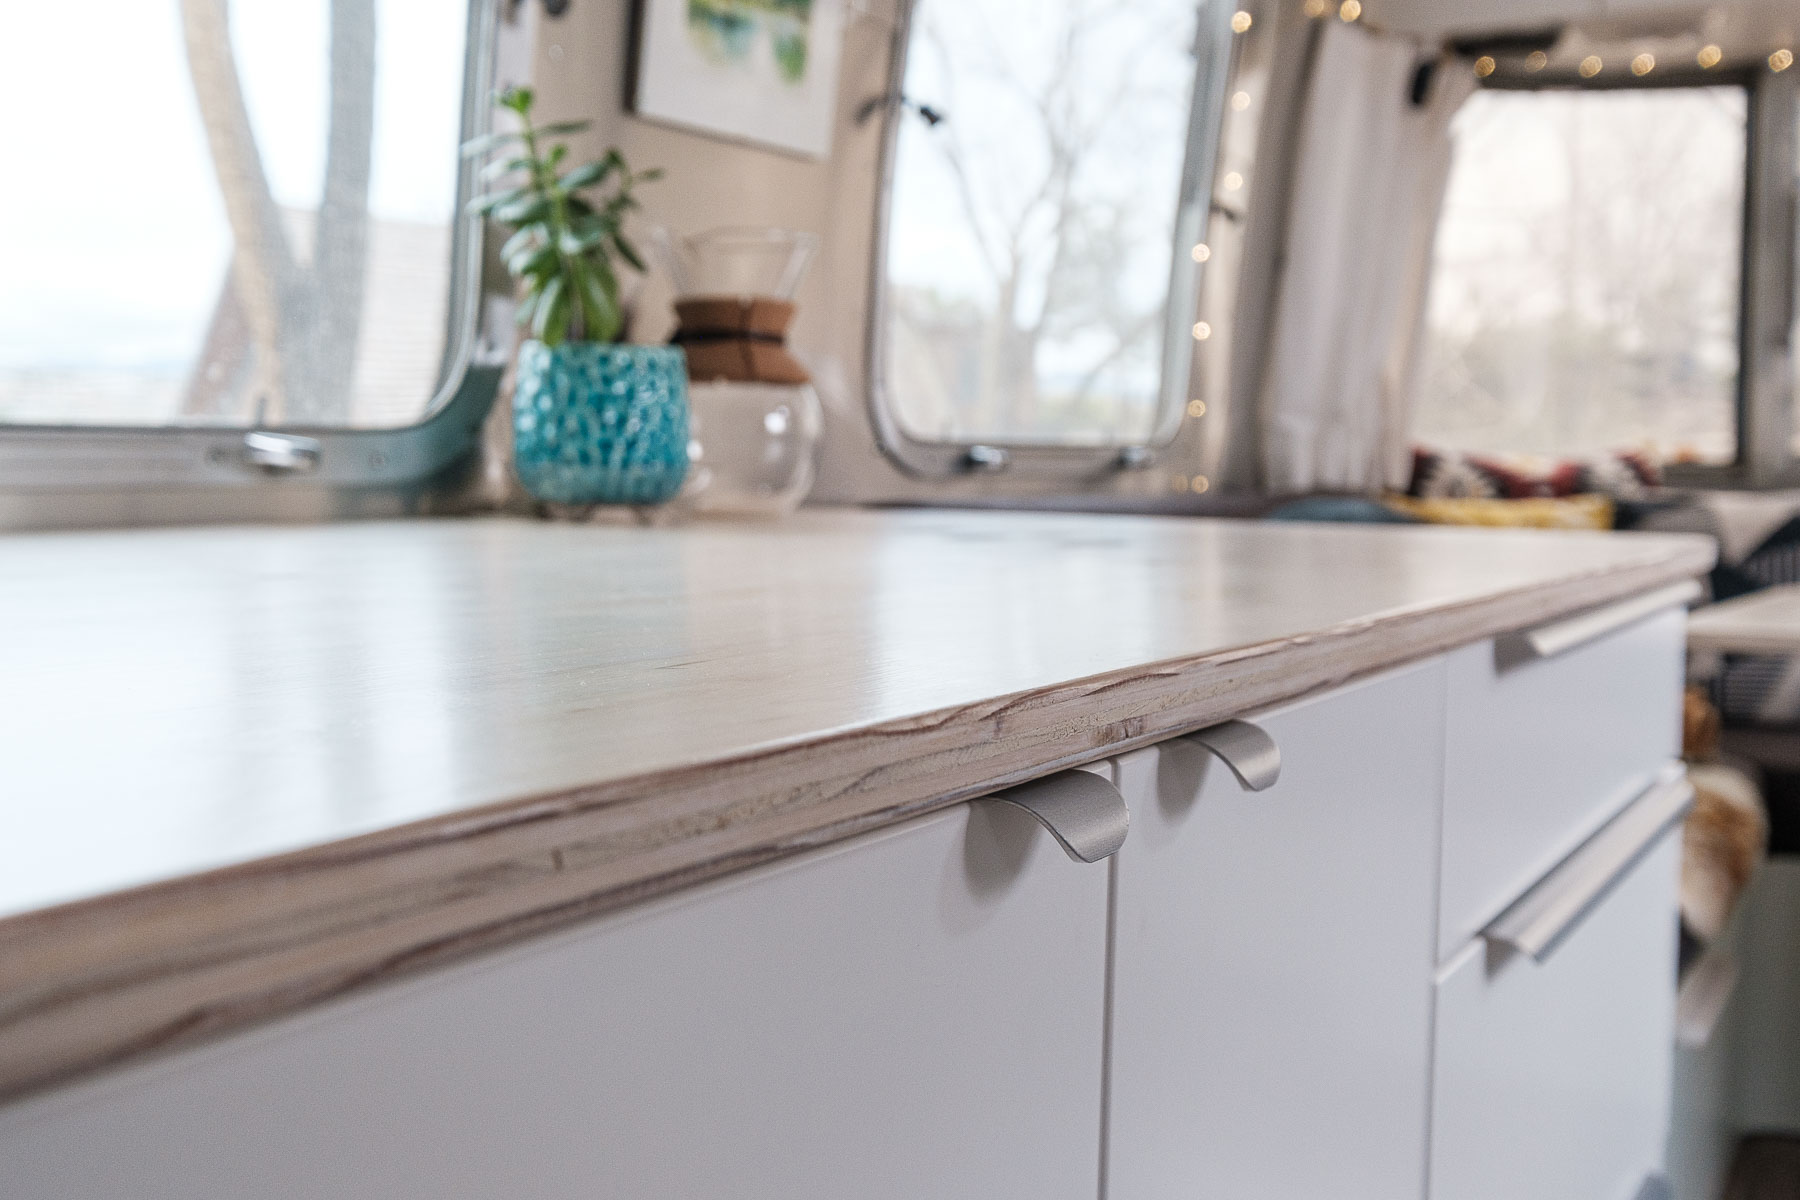
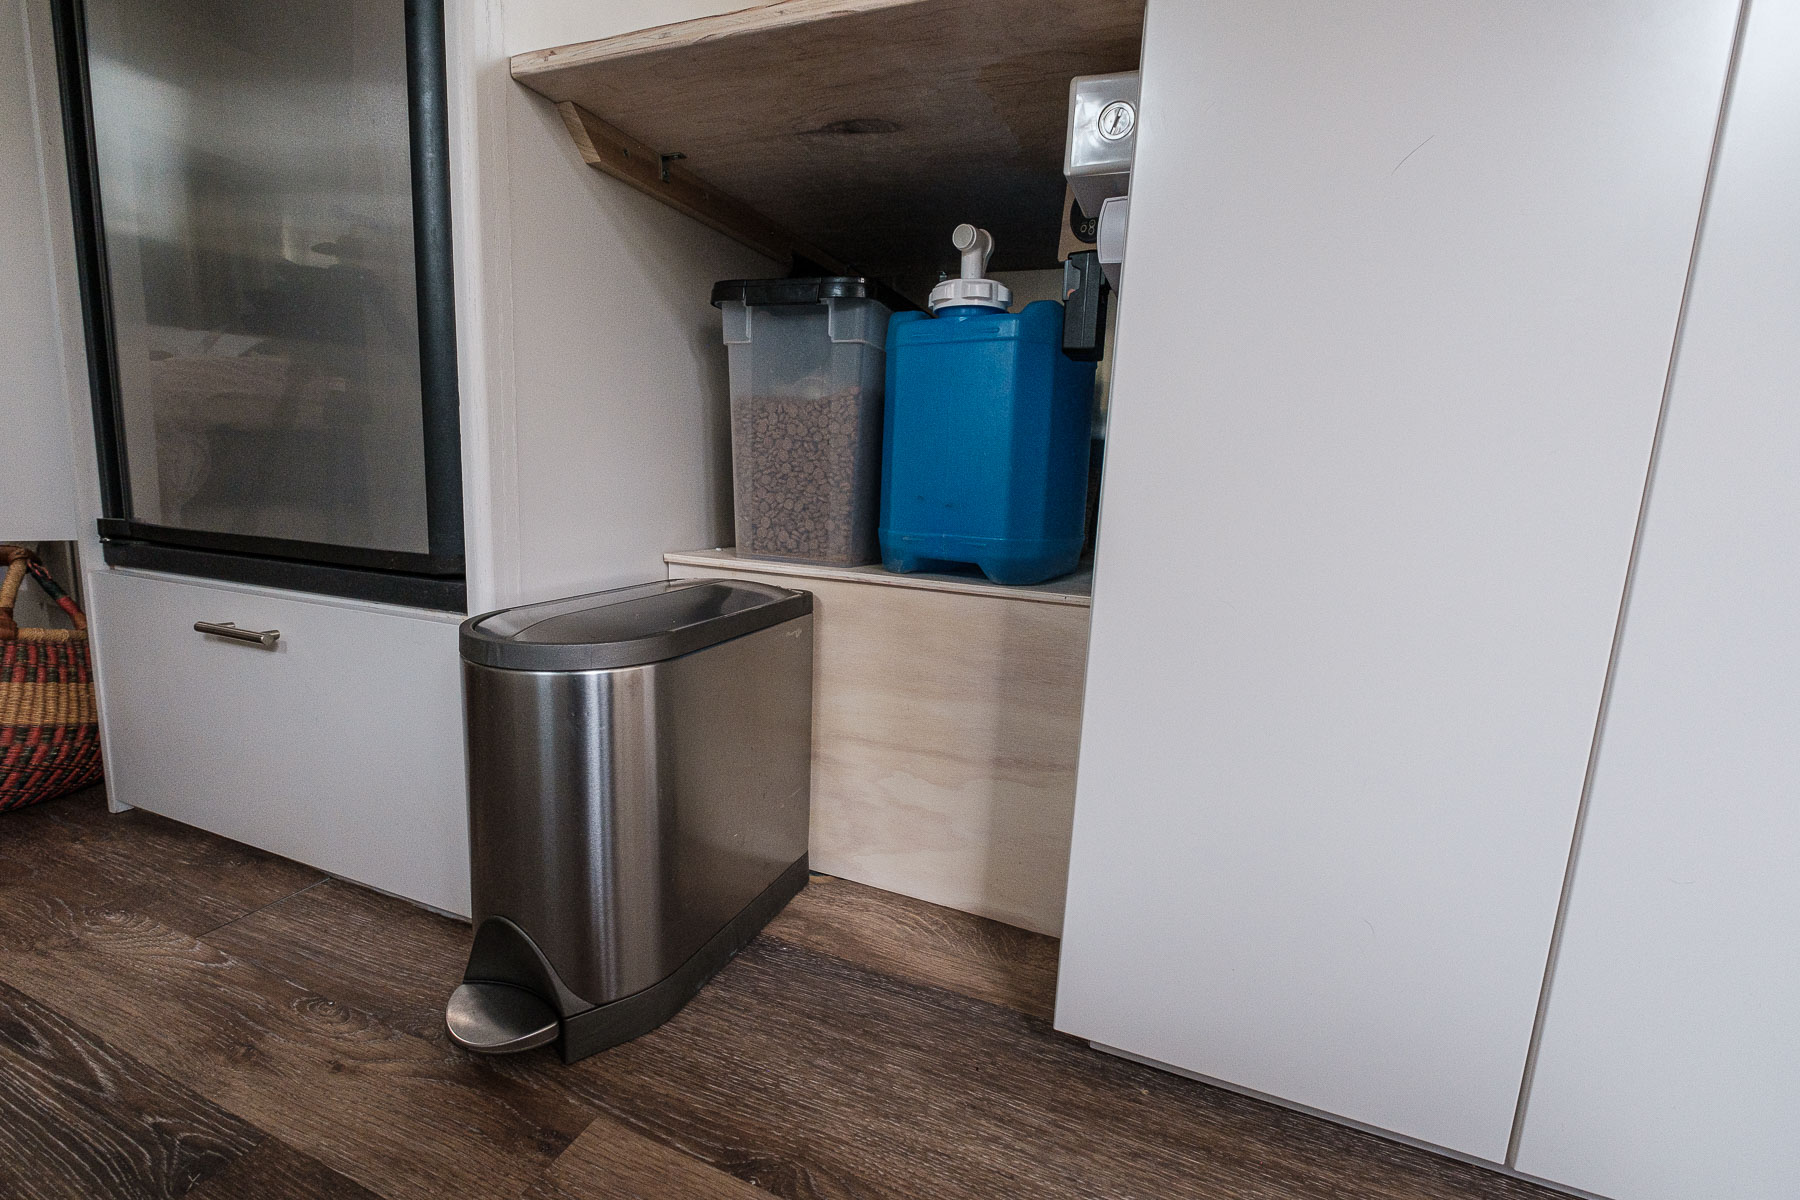
1. More storage space overall. The under-bench storage is great for larger items and stuff we don’t need to access as often. The cabinet storage has given us a better spot to keep our dishes, pots and pans, tin foil and other wraps, Cooper stuff, extra hygienic stuff, water bottles, and we even have a semi-junk drawer.
2. Our shoes have a storage space right when you enter the Airstream, so they no longer need to take up space by the entry mat
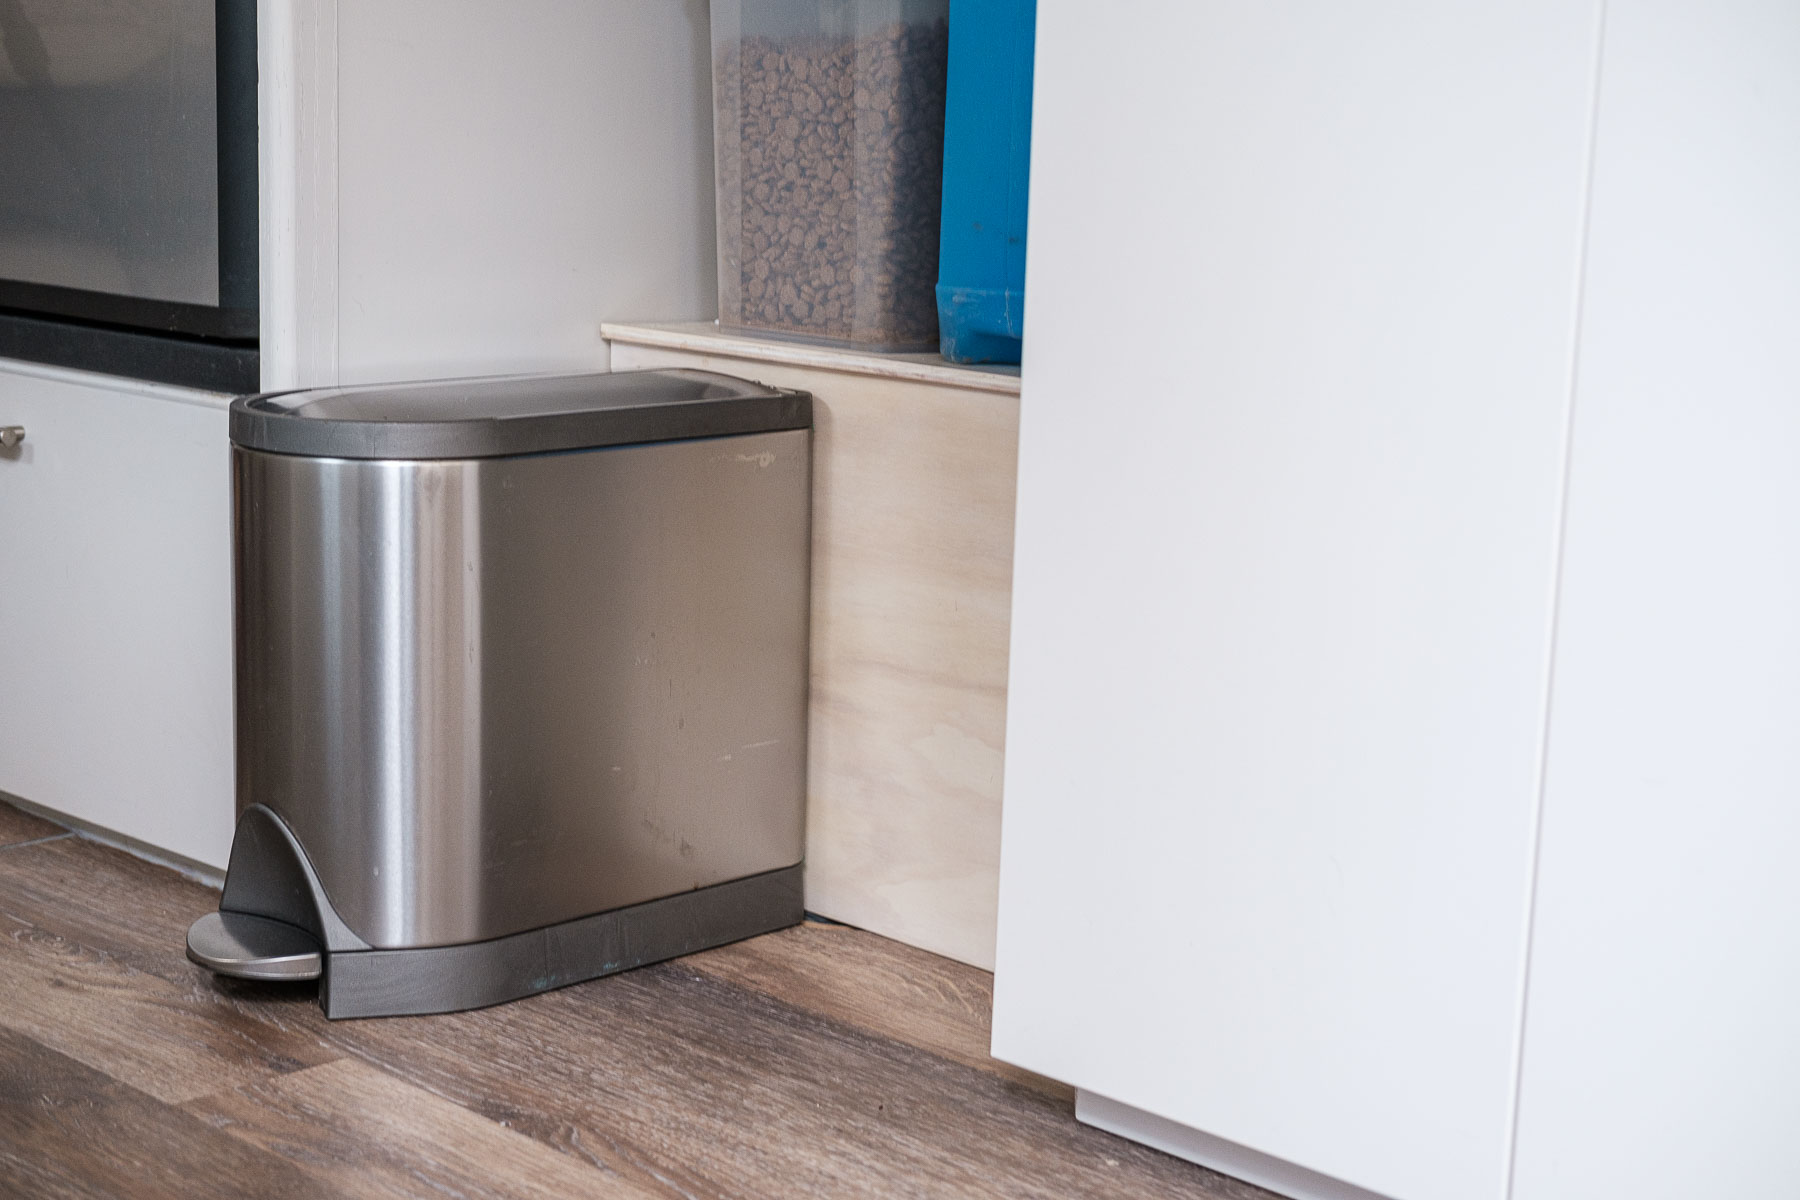
3. The trash can has a dedicated space so it takes up less of the usable floor space.
4. Cooper’s food container is no longer taking up floor space.
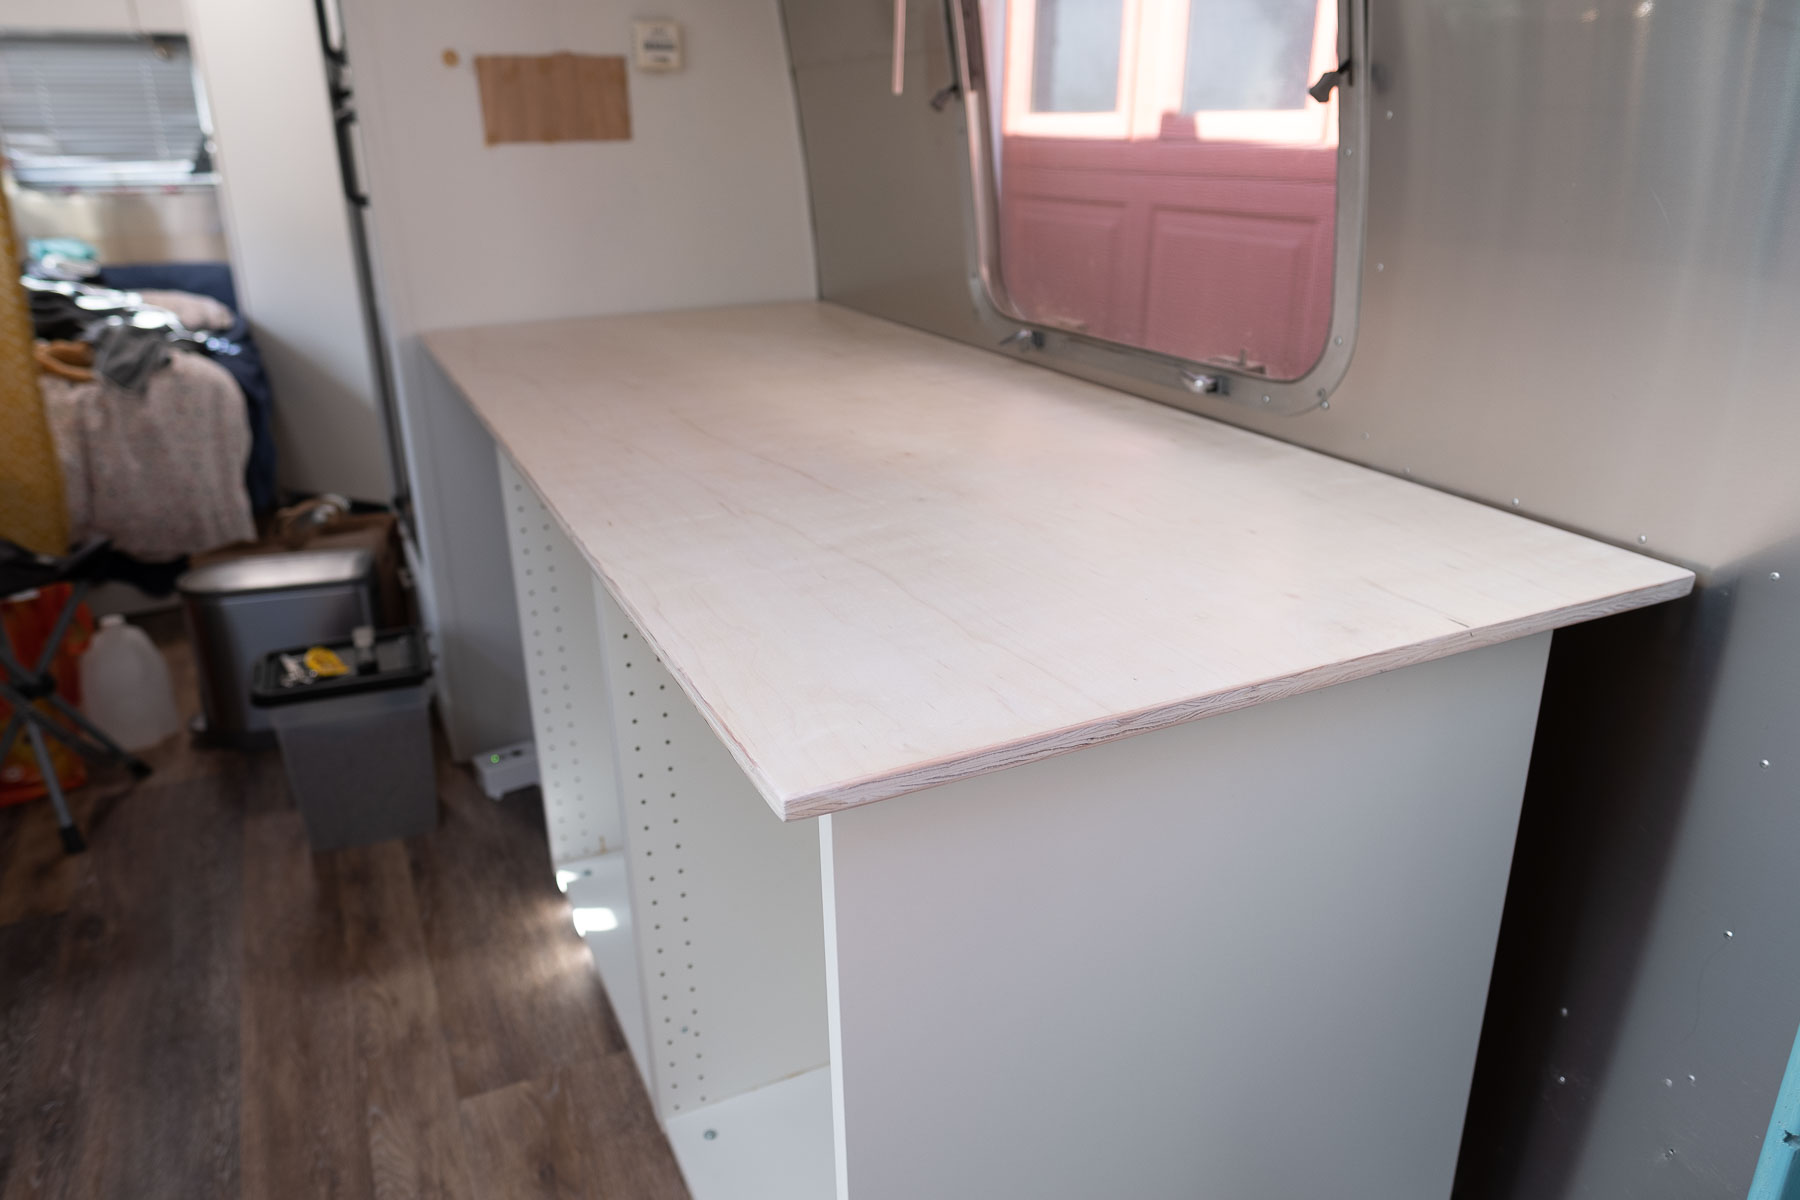
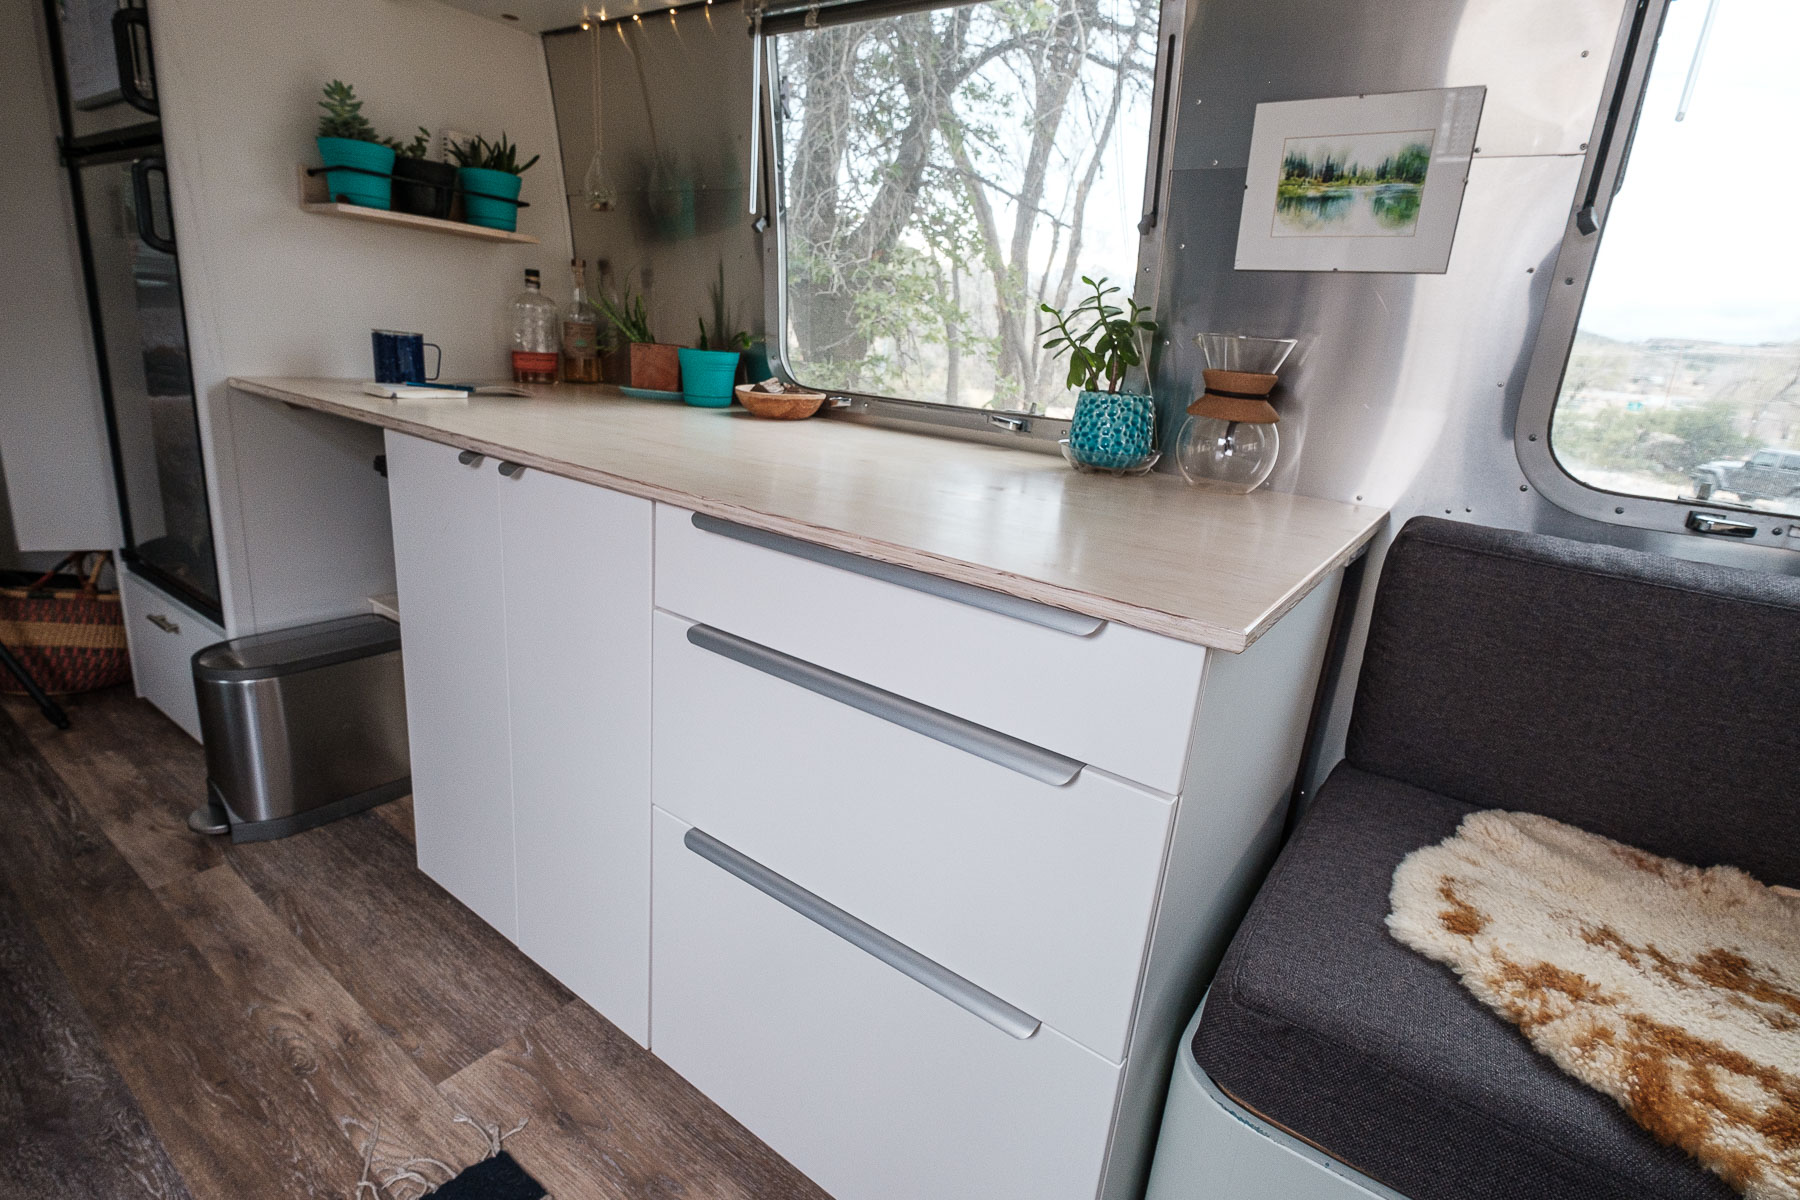
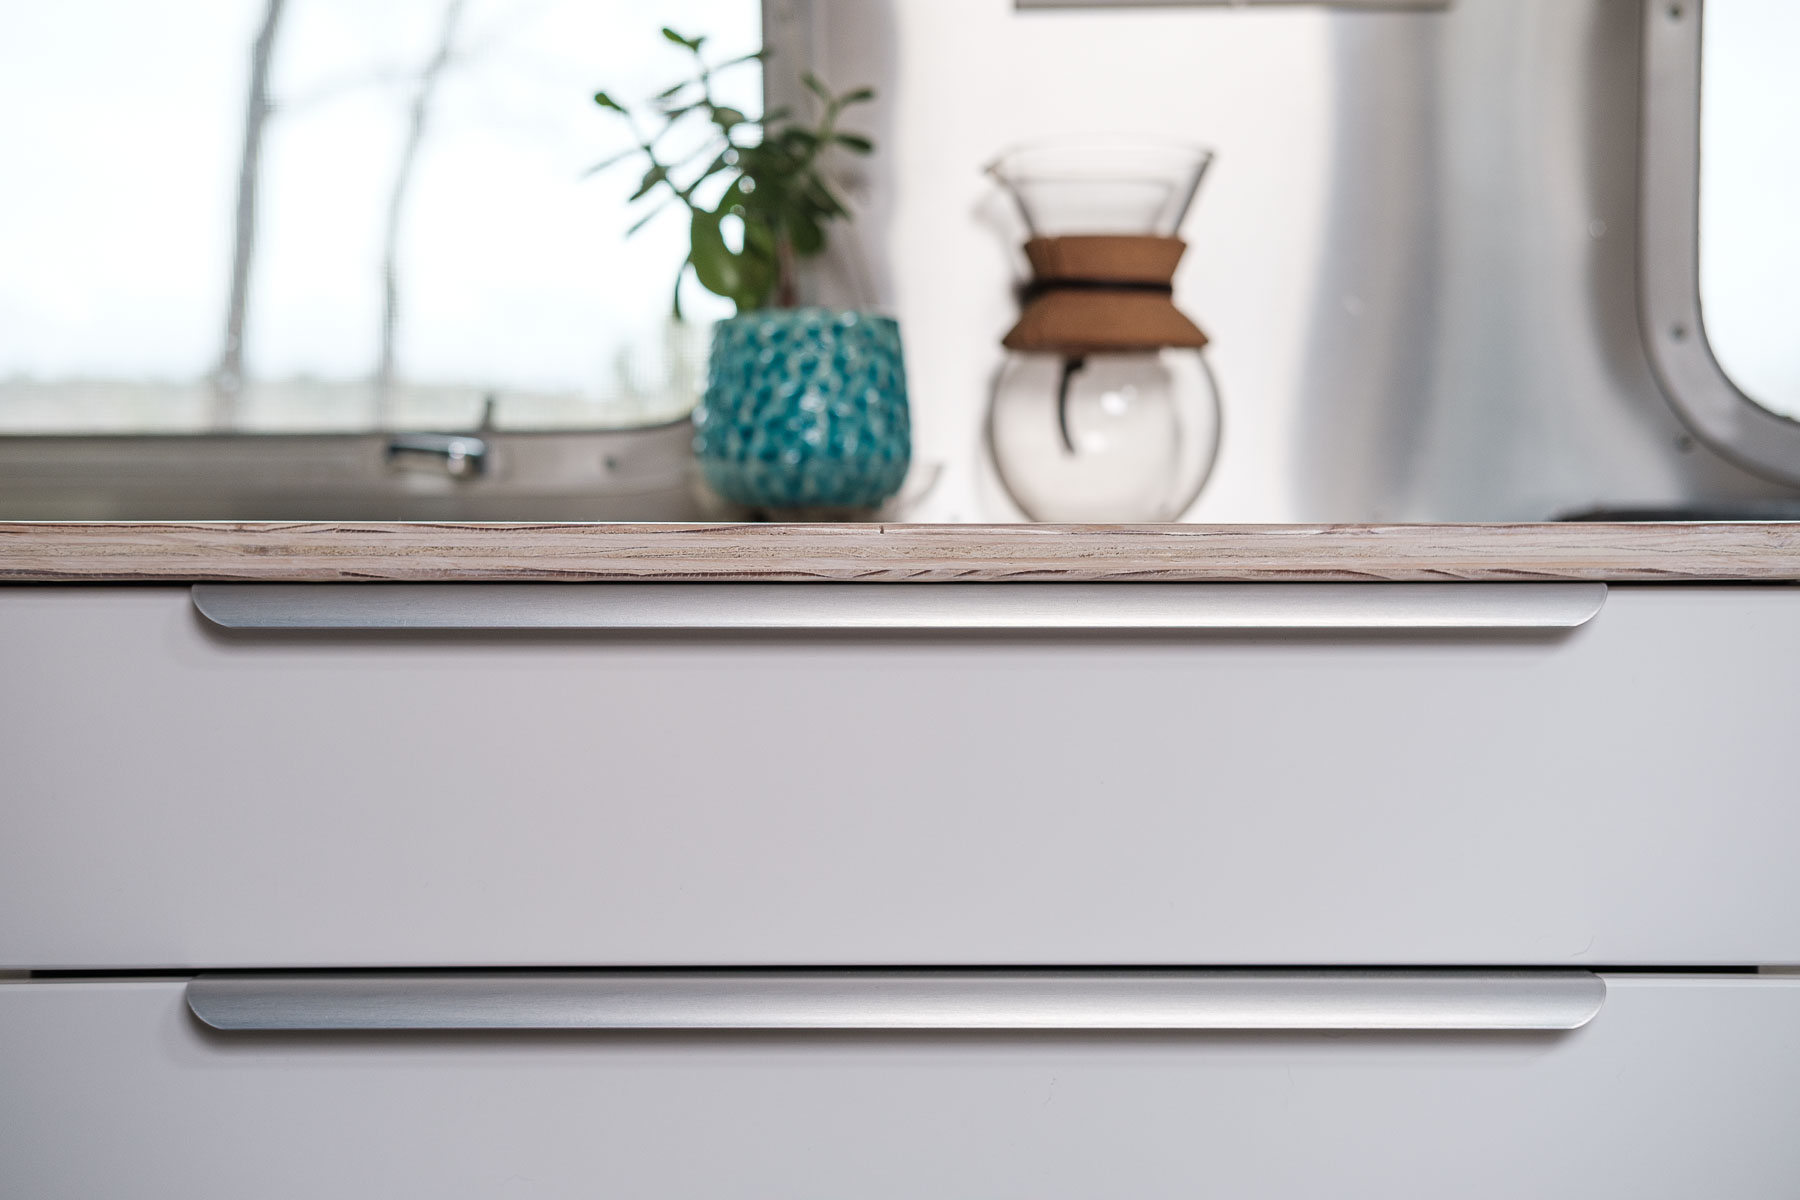
5. The galley top gives us way more room for food prep and a place to serve dinner. It also doubles as a stand up desk.
6. We have more room for guests to sit around our dinette.
7. The cushions are way more comfortable, making it easier to sit for longer periods and work.
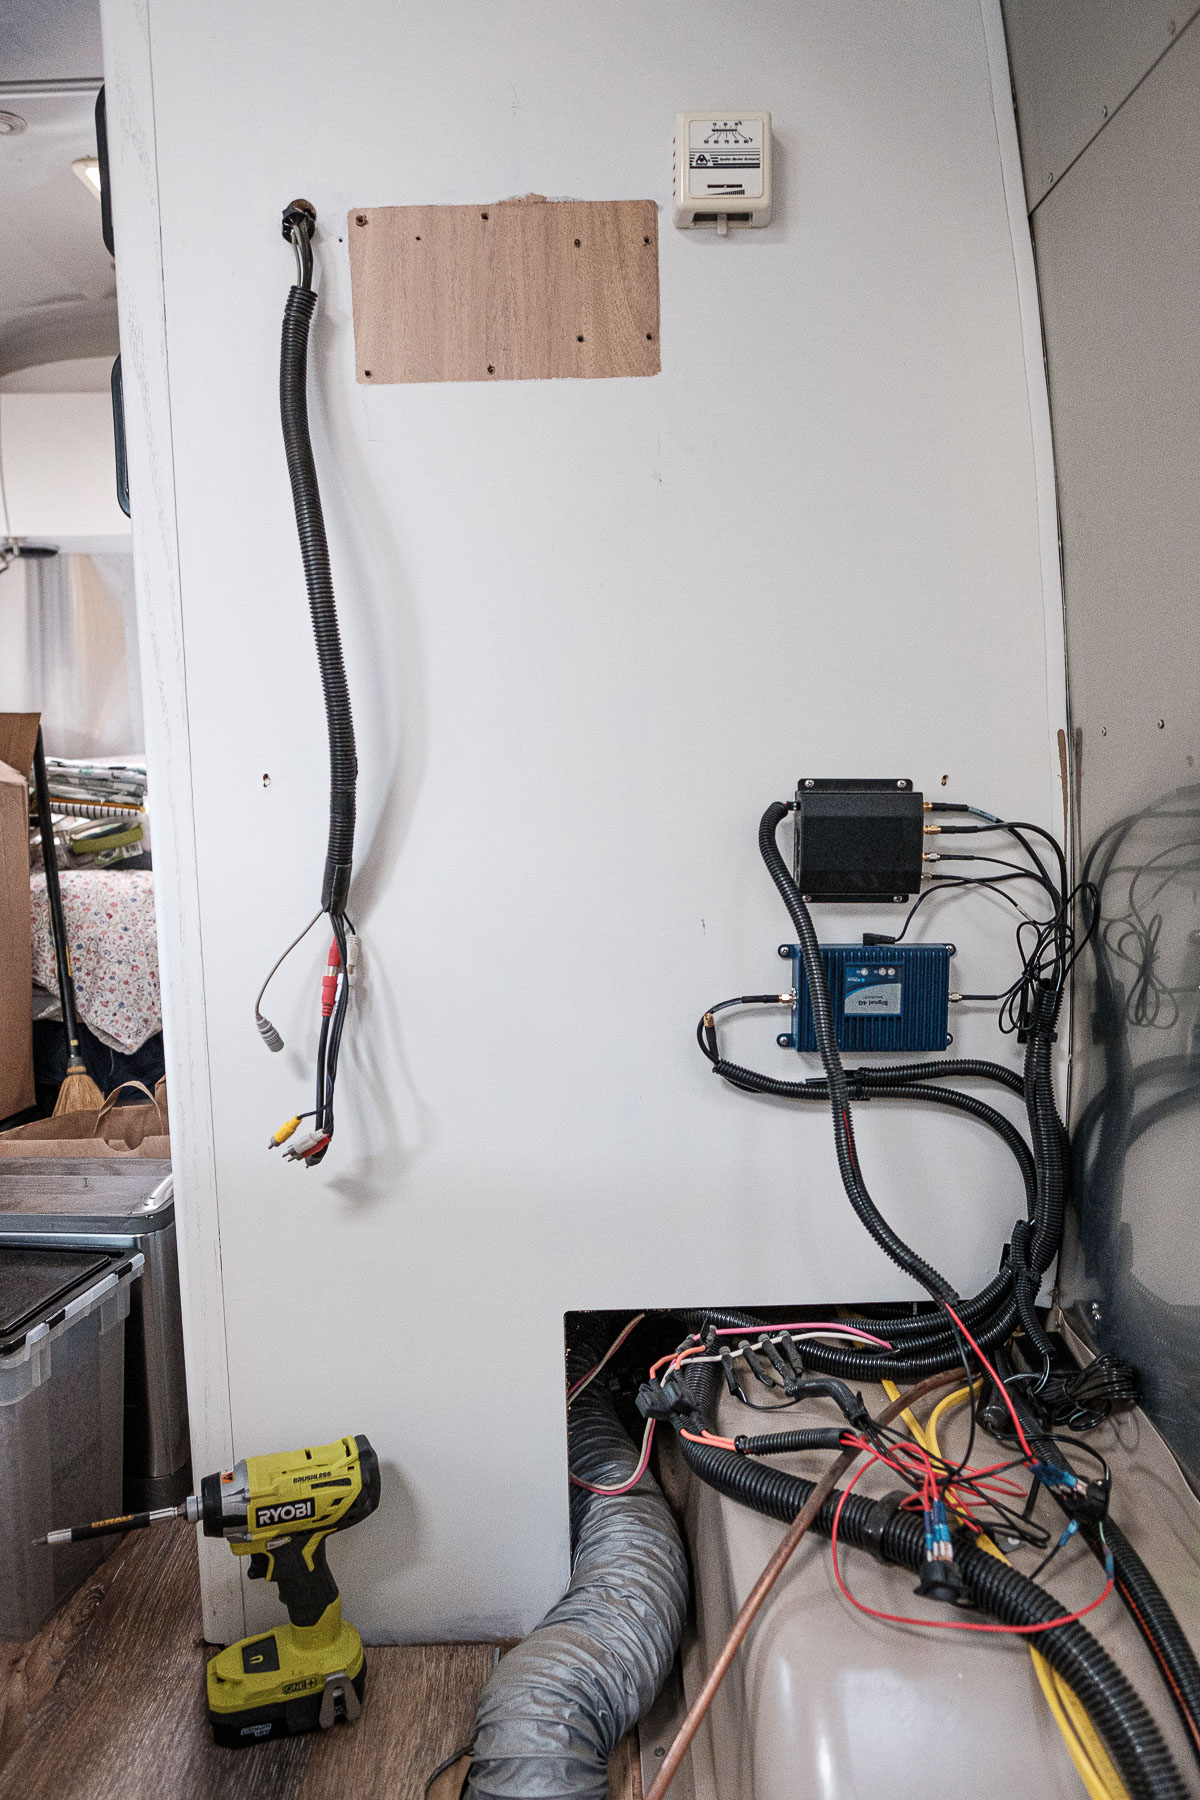
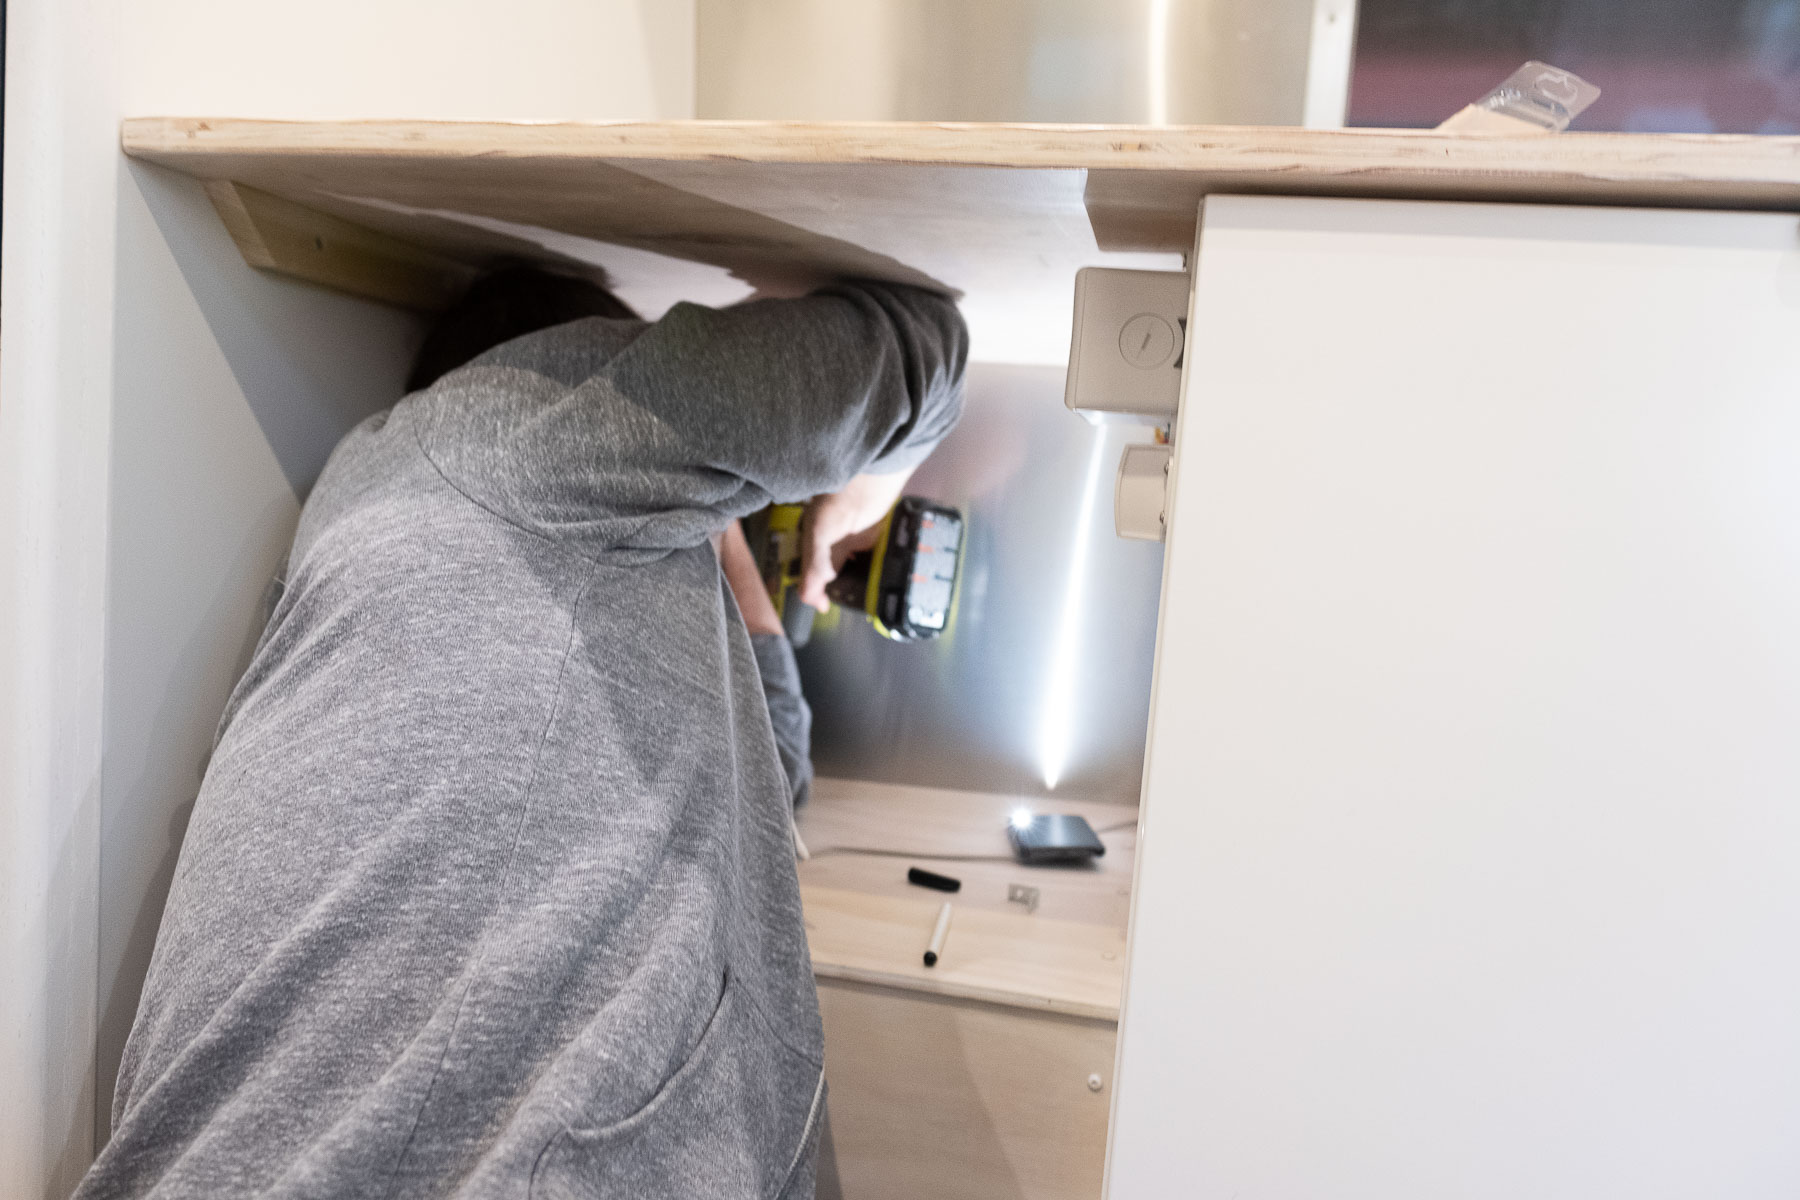
8. It’s easier to access the internet gear and battery monitor than it was in the past. We often need to manually reboot the router after a move if it’s not working properly.
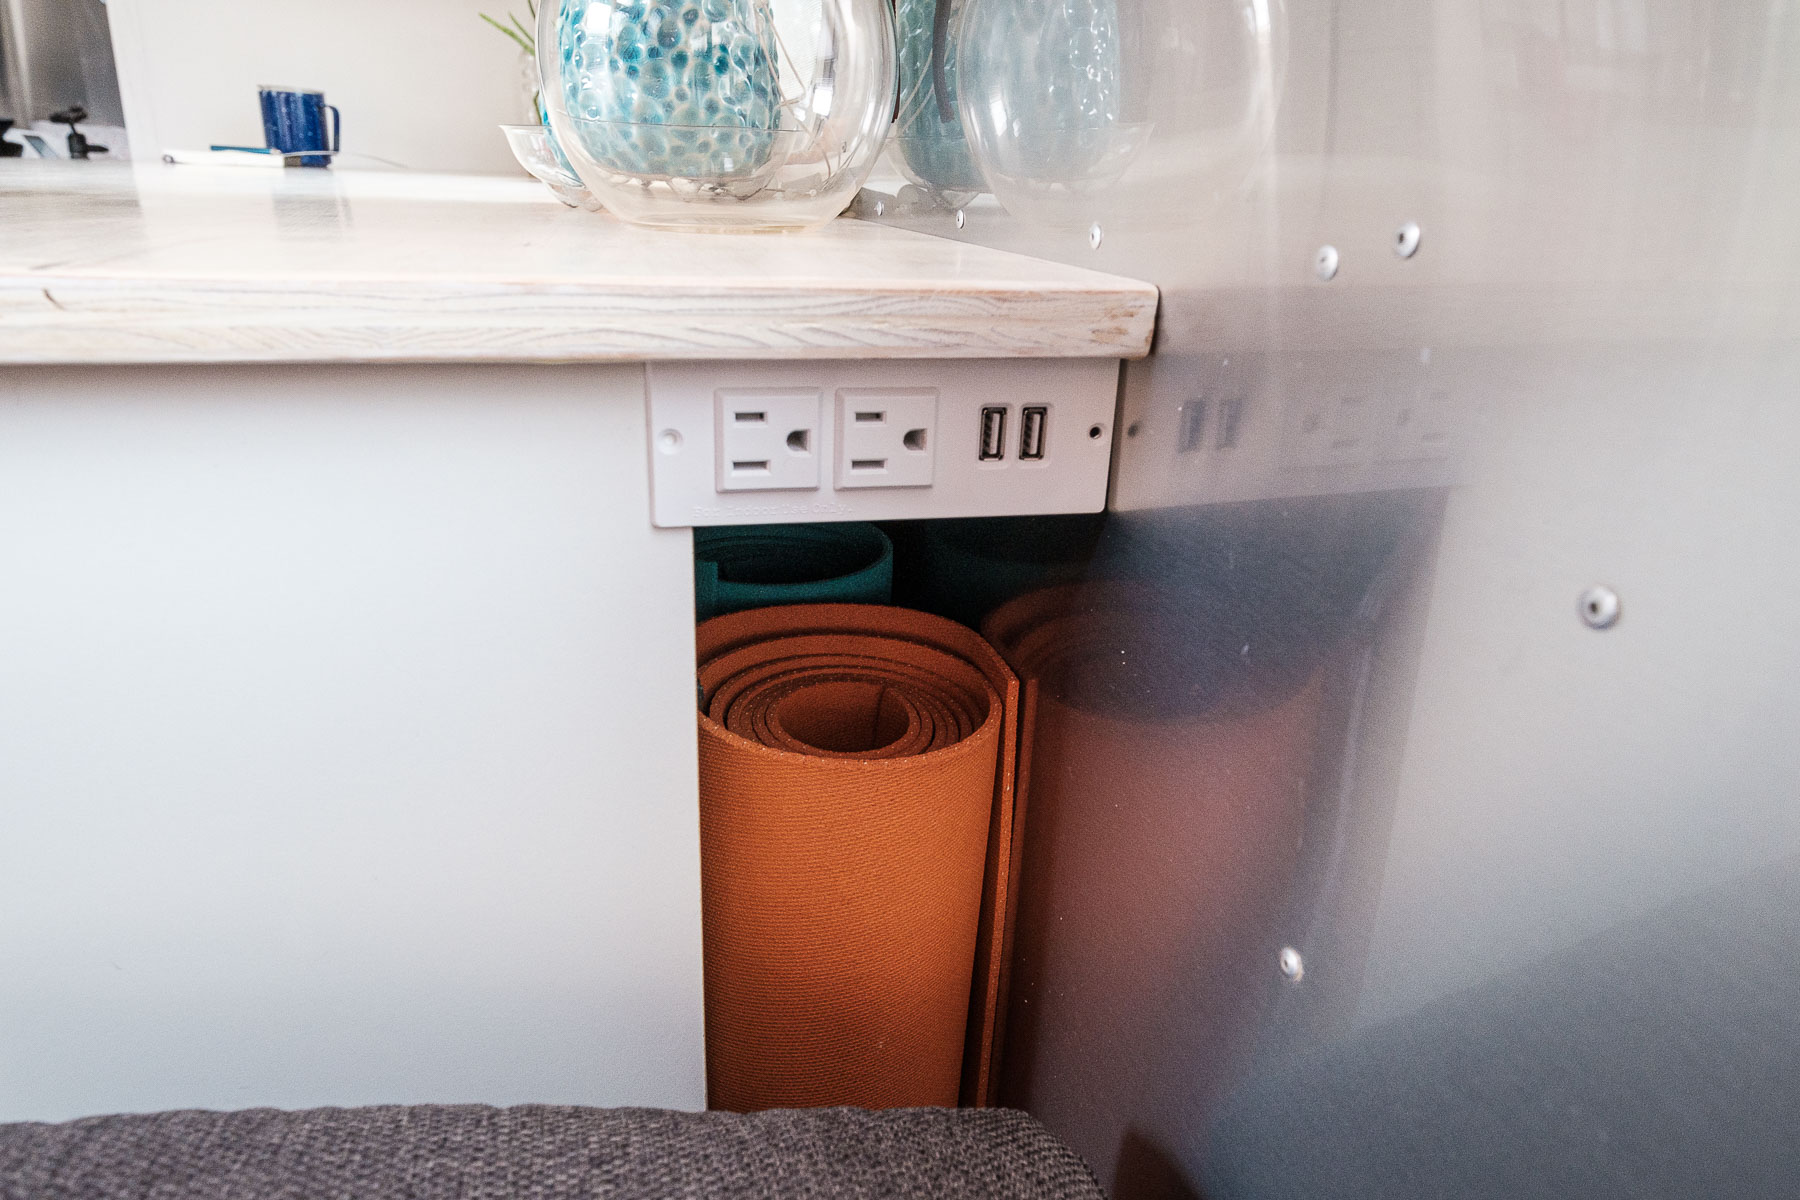
9. We have more power outlets that are easier to access than we did in the past.
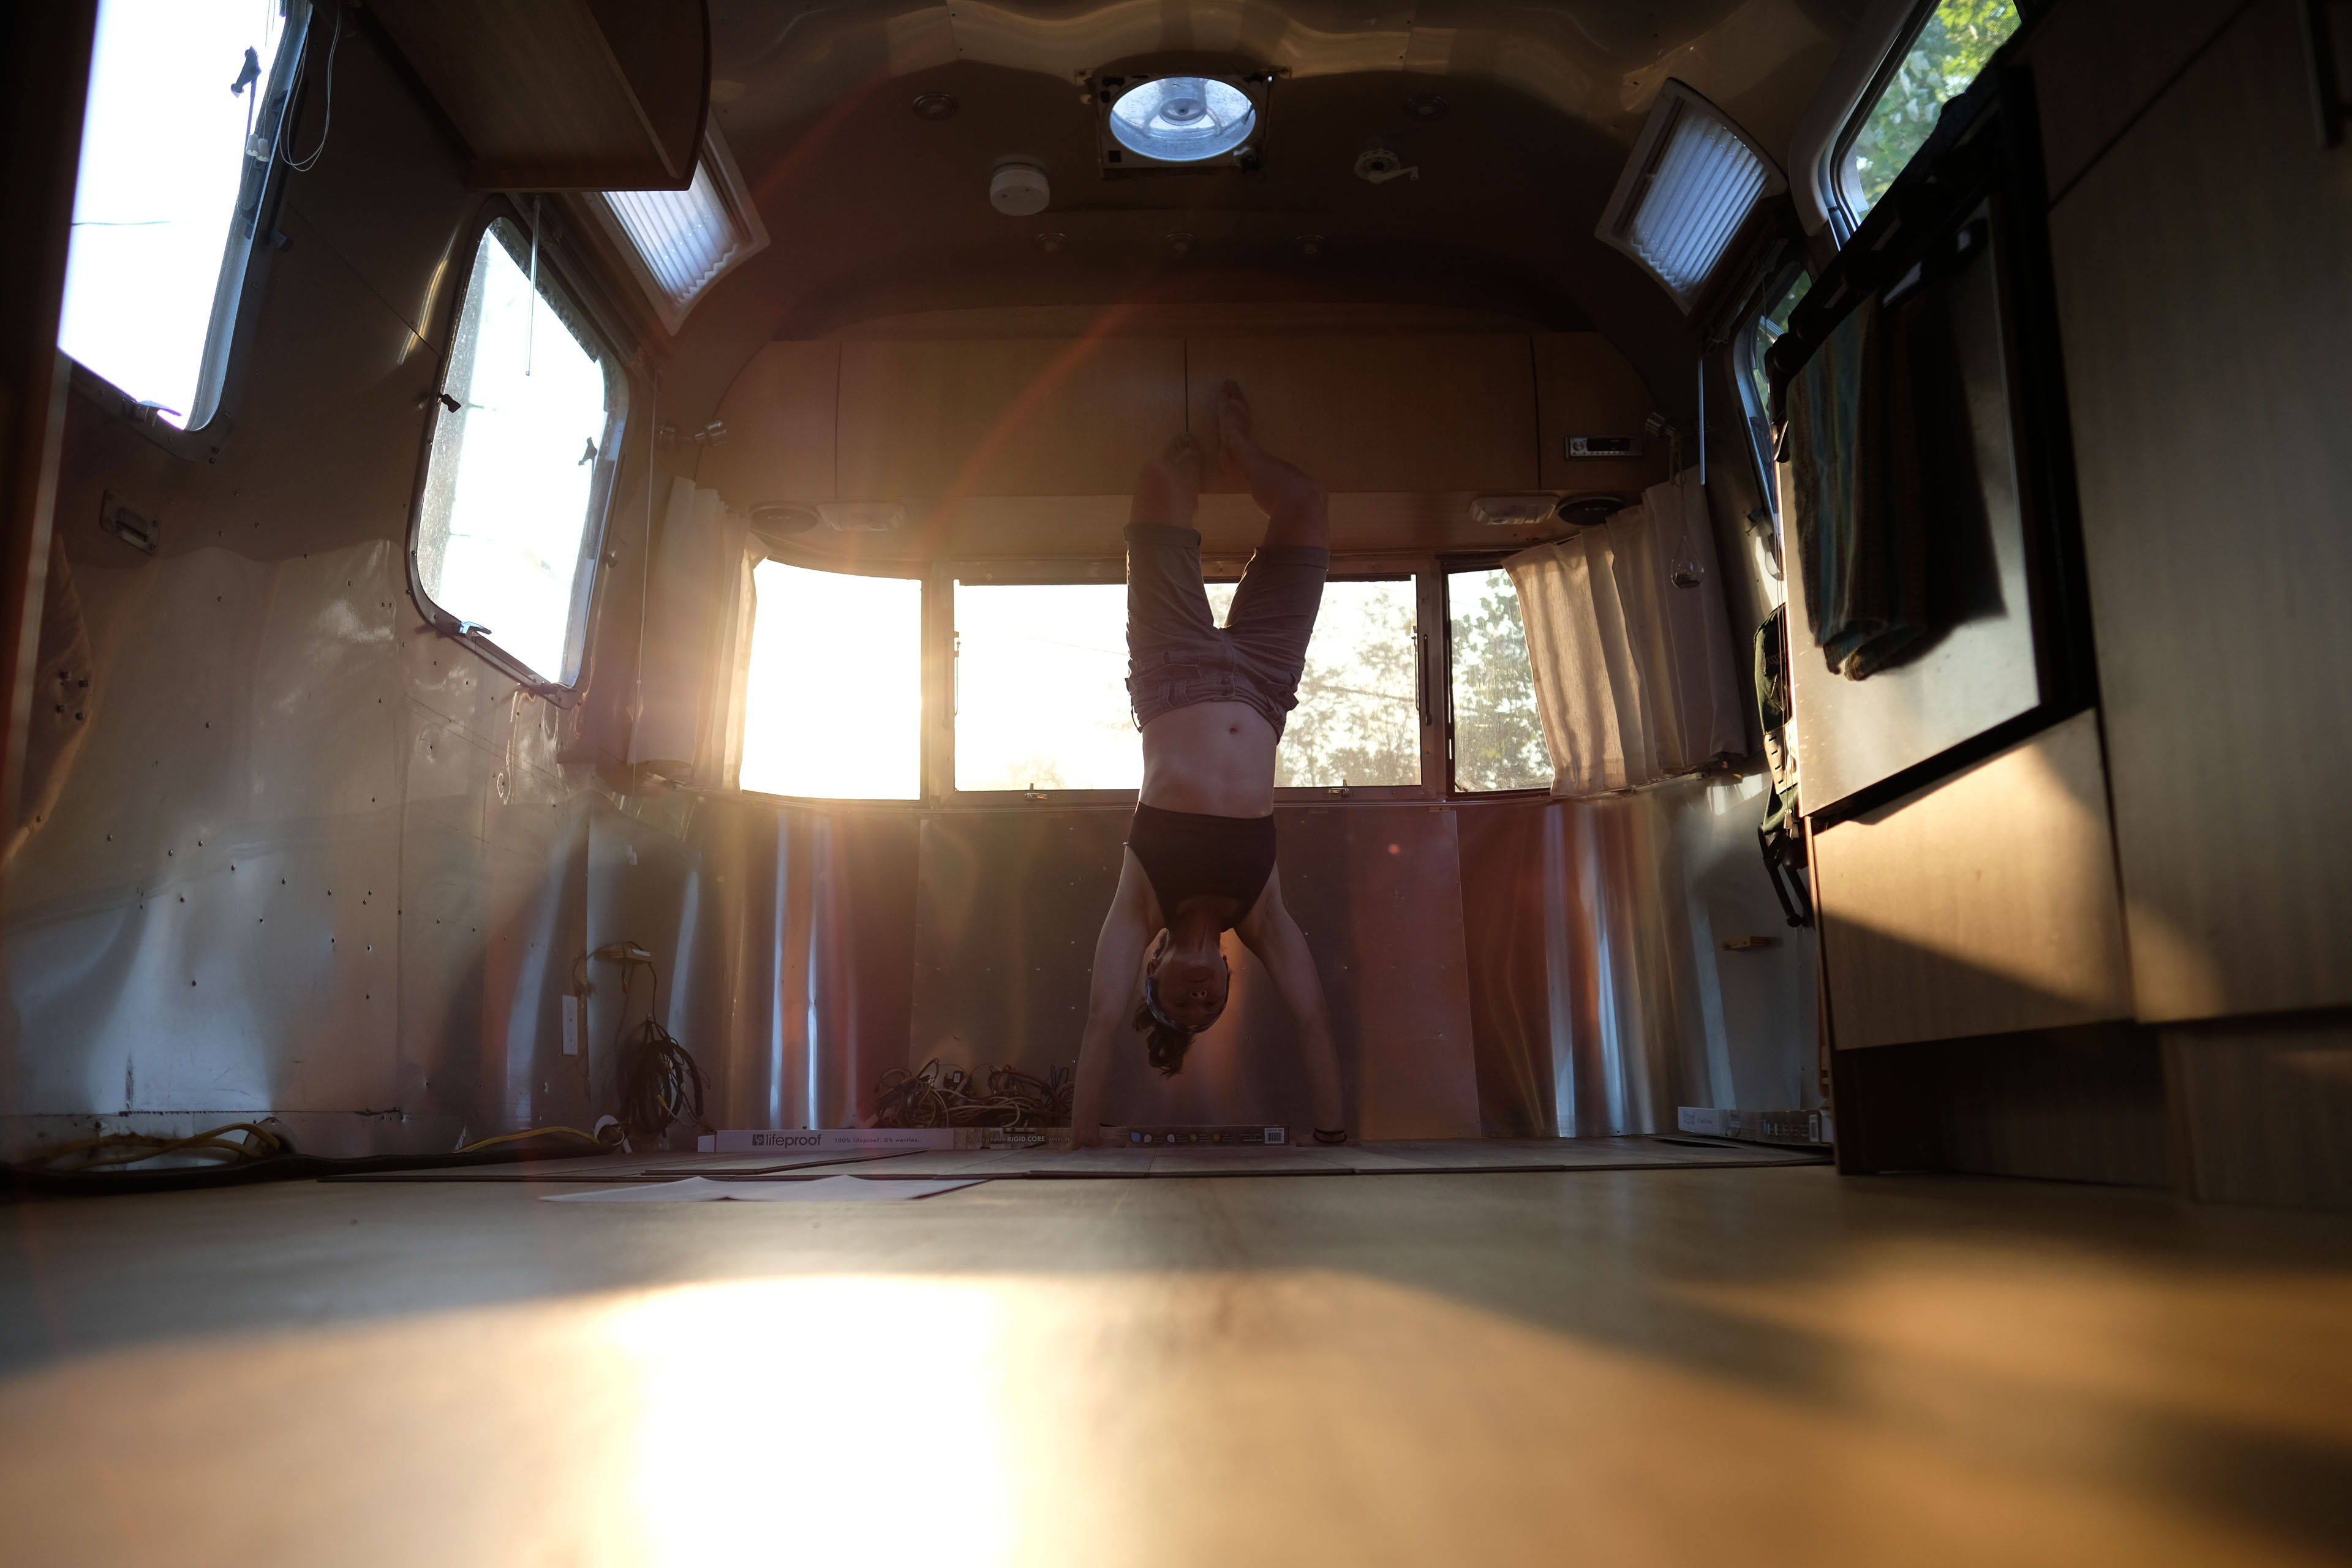
10. The open space in the center of the trailer is great for yoga, stretching, or foam rolling after a bike ride.
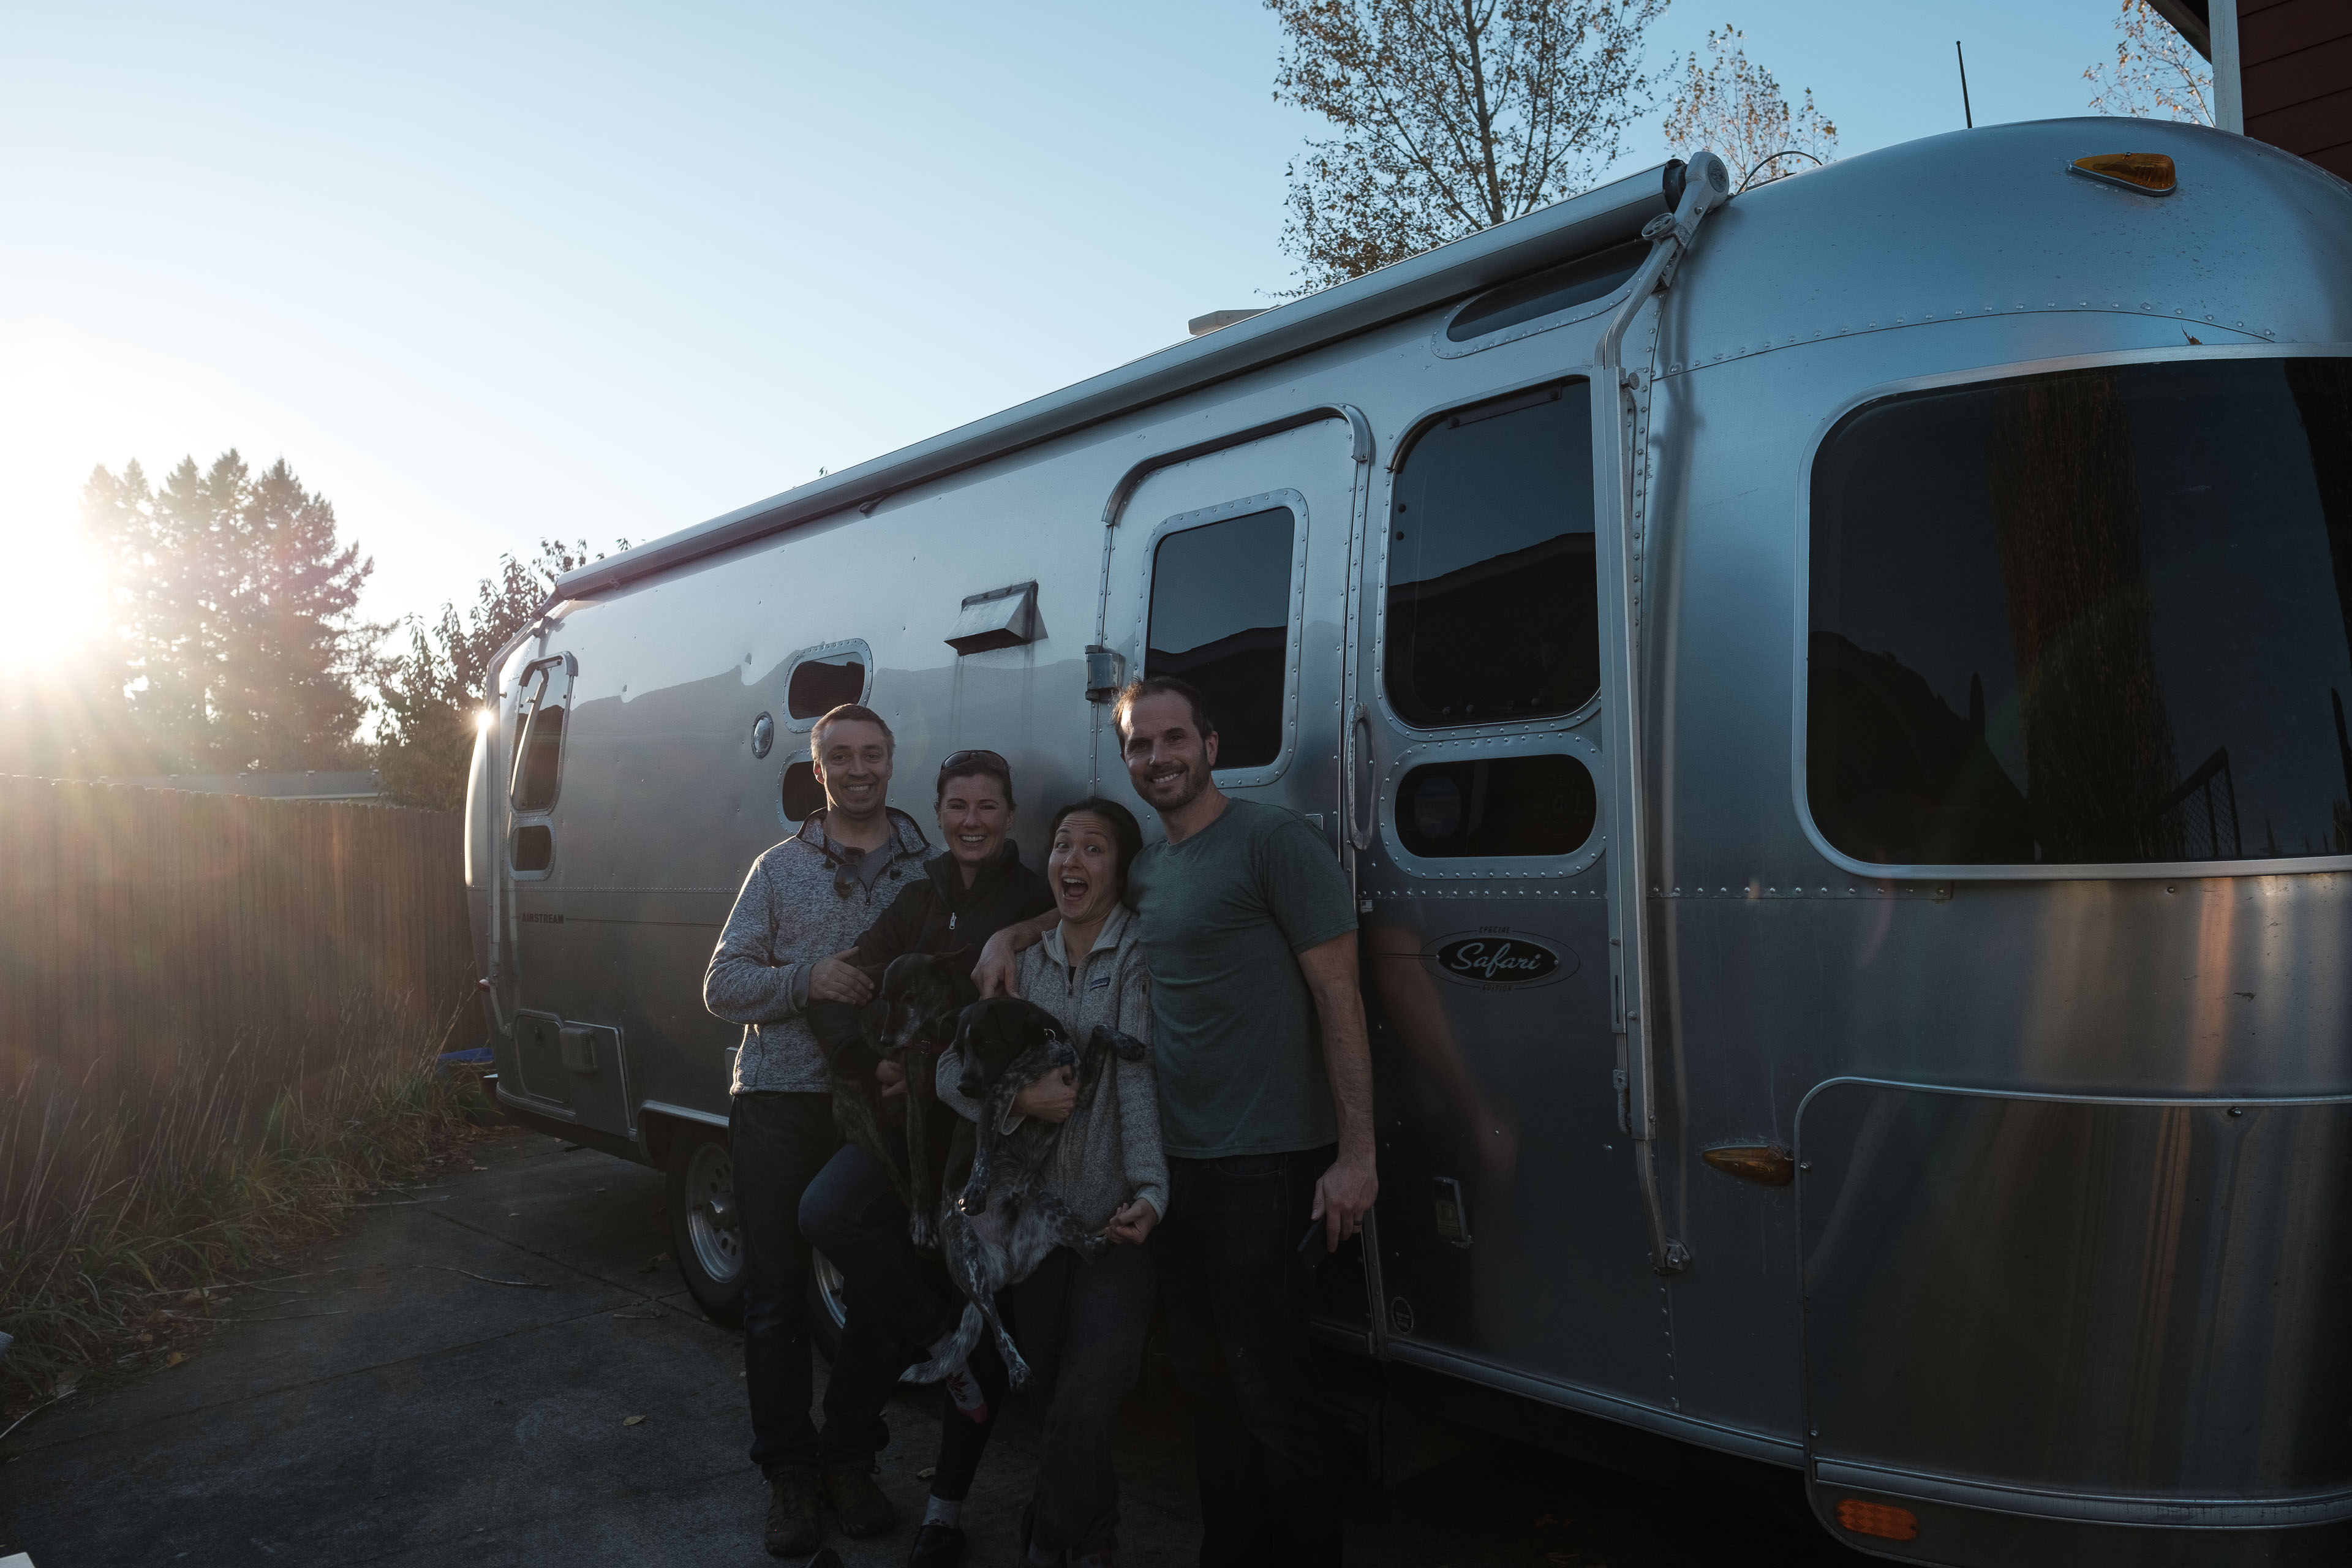
All of these benefits make our daily life so much better in the Airstream! We’re so grateful we had a friends’ driveway and access to their tools for a few weeks!
Have any questions about our renovation??
Below are more pics and links to some of the gear we used for the renovation!
Here are a few of the things we used for this build:
Recessed Power Strip with USB – https://amzn.to/2QKfASv
Magnadyne USB and 12v Outlet – https://amzn.to/2OcU33a
Trond 4 Outlet USB Power Strip – https://amzn.to/2rk9f5s
3M Sanding Blocks – https://amzn.to/2PuSwVD
Bosch Router – https://amzn.to/2RKCxWh
Bosch Sander – https://amzn.to/2RGtgOD
Milwaukee Impact Driver – https://amzn.to/35b77vN
Milwaukee 6.5″ Circular Saw – https://amzn.to/38qs5Jj
Diablo 6.5″ Finishing Blade – https://amzn.to/2PuYo0Y
Varathane White Wash Stain – https://amzn.to/2scCFTB
Varathane Triple Thick Polyurethane – https://amzn.to/34gKju6
Purdy Brush – https://amzn.to/2LH9C1w
3M Blue Tape – https://amzn.to/33ksMAg
Small Paint Rollers – https://amzn.to/3442Cln
Aluminum 1″x1″ Tubing – https://amzn.to/2saBQL9
RV Door Latches – https://amzn.to/2XGvUVA
Nitrile Gloves – https://amzn.to/2RDHu2R
IKEA cabinets – https://www.ikea.com/us/en/cat/base-cabinets-frame-height-311-2-23607/
Springfield 3 Stage Pedestal – https://www.iboats.com/shop/springfield-air-powered-3-stage-pedestals-anodized.html
Rivets – https://amzn.to/2E3qqv4
Cheap Rivet Gun – https://amzn.to/34dXyLD
Galaxy Foam – https://galaxyfoam.com/
Oscar’s Upholstery – https://www.yelp.com/biz/oscars-upholstery-north-las-vegas
Some of these links are affiliate links, following one and purchasing an item helps support us and does not affect the cost of the item. Thank you for making a purchase via these links if you do.