Renovating an Airstream while traveling full time – Part 1
Renovating an Airstream on the road while travelling full time is a major challenge. We learned that recently. We just finished some serious changes to the layout of our Airstream and we wanted to share them with you!
This was originally meant to be one post, but we got a little out of hand with words and photos! Don’t worry, it’s a long post, but it’s mostly pictures! So, this is the first part which covers why we made these changes, and how we built our new galley kitchen. When you’re ready, you can find post 2 here.
Please check out our Youtube video for more footage and discussion of this renovation!
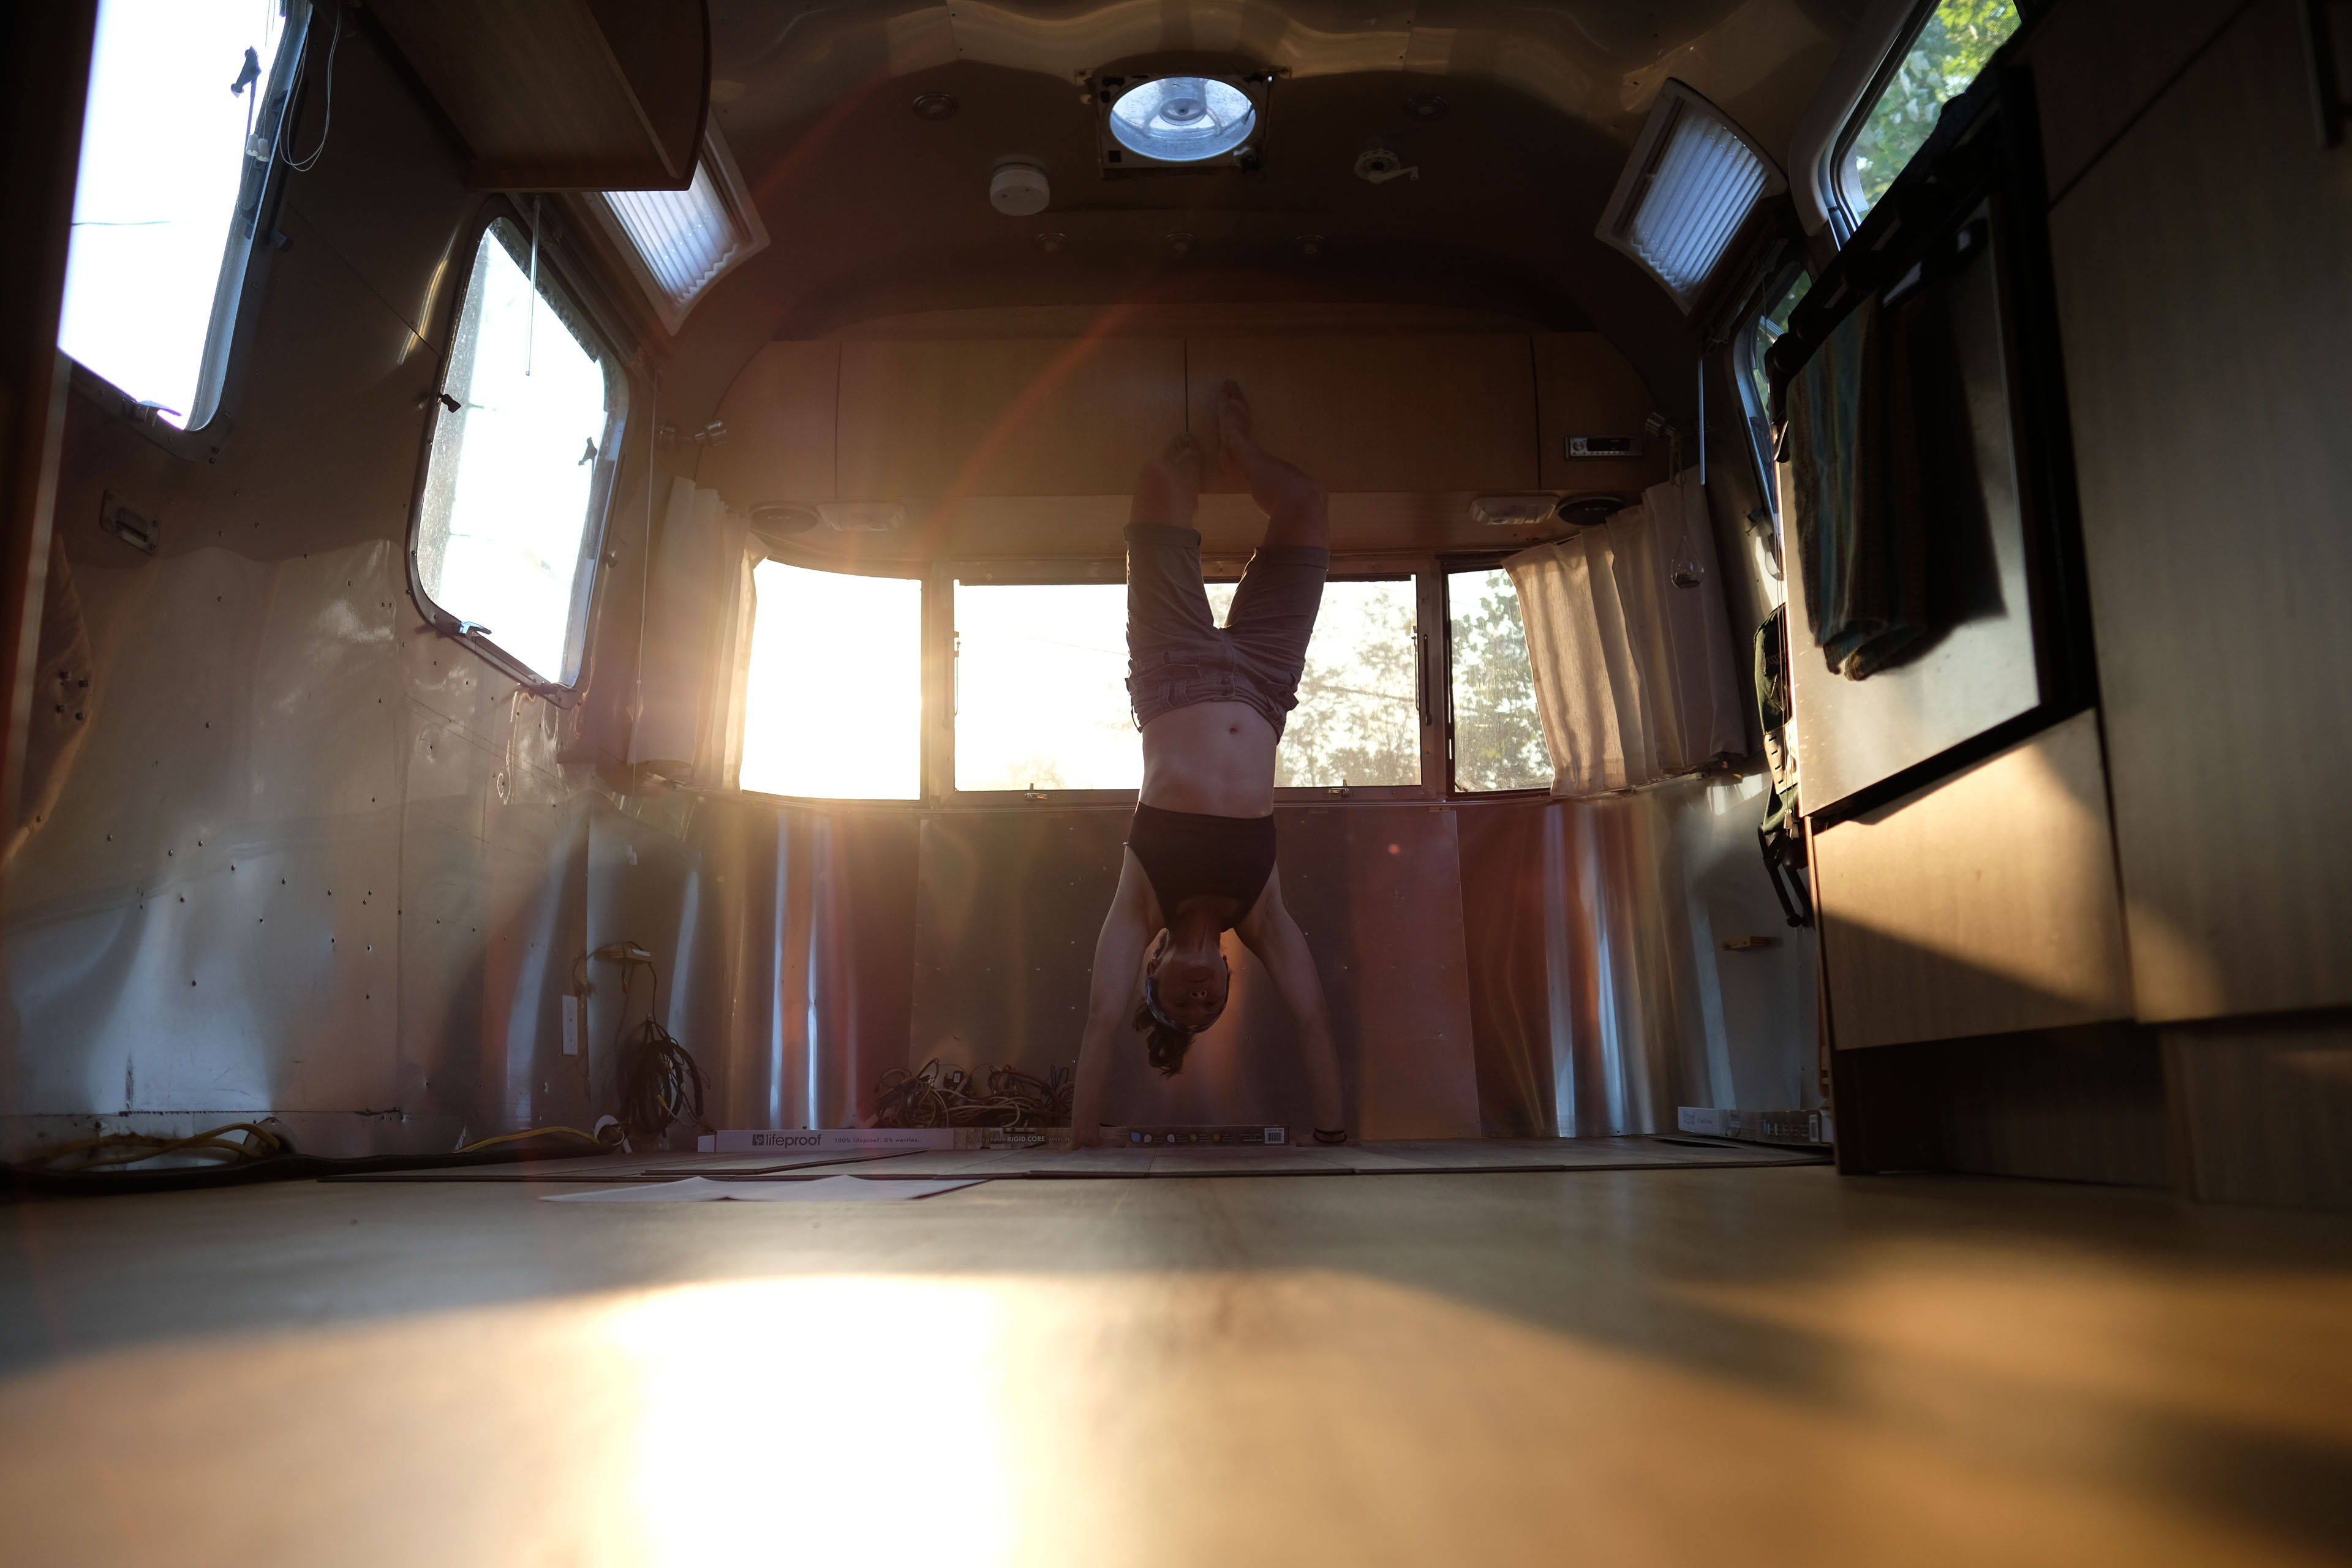
Before we first hit the road back in August of 2018, we spent over 6 weeks working on our Airstream. We added solar, put in a new floor, redid the kitchen, resealed the roof, added antennas for better cell reception, repainted the entire interior…even the cushions, and more. During this time we had all the “furniture” out of our Airstream and were impressed by all the room we had.
Reasons for Renovating
We realized that the current layout of the couch and dinette was not ideal for a few reasons:
1. The dinette was positioned so it cut into the “hallway” between the front and back of the trailer, making it feel cramped when you walked by.
2. The couch was located up in the front of the trailer and faced into the trailer. So you could not enjoy the panoramic windows when sitting on it. There was also empty space behind it, which increased the amount of floor space it took up.
3. If a lot of people were visiting and some were sitting at the dinette, their backs would be facing people who were sitting at the couch. This ended up in some awkward neck craning, or just lame conversations with the back of peoples heads.
4. The dinette was not very comfortable. Think floral foam, but not as pleasing to squeeze.
5. The couch was not very comfortable, so we did not sit at it often.
6. Since we did not sit at the couch very often, it tended to collect a lot of clutter.
7. The layout of the dinette and couch together created an empty space that wasn’t very useful to hang out in and also collected clutter.

We envisioned a different layout that would solve a lot of these problems, but we were up against a hard launch date. We had to get to Idaho to meet some friends by early September. Starting an additional renovation project that involved furniture building would certainly make us late for that!
In addition to pushing back our launch date, we were also very fearful of creating something that had way less space than the original design and was much weaker. Each time you move the trailer, you are subjecting everything inside to a small earthquake, so things need to be built well to not fall apart.
Plus, we weren’t sure how much we’d like this lifestyle, and we already committed a lot of time and money into it.
So we hit the road on schedule and endured our Airstream’s “sleep six” layout for over a year. Truth be told, we were excited to be on the road and enjoying things outside of the trailer. We were making the best of what we had and not letting it hold us back in any way.
A Place to Renovate
We still knew that a better layout was possible, and we took notes from fellow Airstreamers over the last year. We saved posts from Instagram and Pinterest of designs that inspired us. All of these were to be used someday when we could make this change for ourselves.
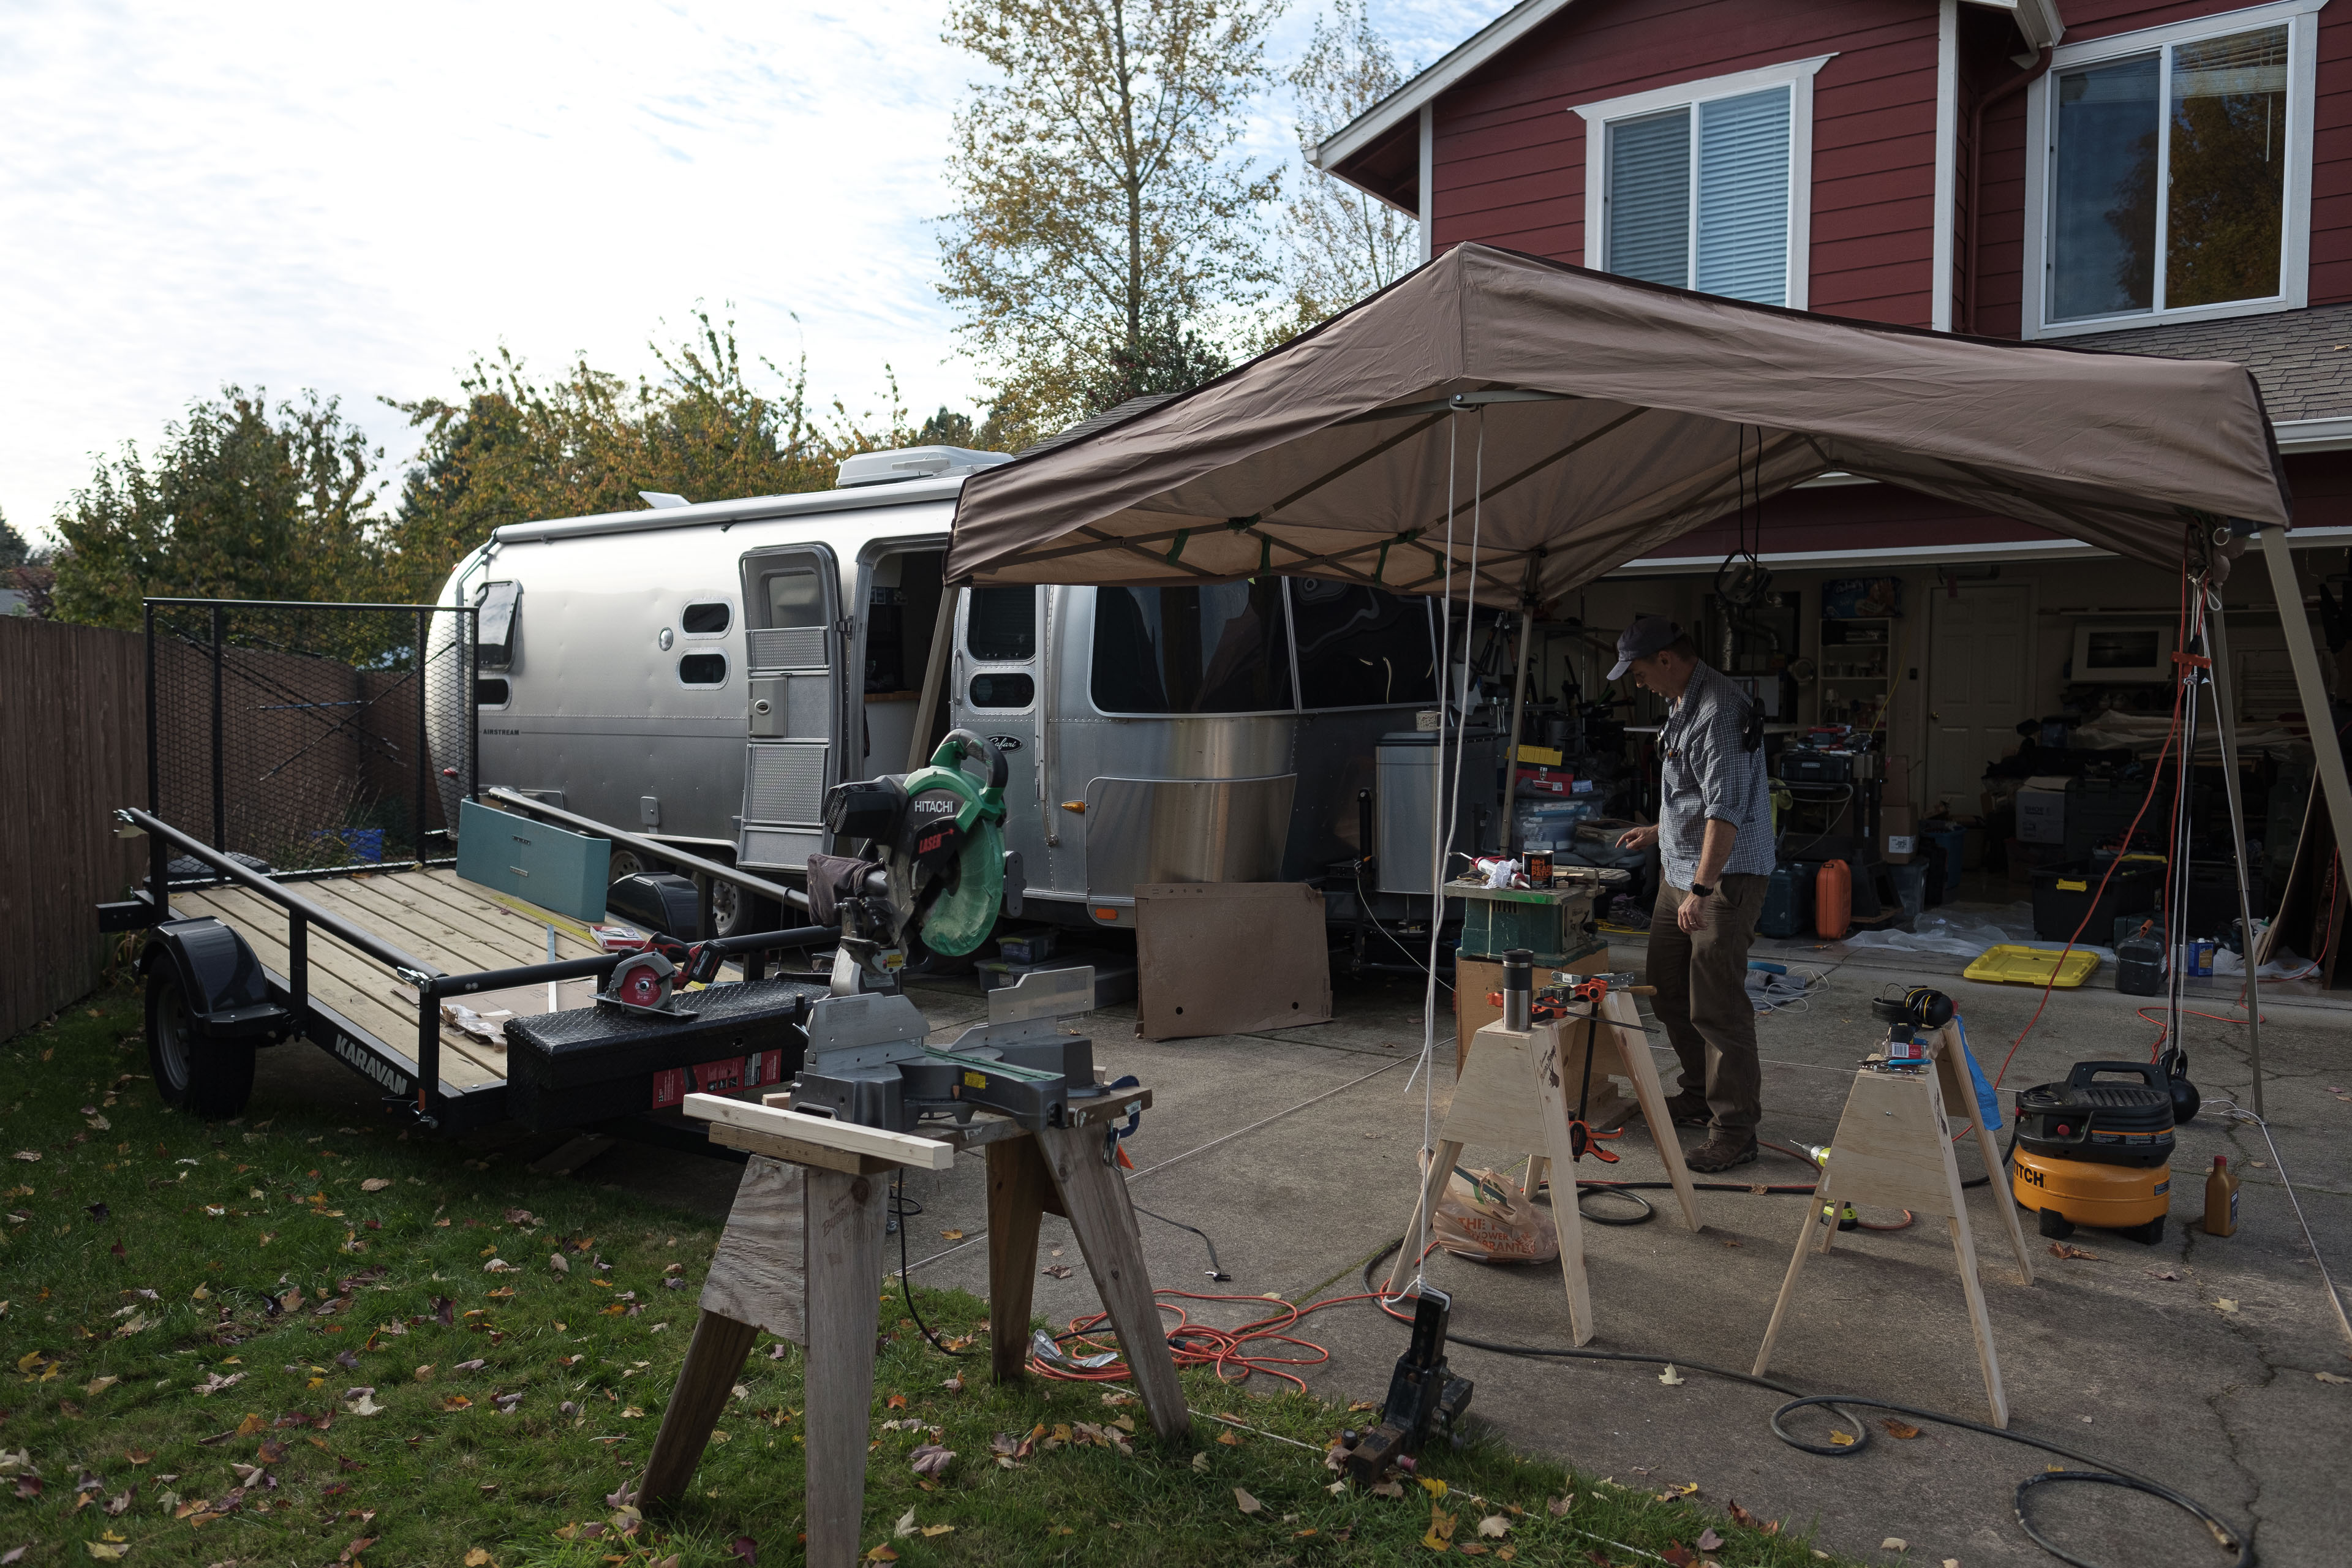
One struggle of living on the road is not having a lot of space to work on your trailer. You can do small things like fix a water pump or add a plant shelf, but doing something that requires ripping furniture out of the trailer for days or weeks is frowned upon at RV parks and could be considered littering on BLM land. So, even though we had a plan to renovate the trailer, we did not have a place to do so.
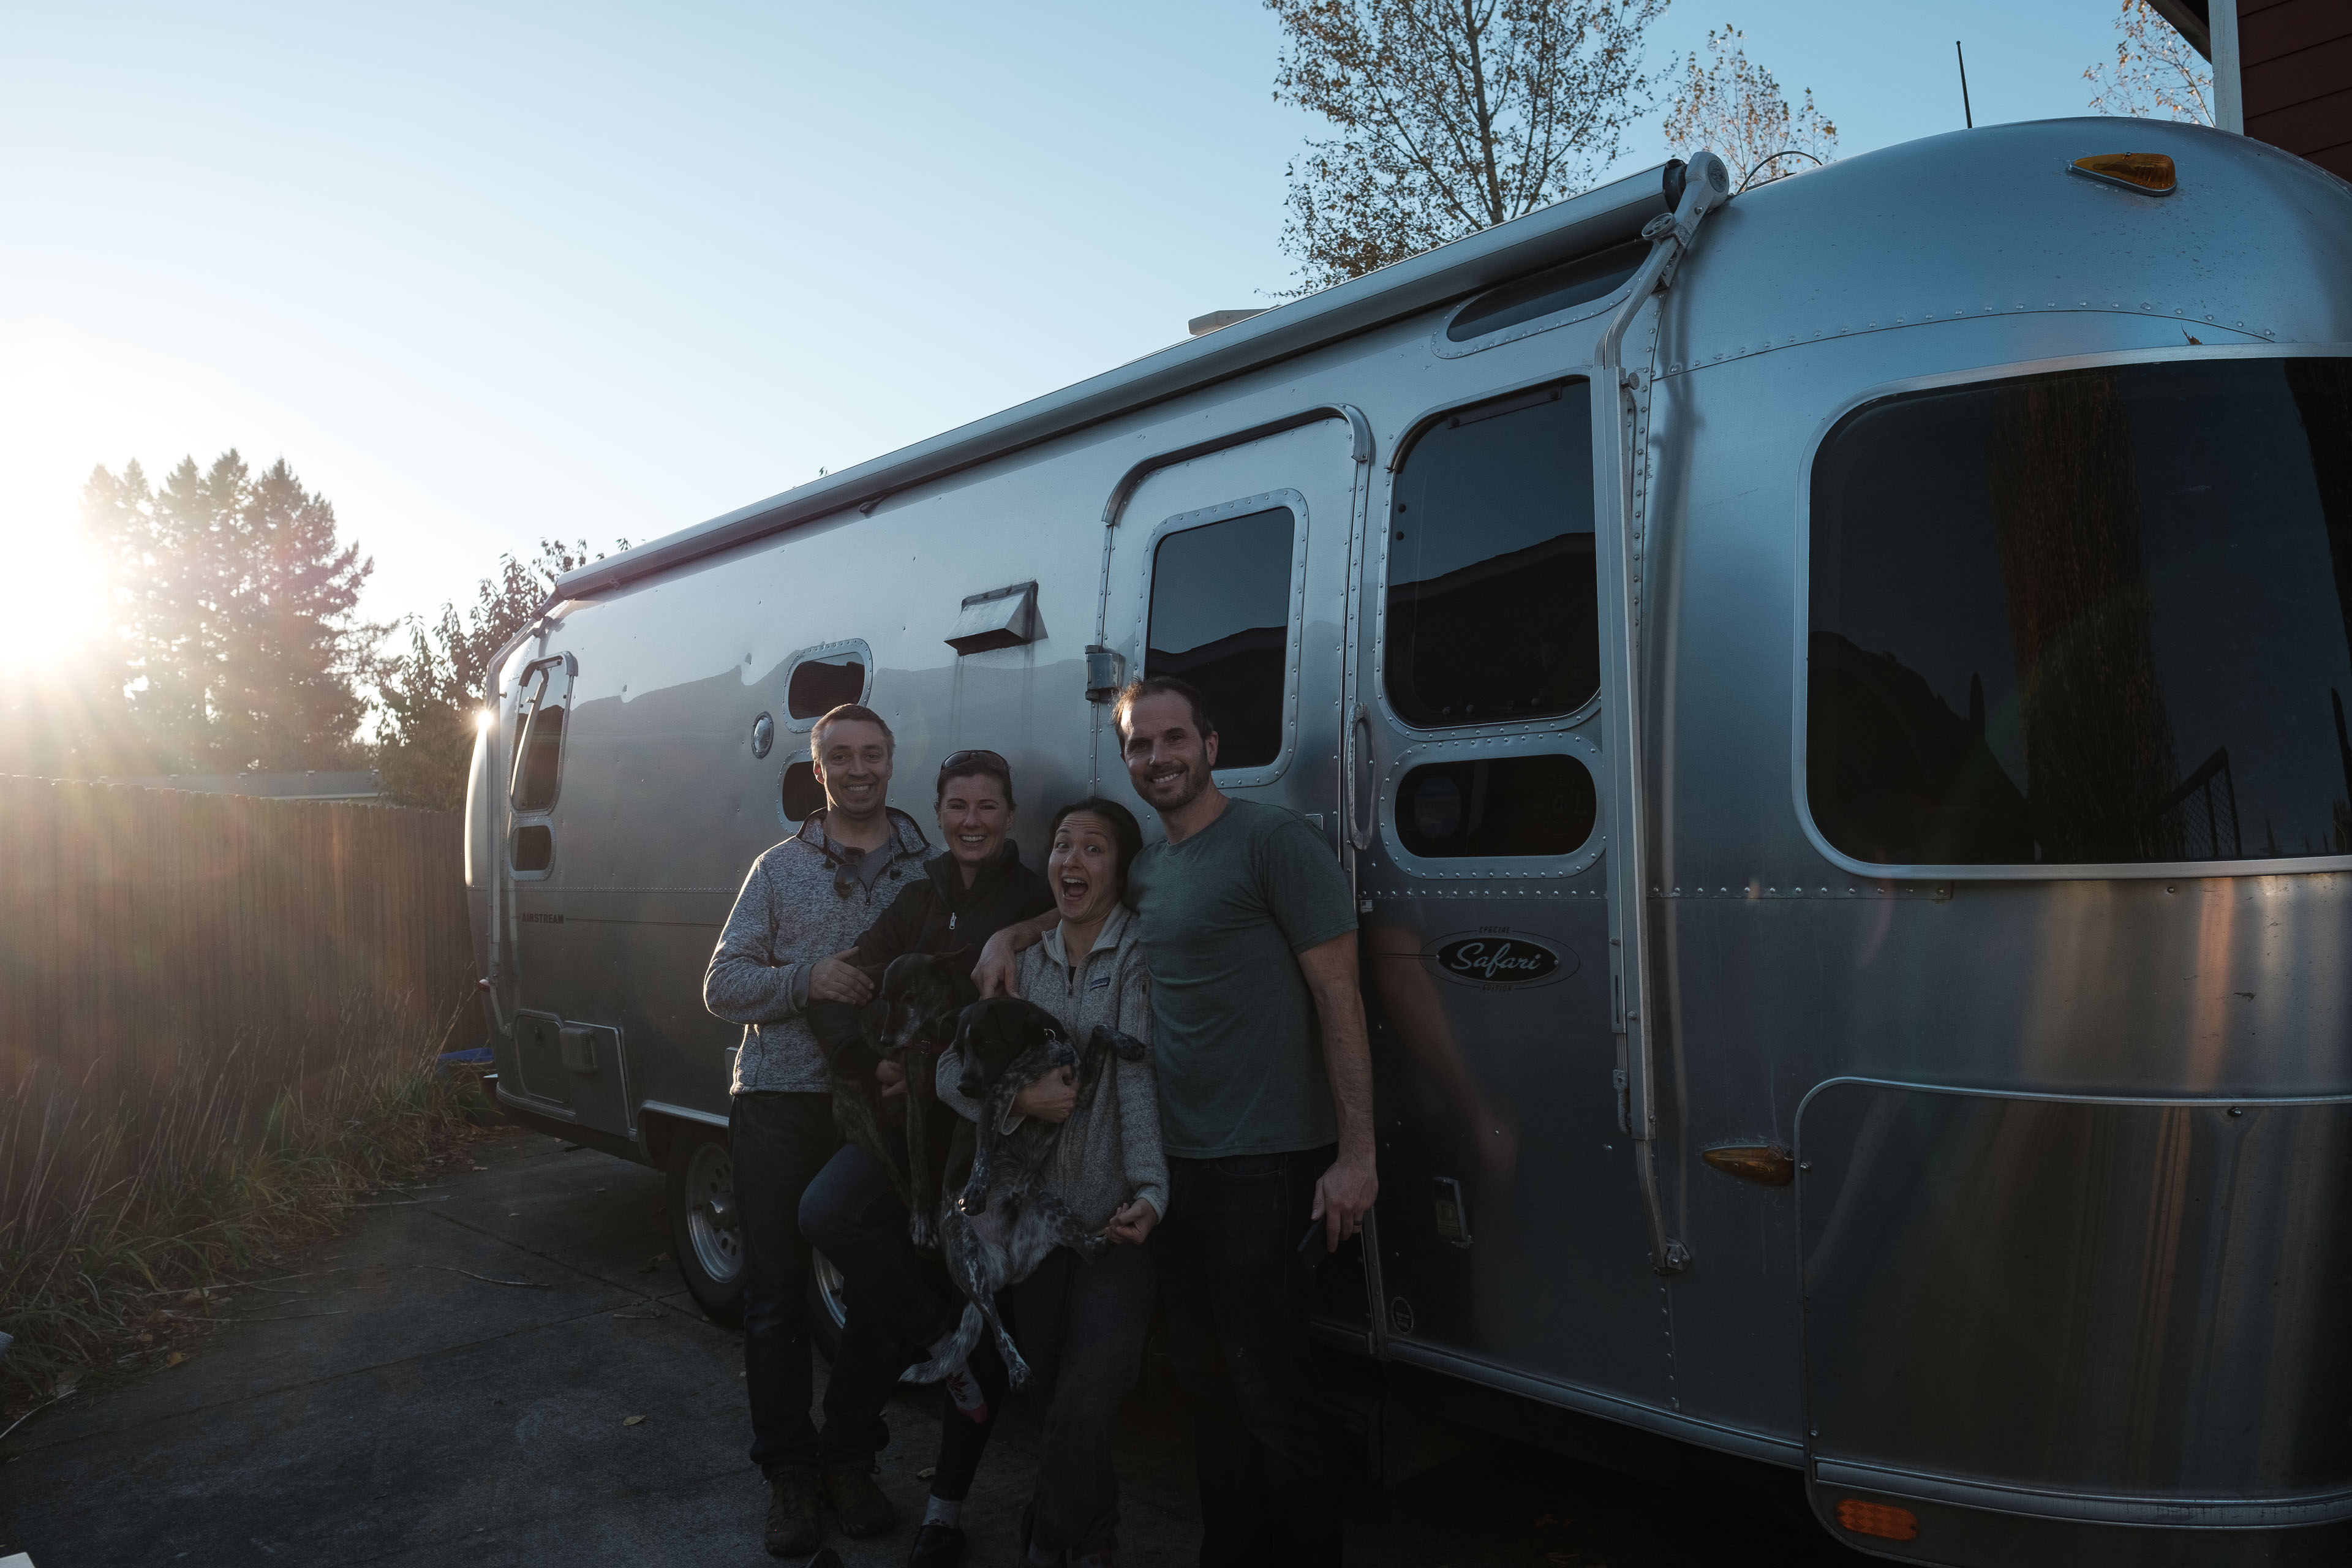
That is until we visited our friends, Keeley and Vegard, in Oregon. They were great friends from Ithaca who moved out West recently. One of their prerequisites to buying a house was it needed a driveway that could fit our Airstream, so we could visit! Thanks for thinking of us friends!
Vegard is also a creative carpenter and handyman who has an enviable array of tools, including a planer. If we were to do our renovation, this would have to be the place!

Constraints and Fears
Again, we had a limited amount of time to renovate our Airstream. We had dentist appointments in Nevada in early November and had friends visiting for Jay’s birthday in Sedona. We had to be there in time to meet them.
We were also still fearful about not having enough space to fit all of our stuff after we made these changes.
With all this in mind, we set off to IKEA in Portland to look at some cabinets and see if we could use them to simplify our build out…and also to get some Swedish meatballs! We left IKEA overwhelmed by Hygge and in possession of some cabinets, or “Sektion” in their terms. Guess we were doing this renovation after all!
Enjoy this random picture of the Oregon coast.

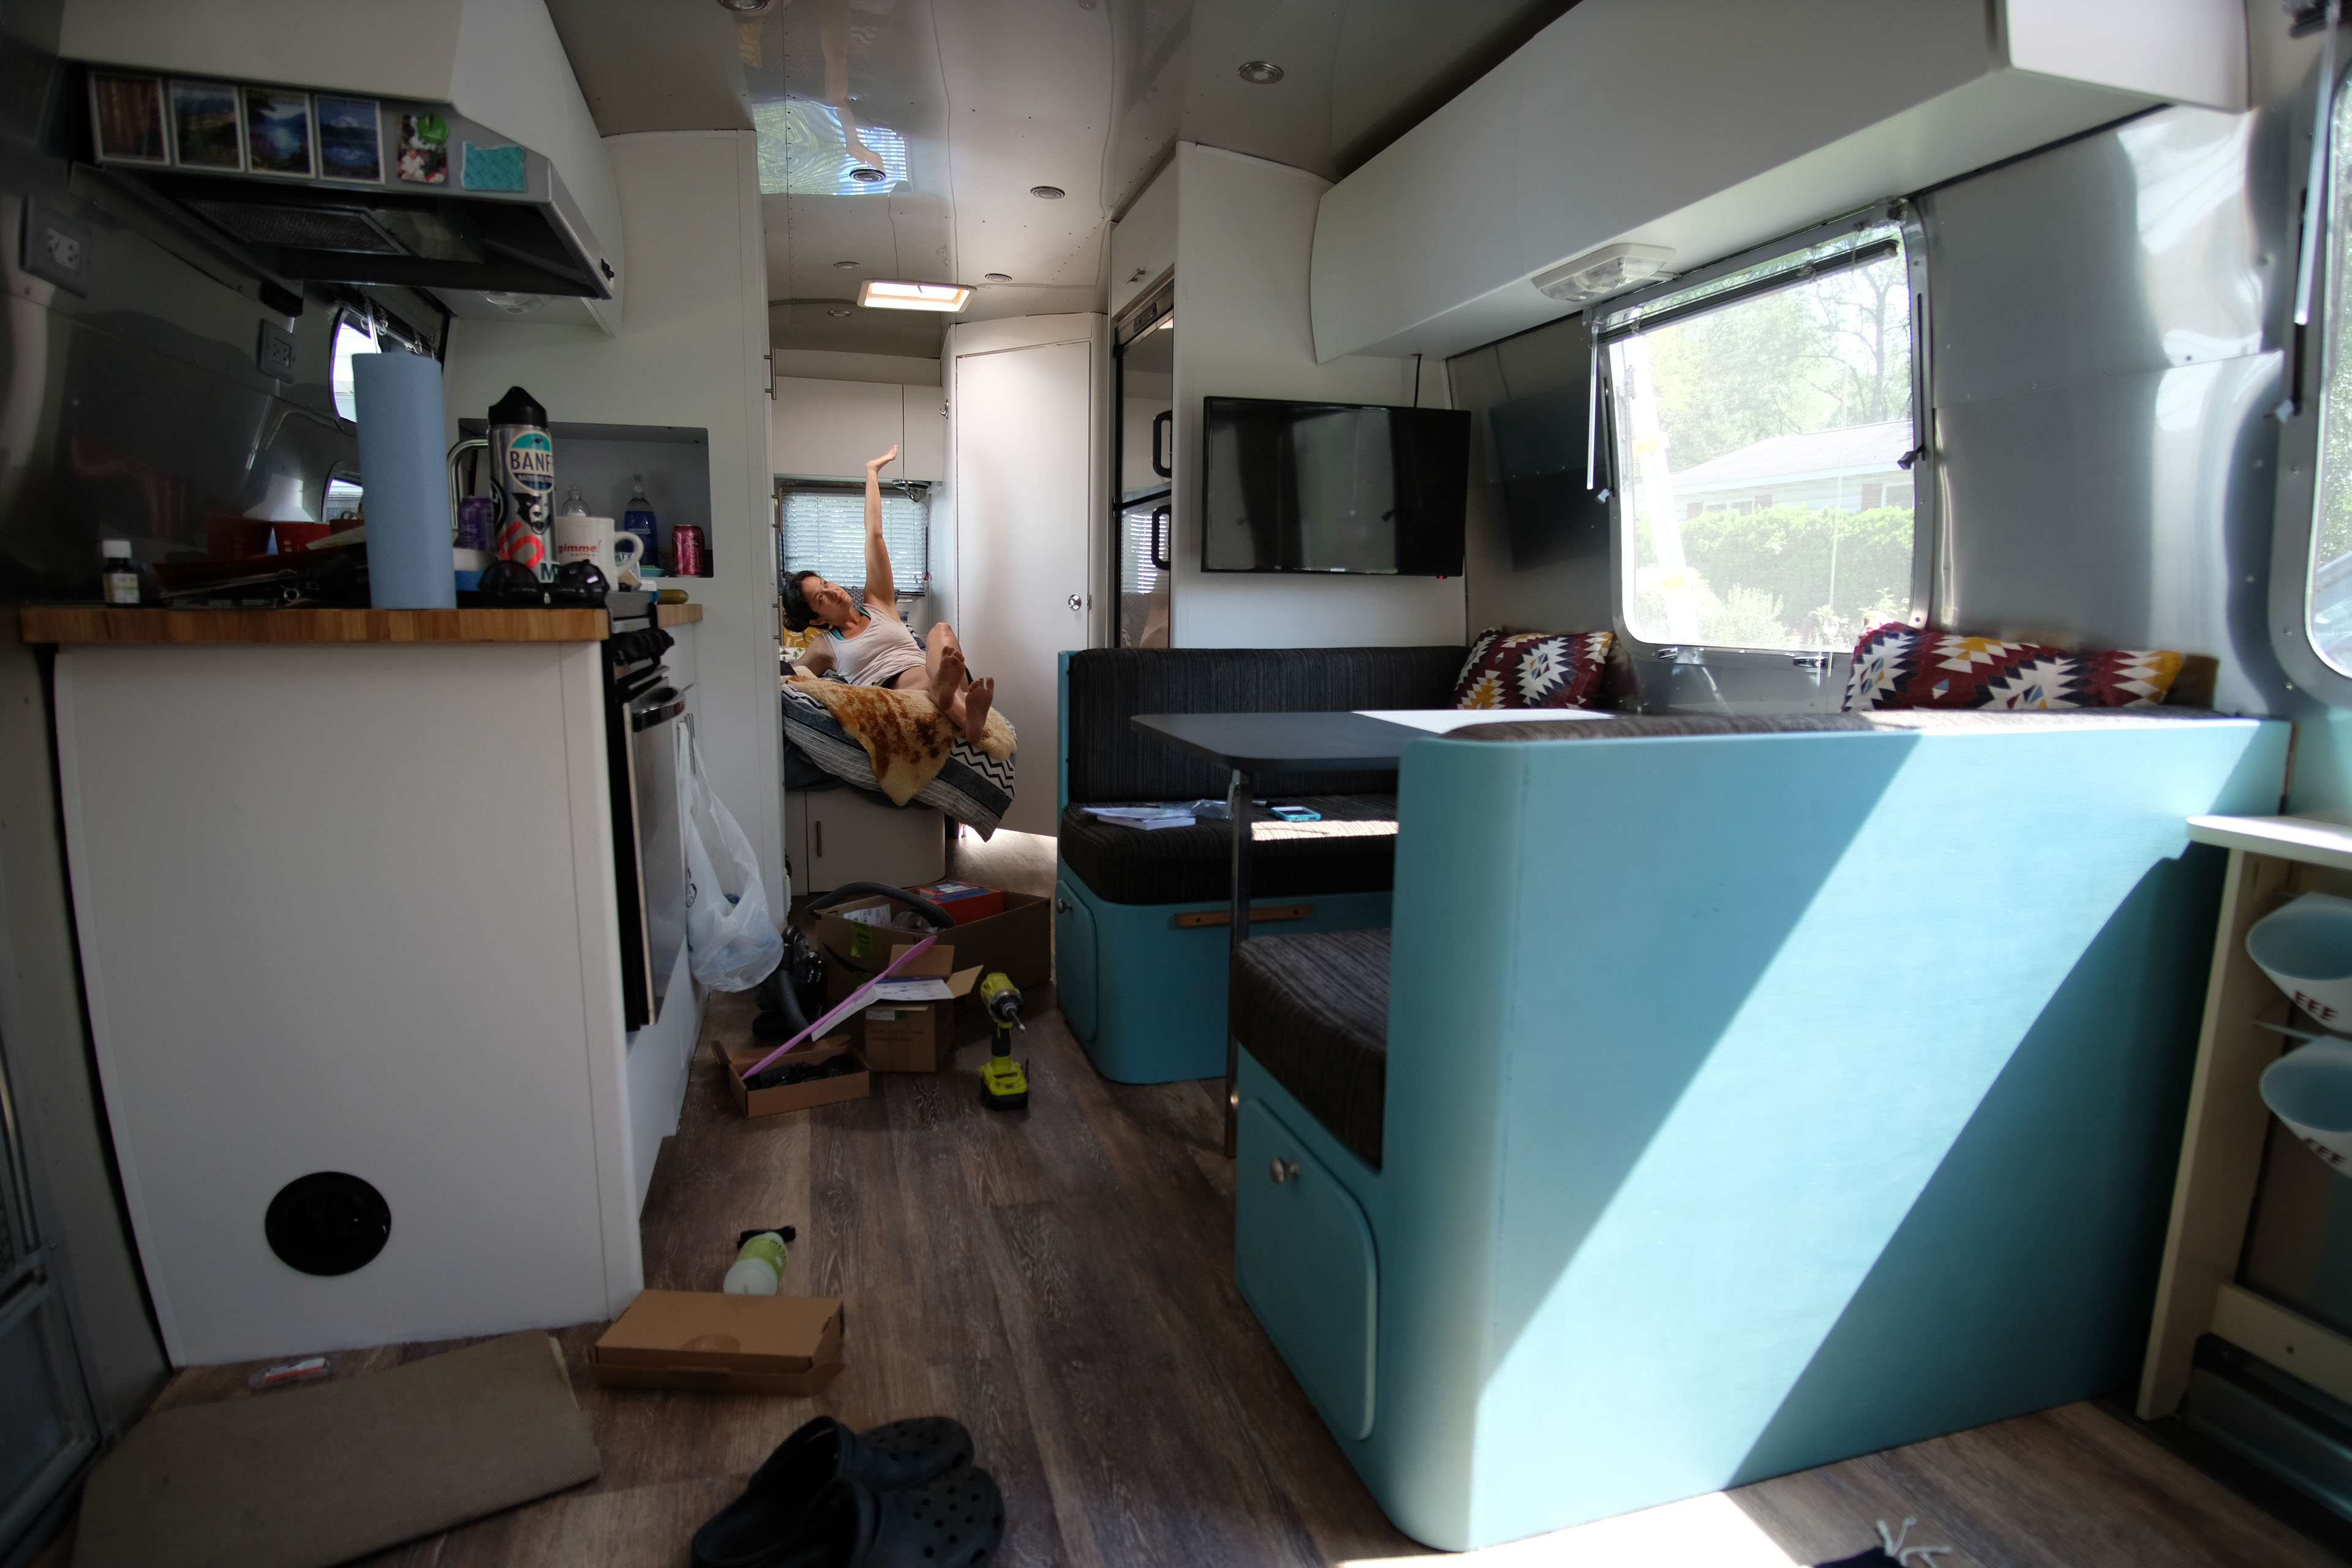
Over the next 20 days, we ripped the Airstream apart, cut up our dinette, gave away our couch, took a lot of trips to the hardware store, sanded, painted, screwed, wired and rewired, learned too much about foam, hired an upholsterer, and ended up with a layout that we absolutely love.
Here is a breakdown of what we did to accomplish this for our kitchen galley! Check out Post #2 to see our new dinette and the benefits of our new set up!
Our Kitchen Galley
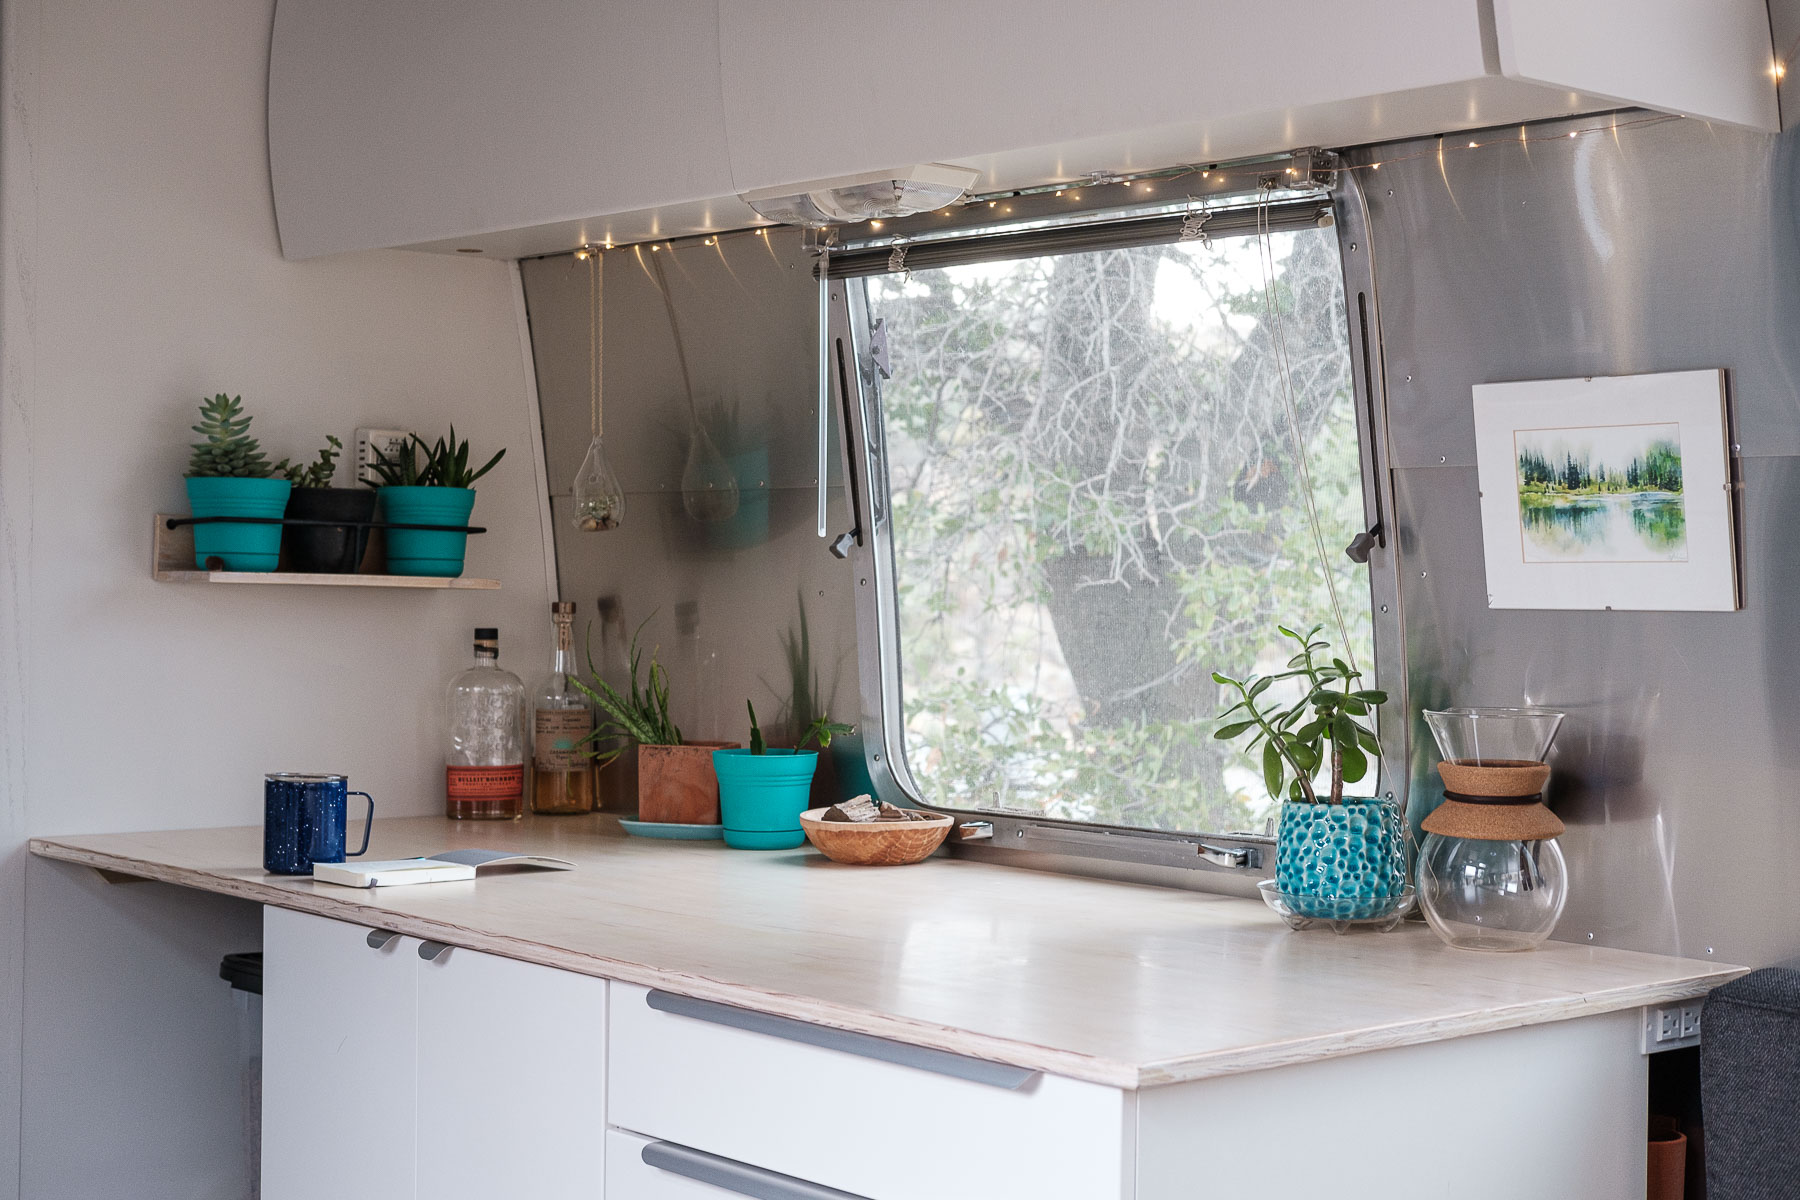
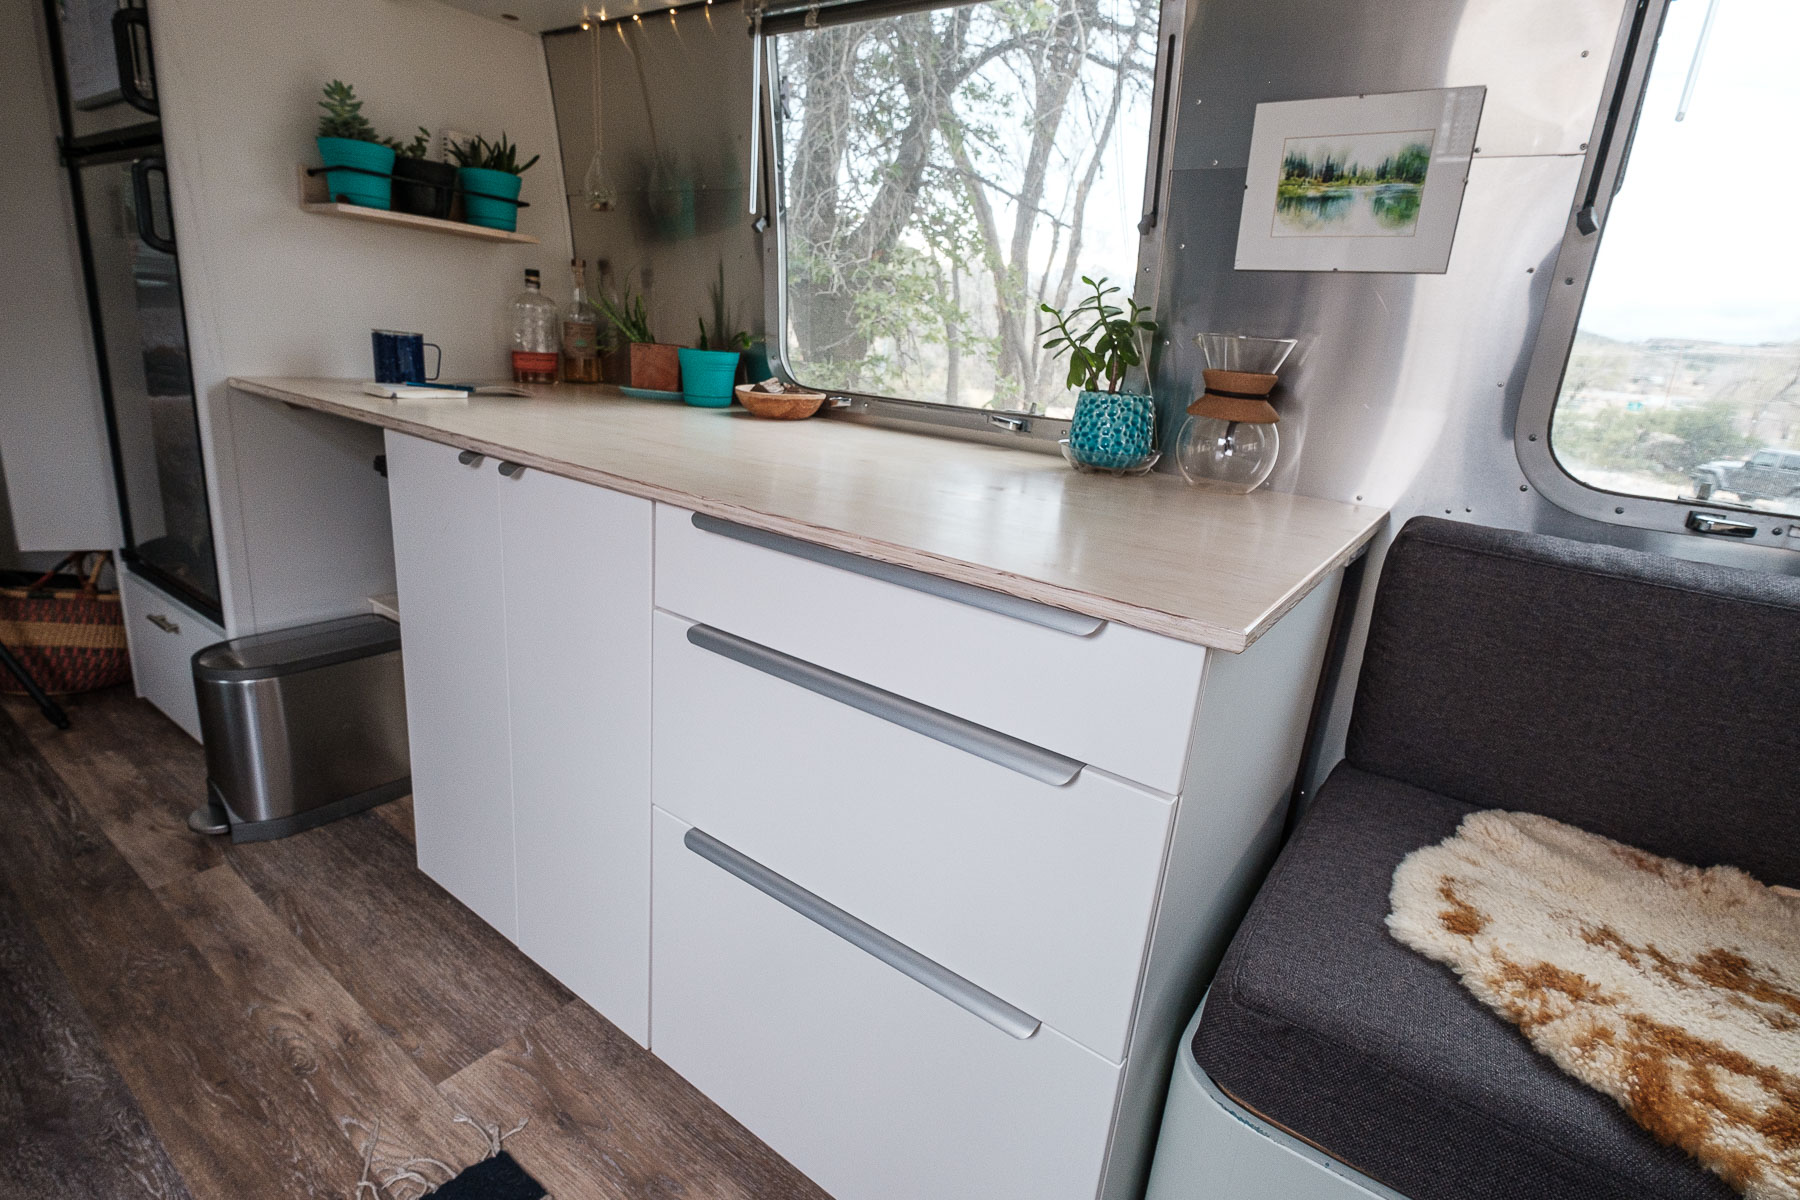
The dinette used to live in the center of the trailer…awkwardly taking up space and not being very helpful. We wanted more space to prepare food and an area that could be used for a standing work space. Opening up the center of the trailer would be a bonus too. So we built a galley style combo of cabinets and countertop to meet our needs.
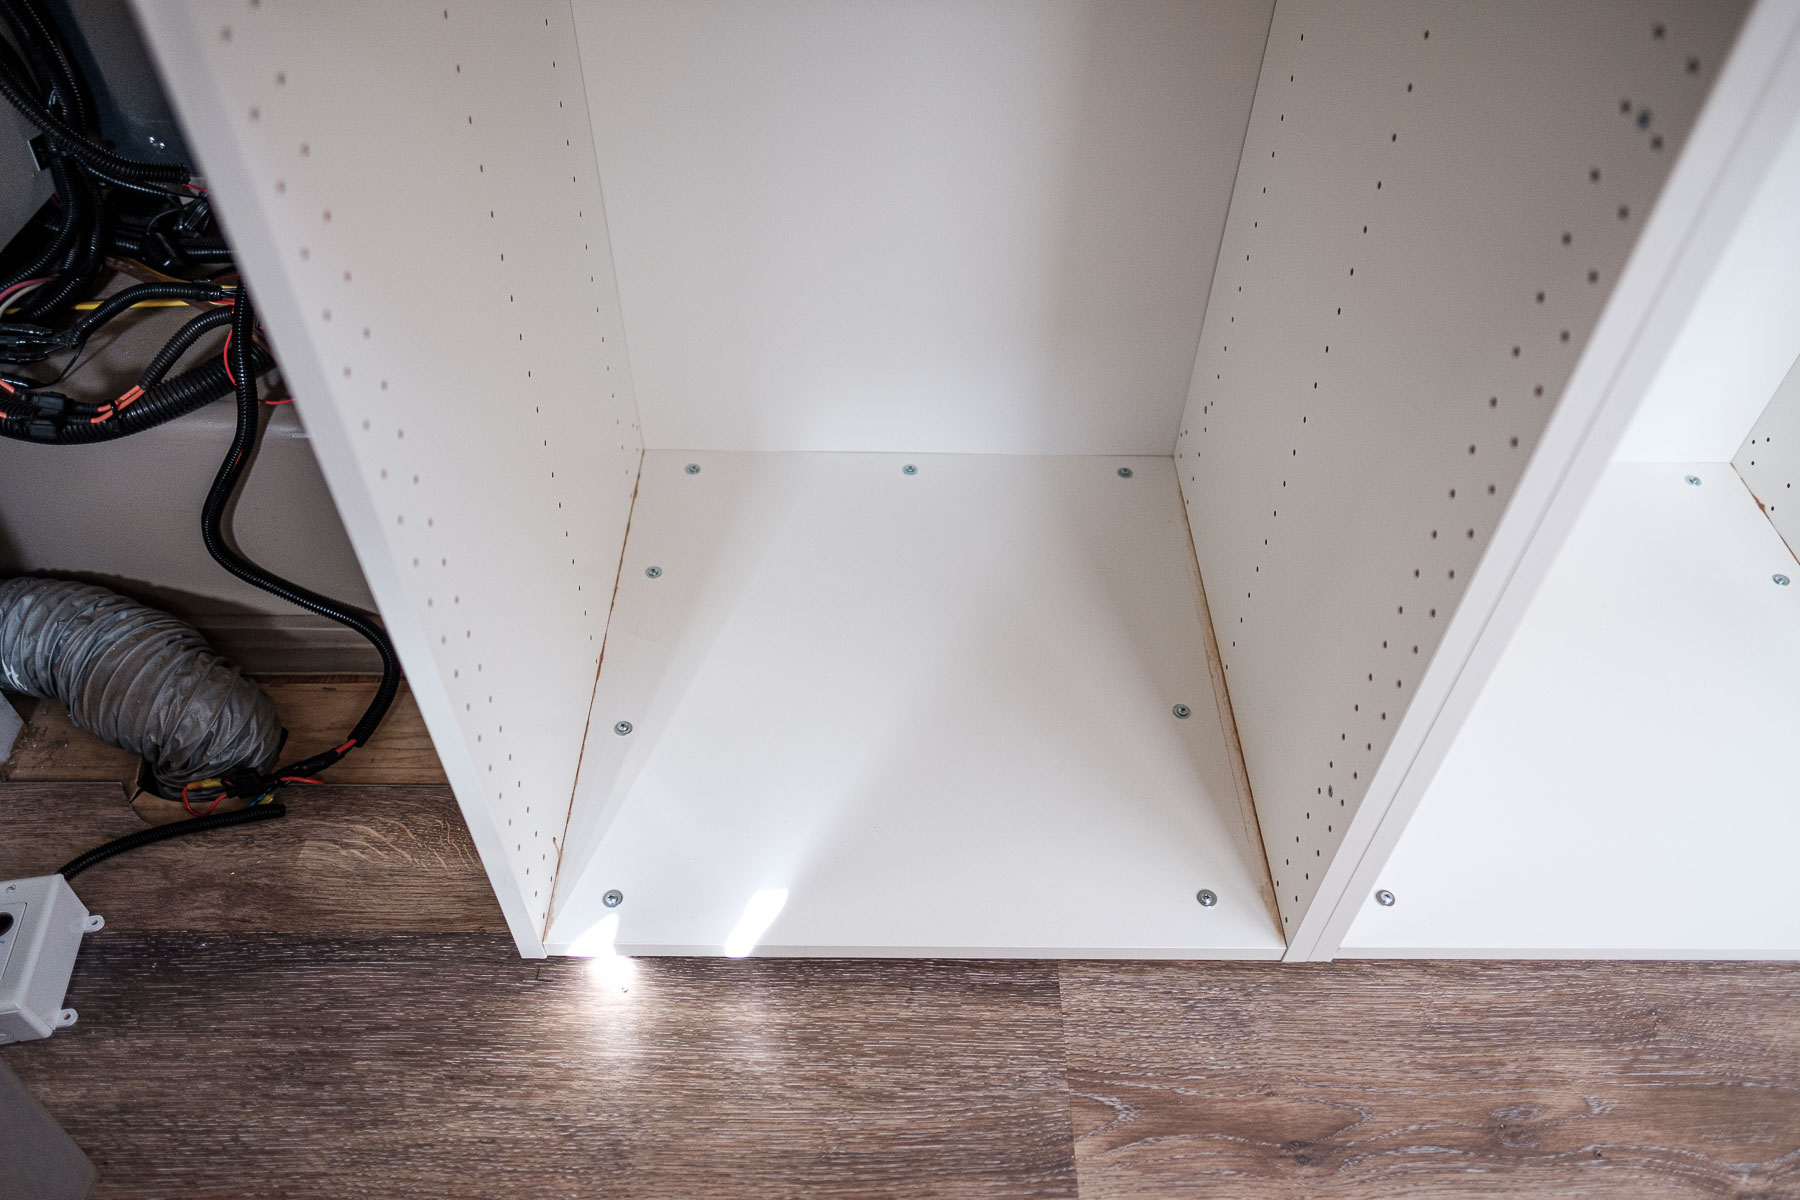
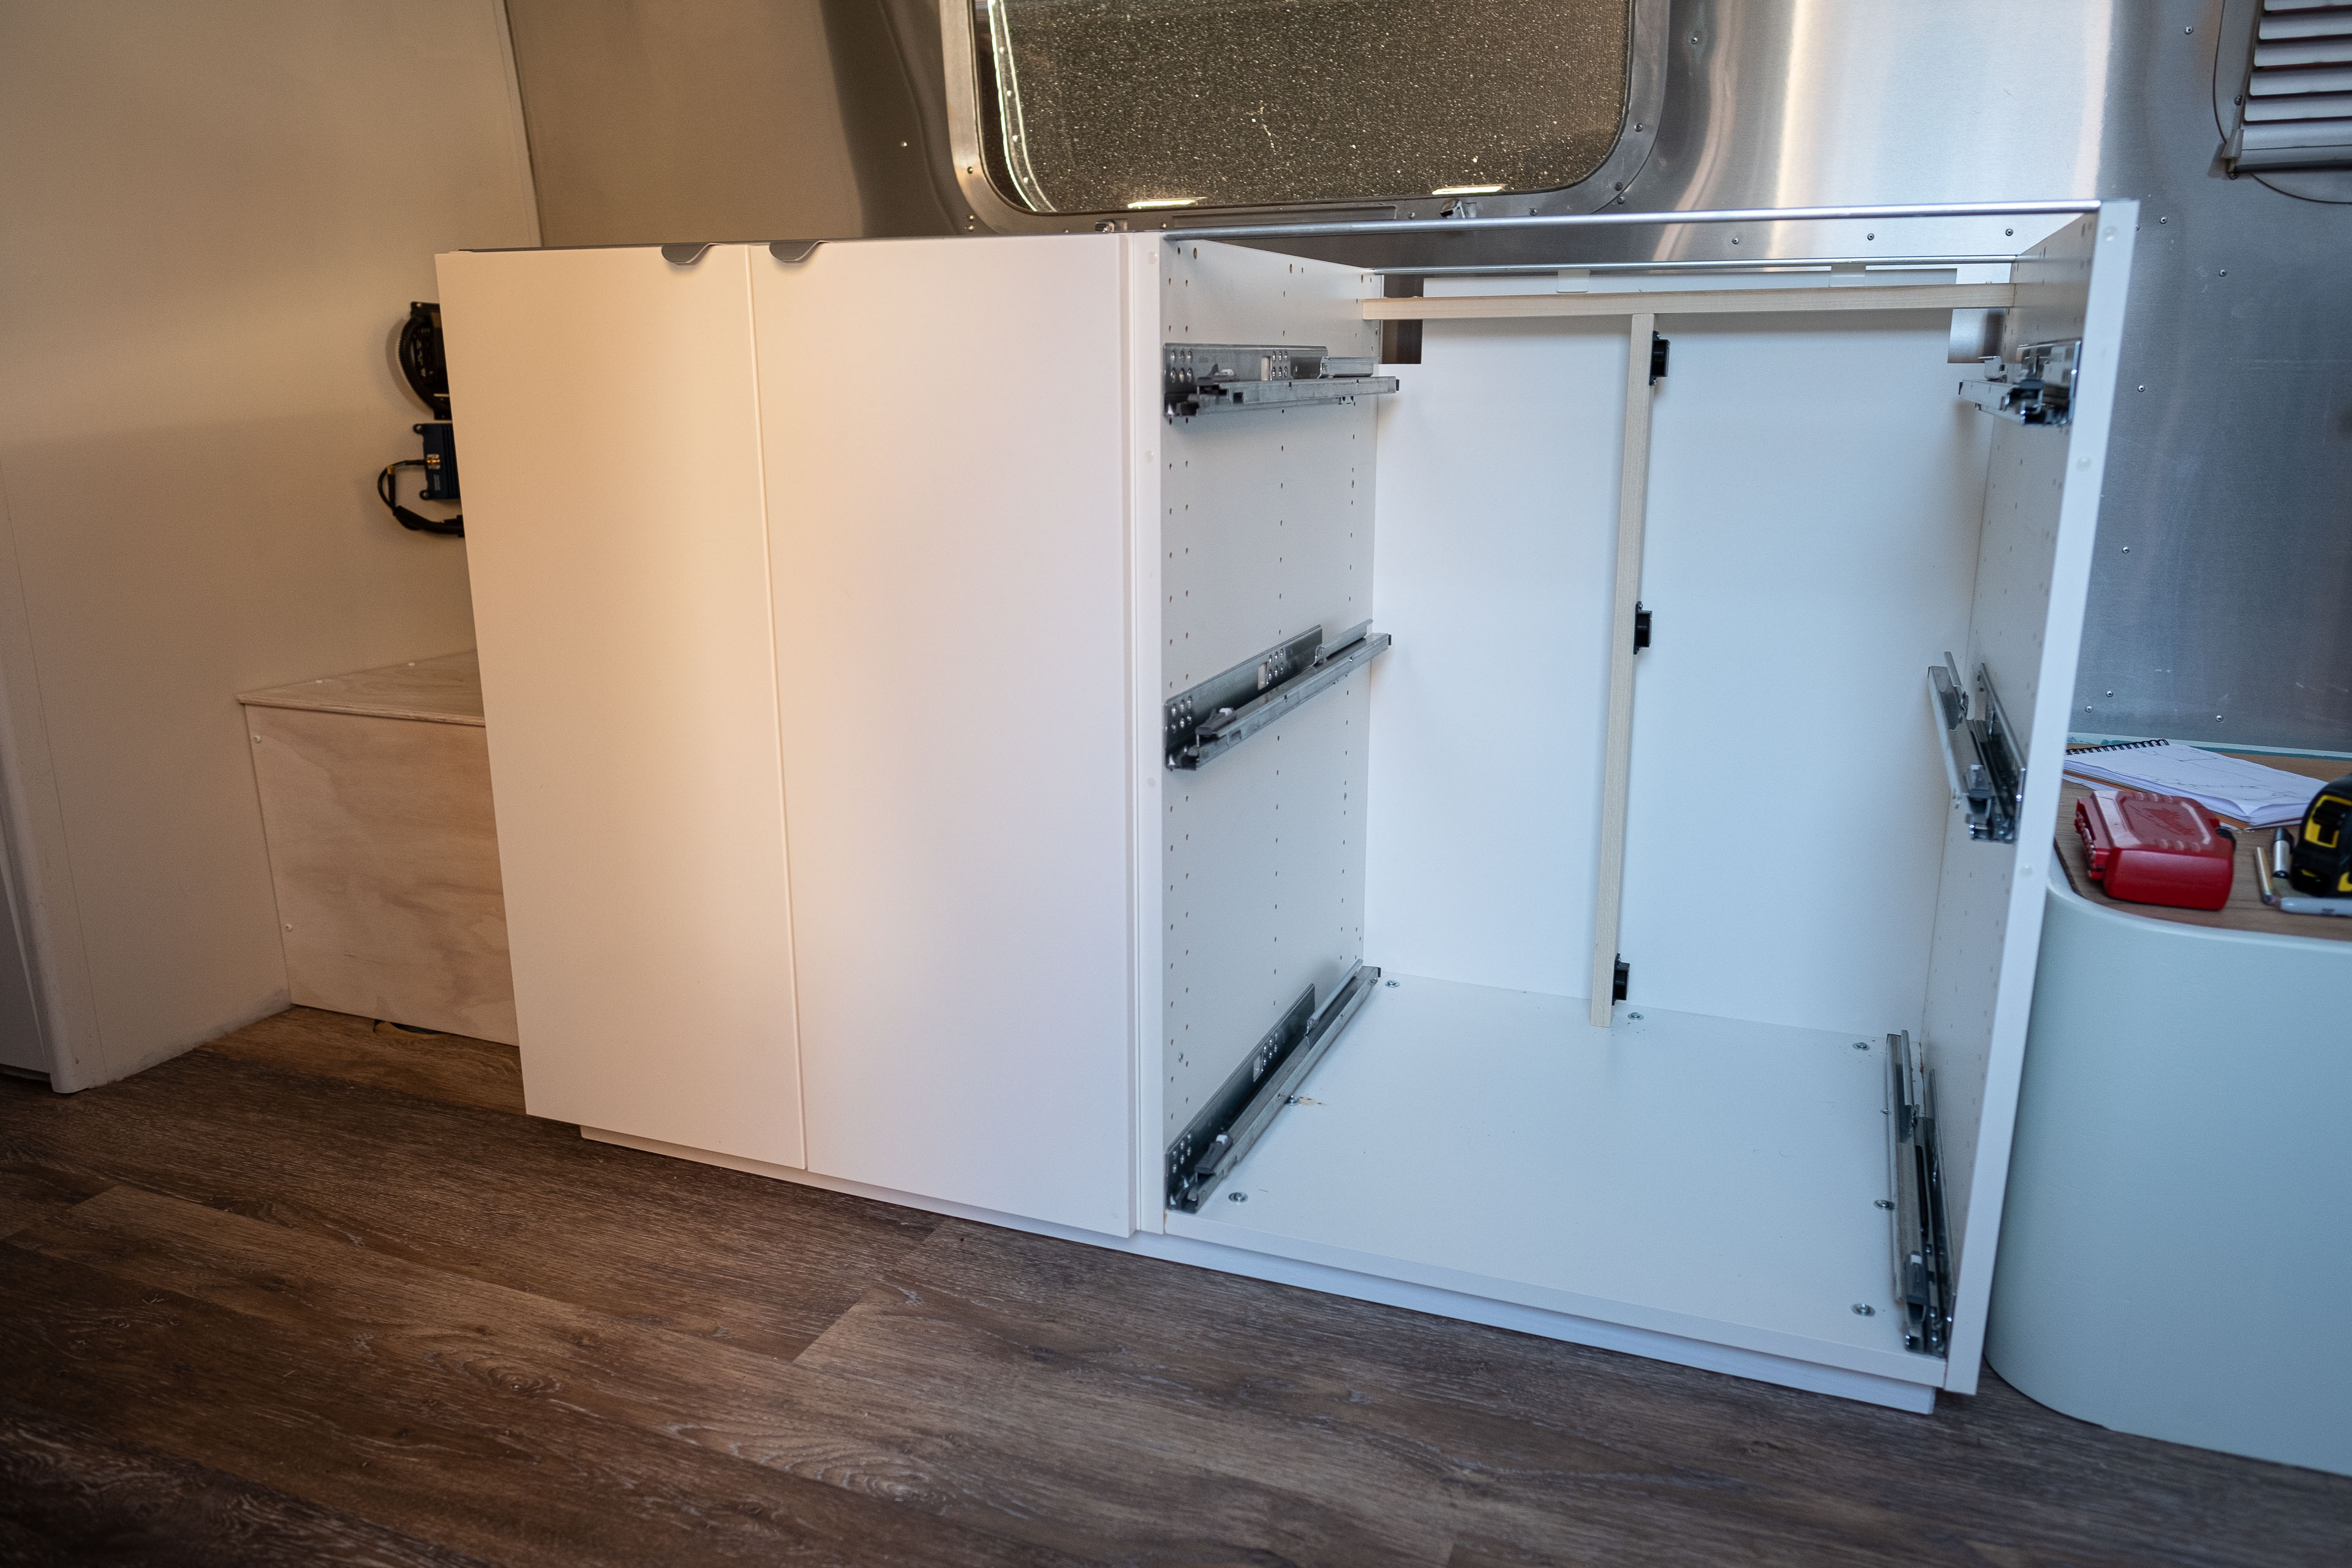
We used a combination of 2 IKEA cabinets and some 3/4” maple plywood to create a street-side galley parallel to our existing kitchen. The IKEA cabinets made the build so much faster and simpler than building cabinets ourselves.
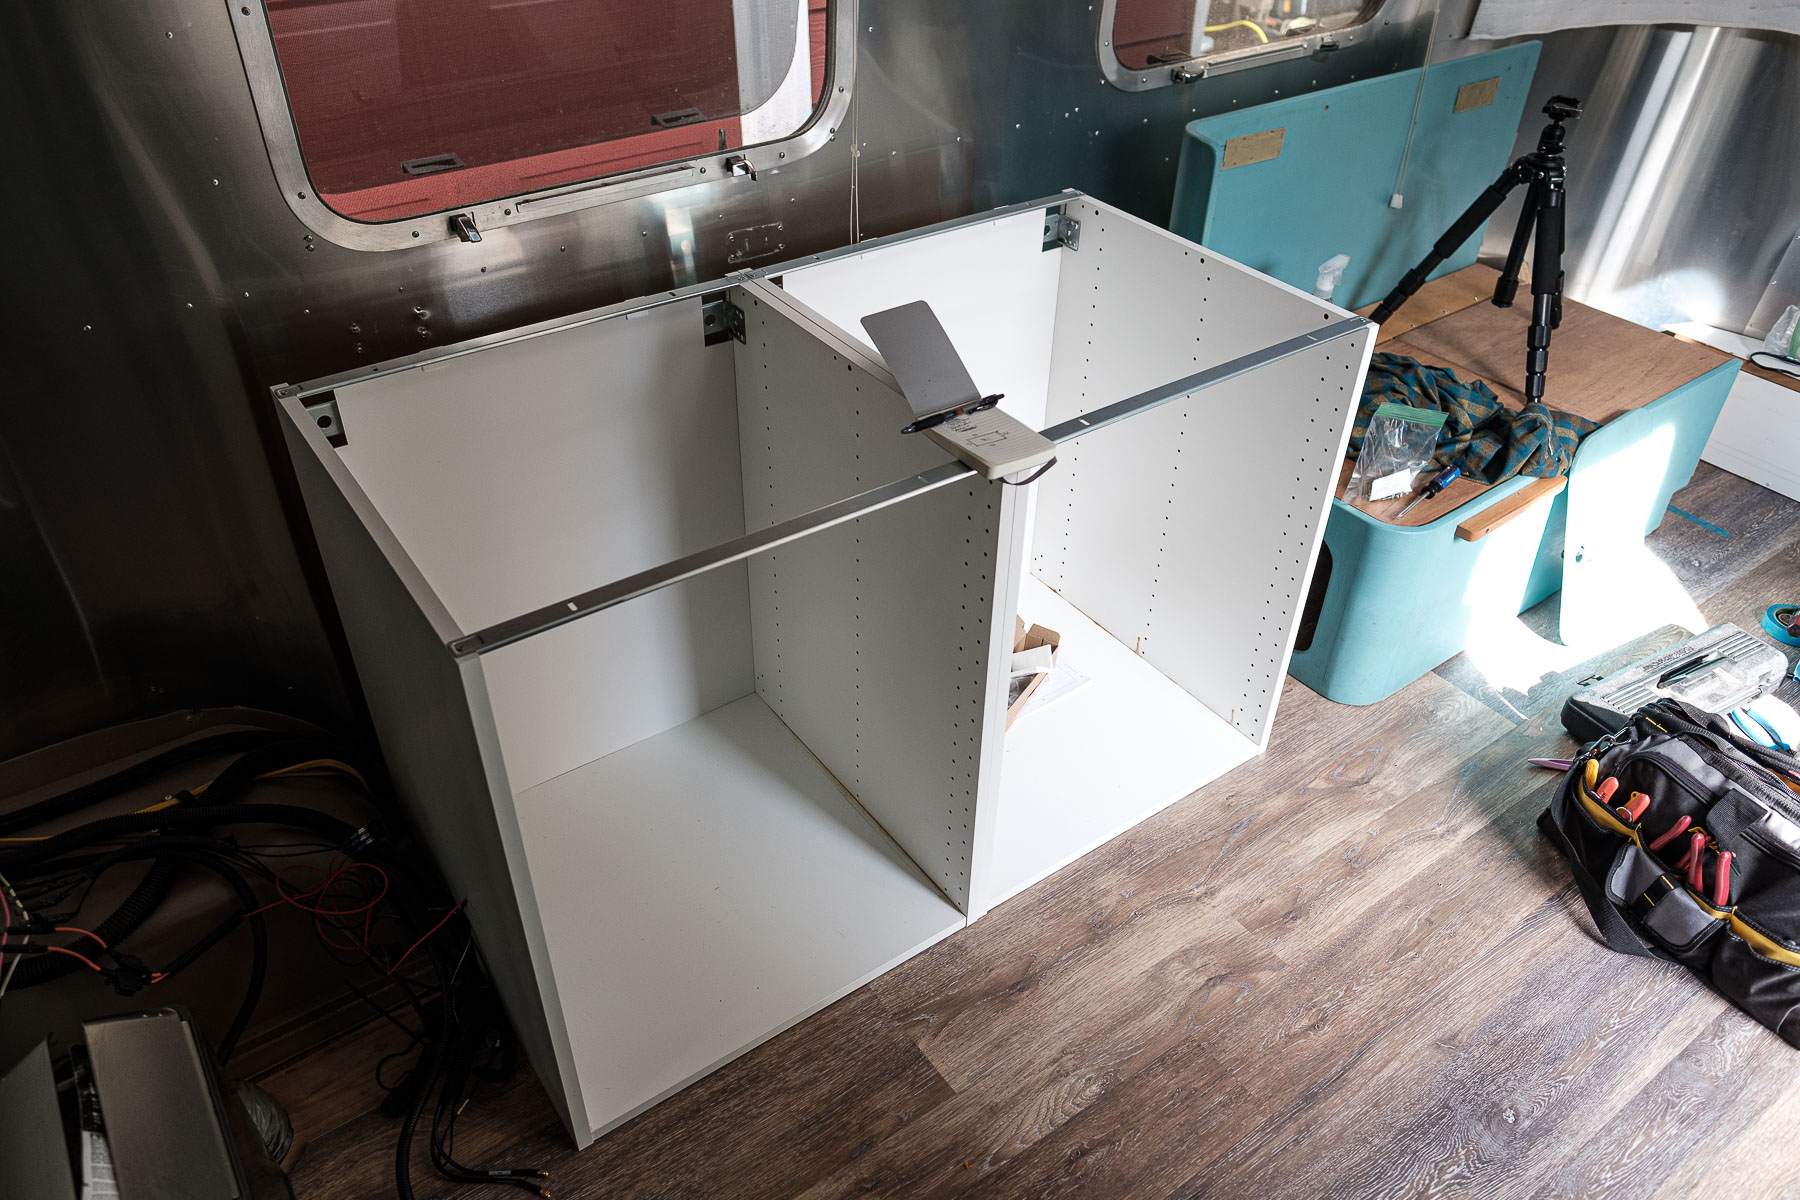
The wheel well and wiring conduit provided some restrictions when it came to positioning the cabinets, but we actually used this to our advantage.
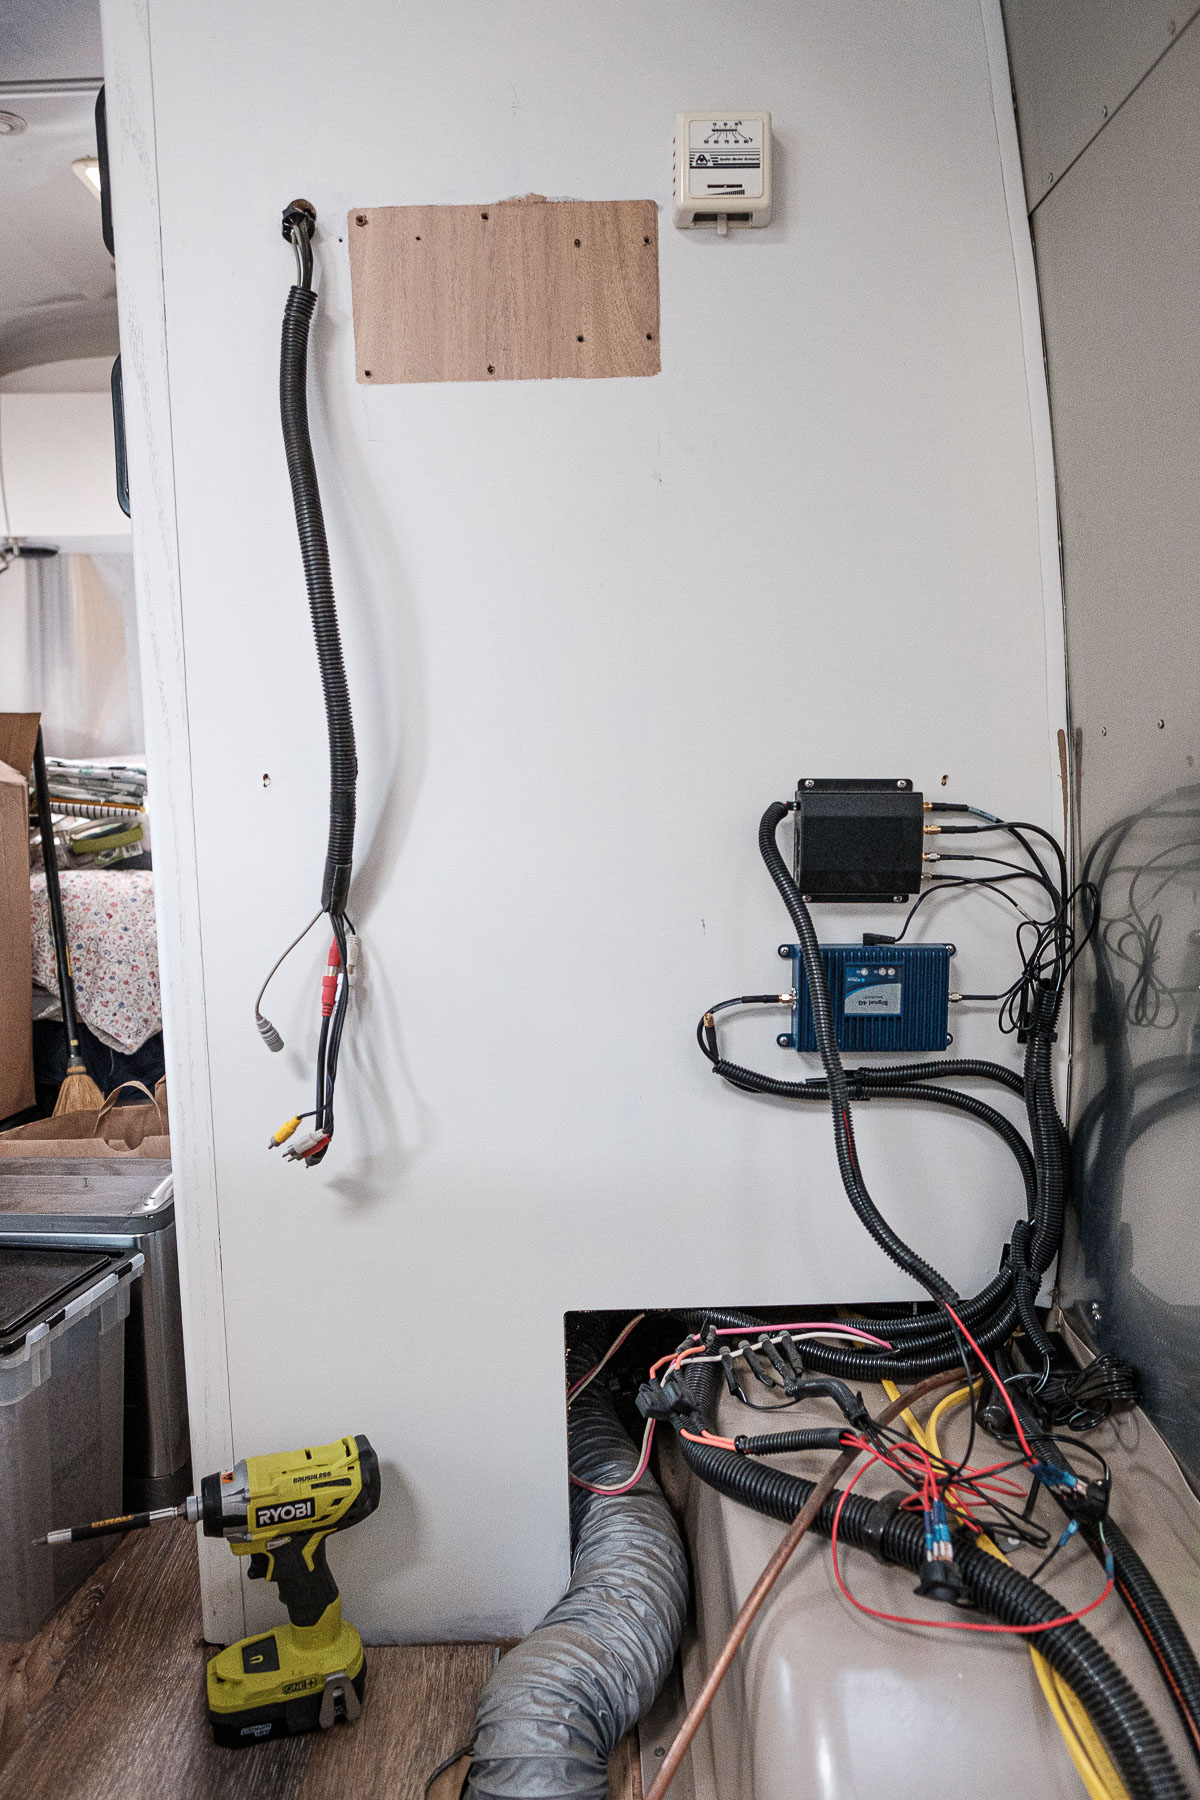
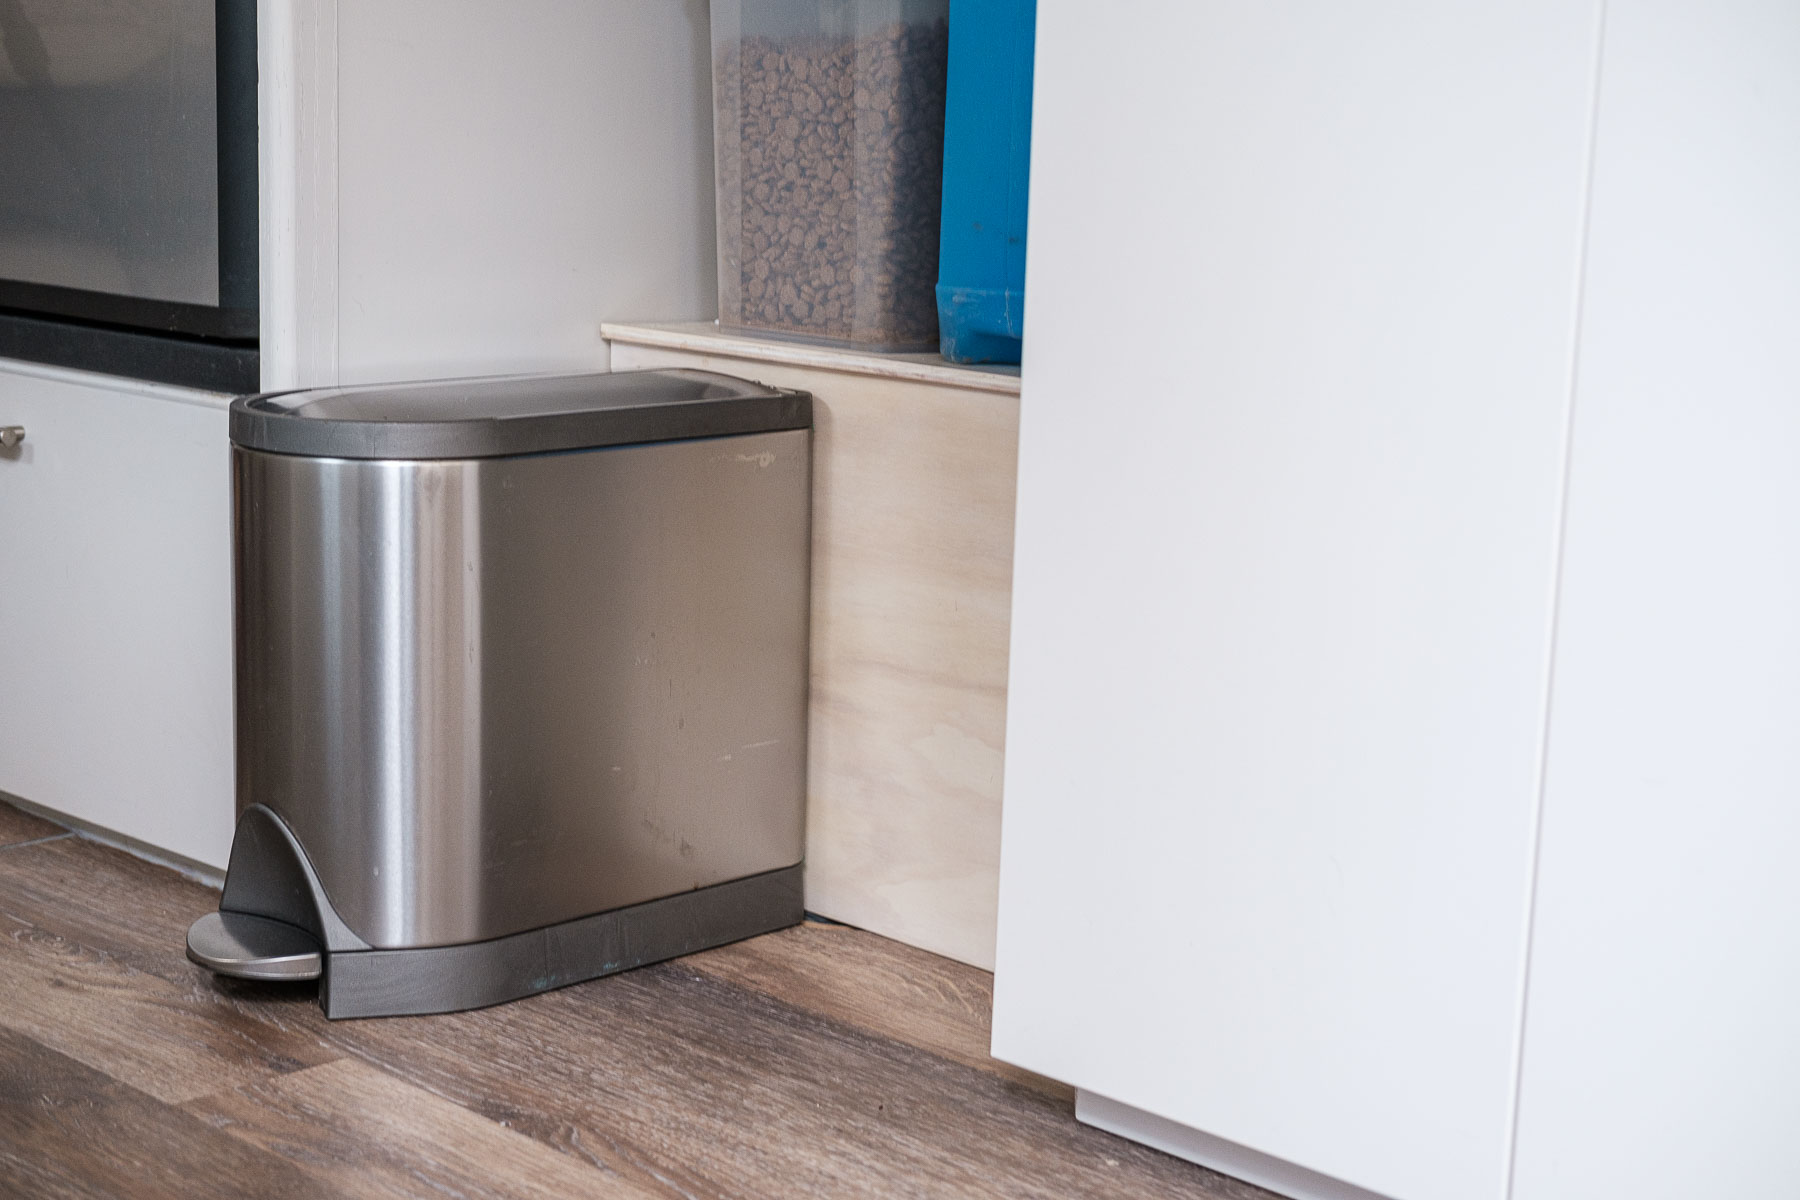
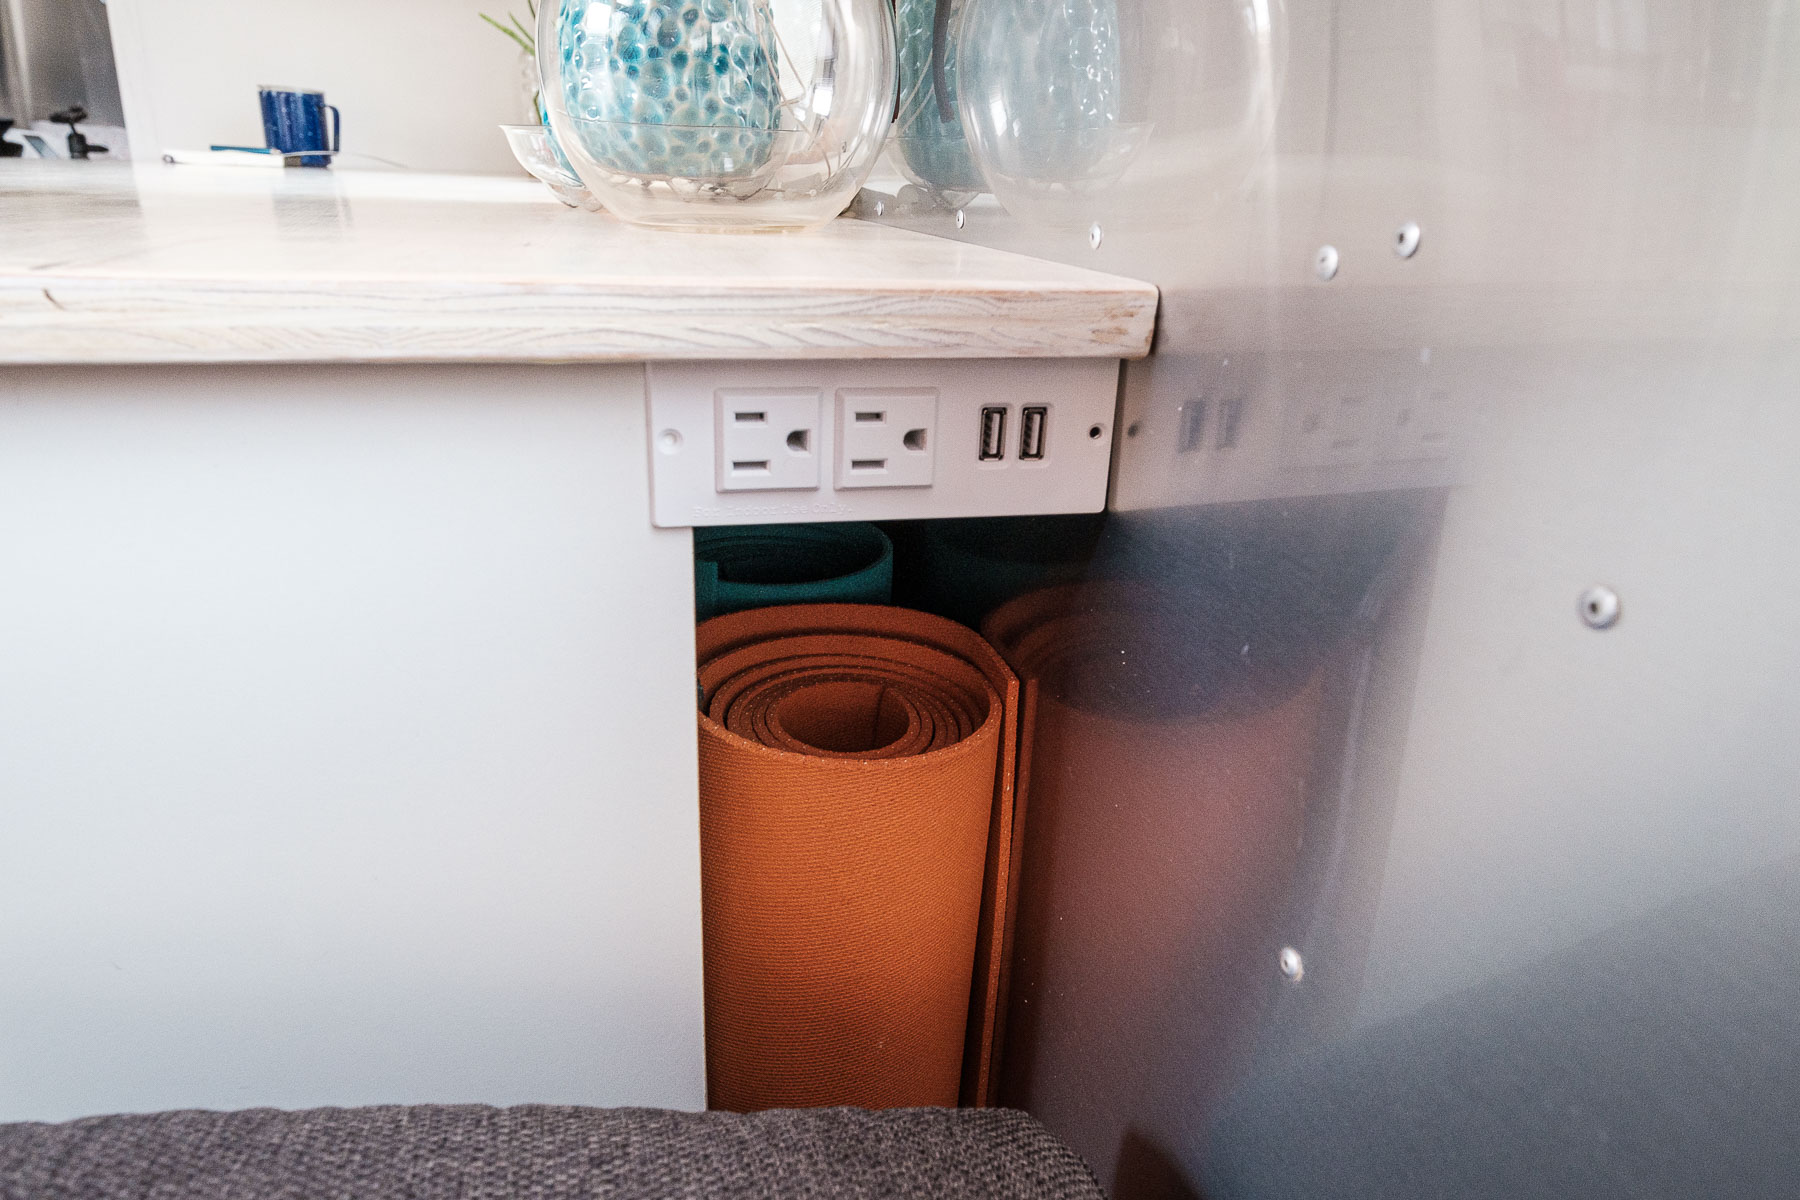
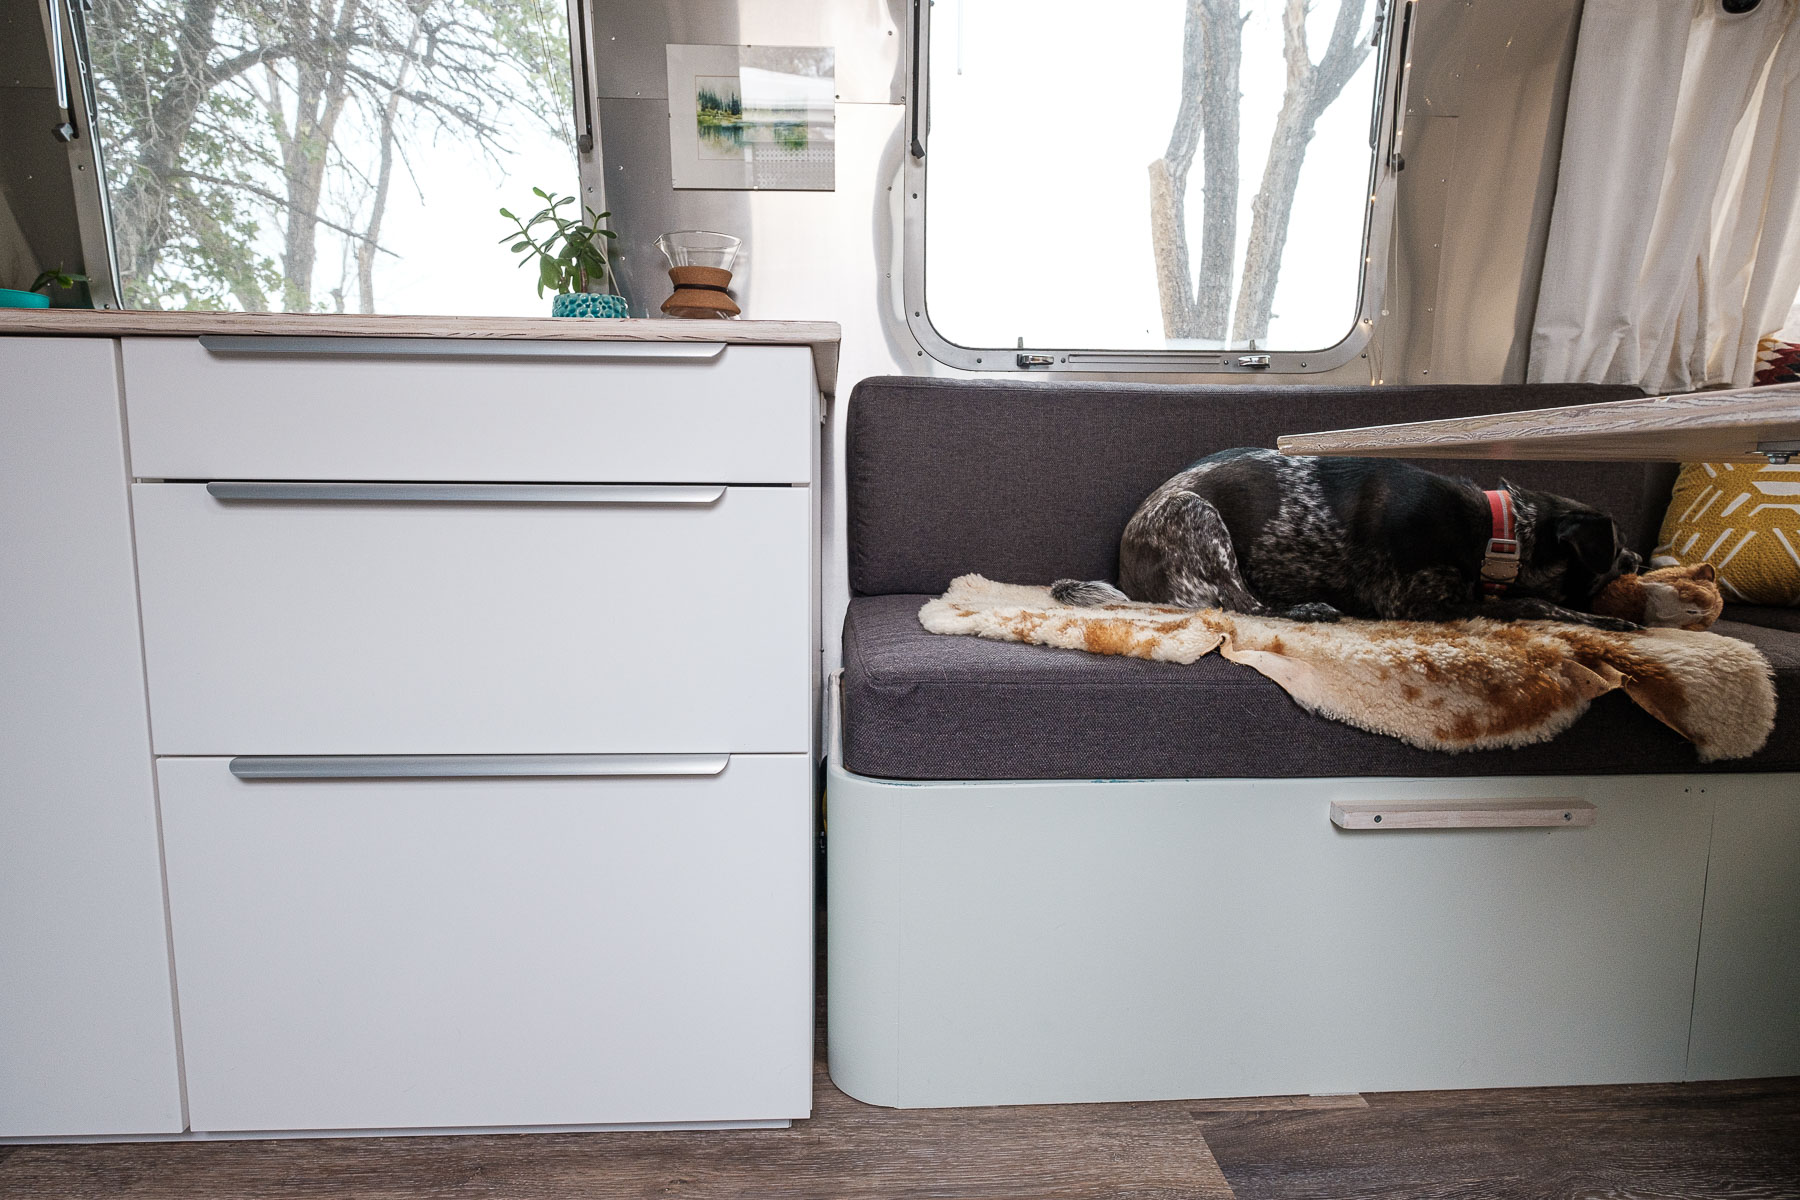
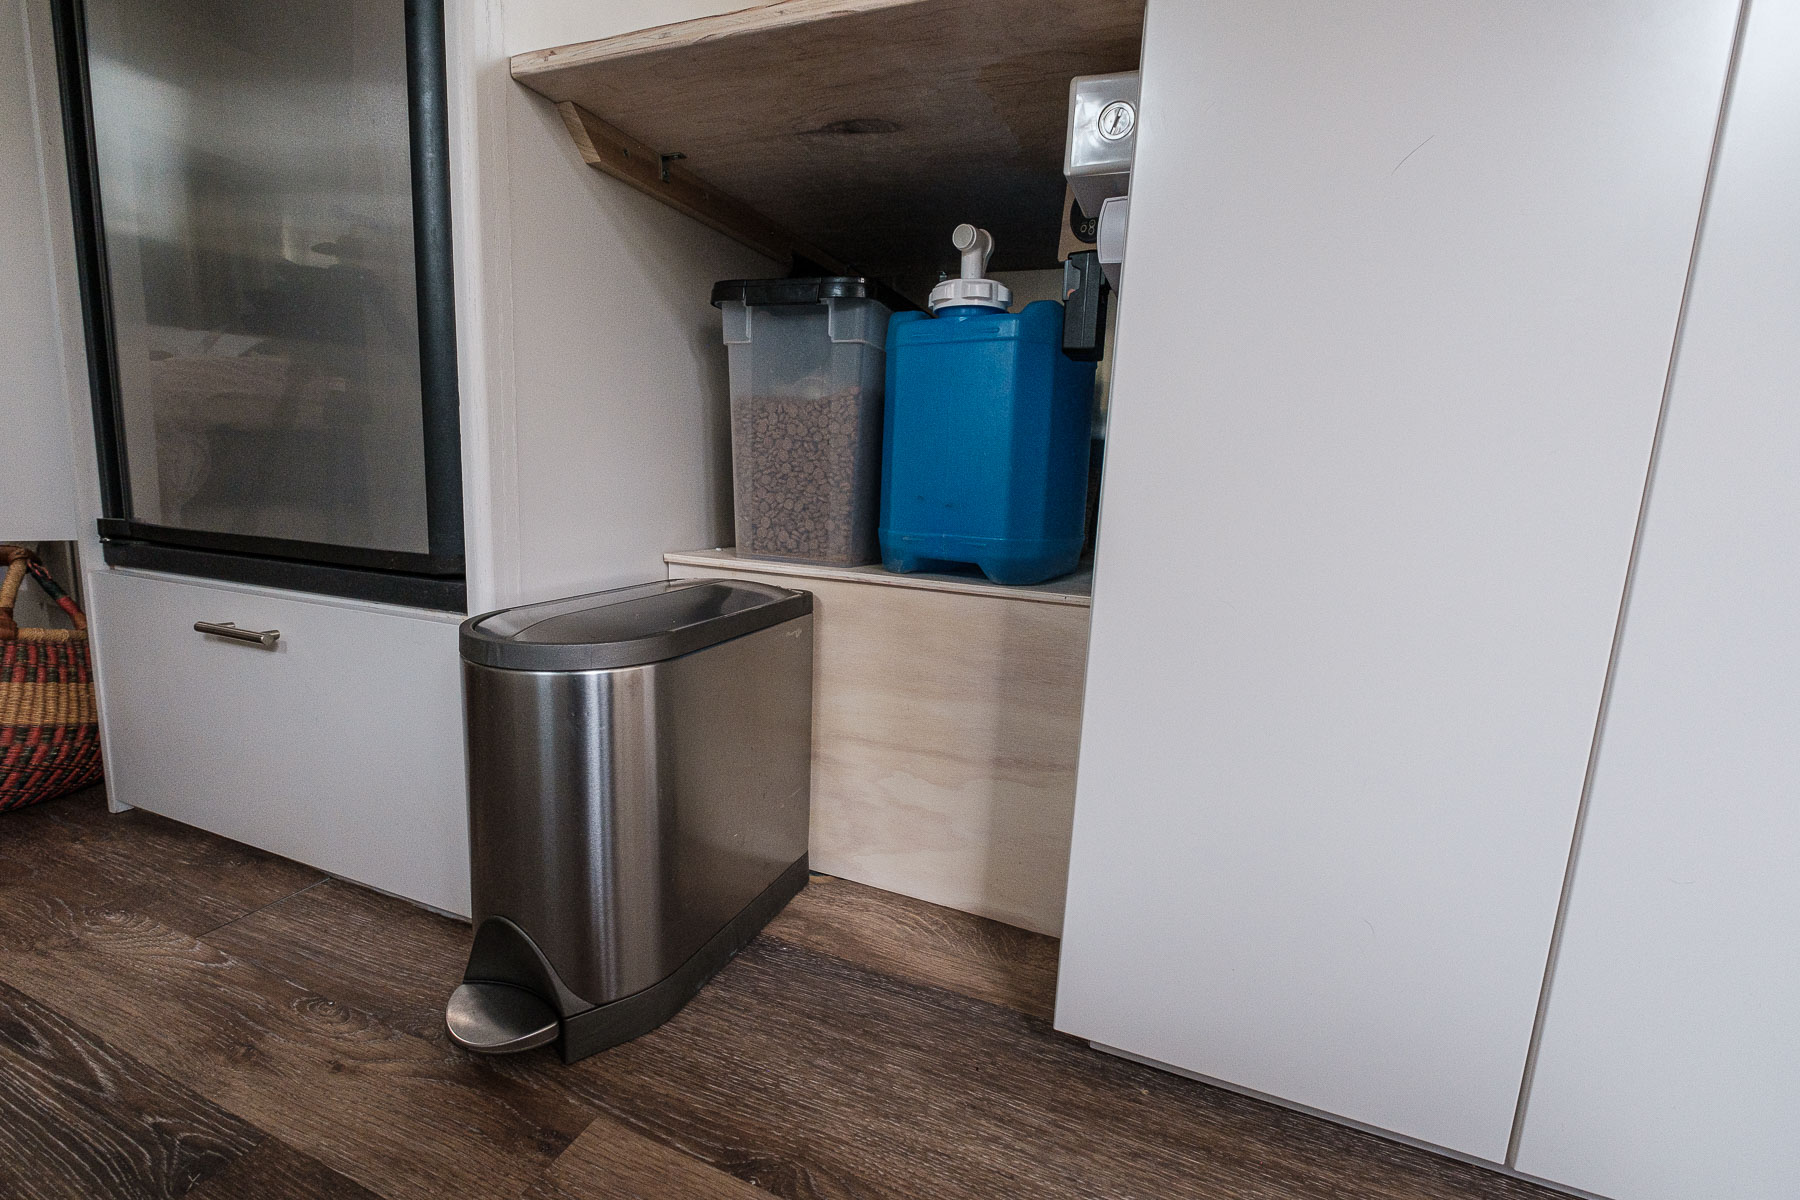
The wheel well juts out beyond our fridge wall, so we had to place the first cabinet away from the wall. This enabled us to extend the counter top to the wall and create a storage space under it for our garbage can, dog food, water, and whatever else we’d like to stick here. It’s also where we moved our internet gear, battery monitor and some electrical outlets. The wheel well itself was boxed in with plywood to hide its unsightliness.
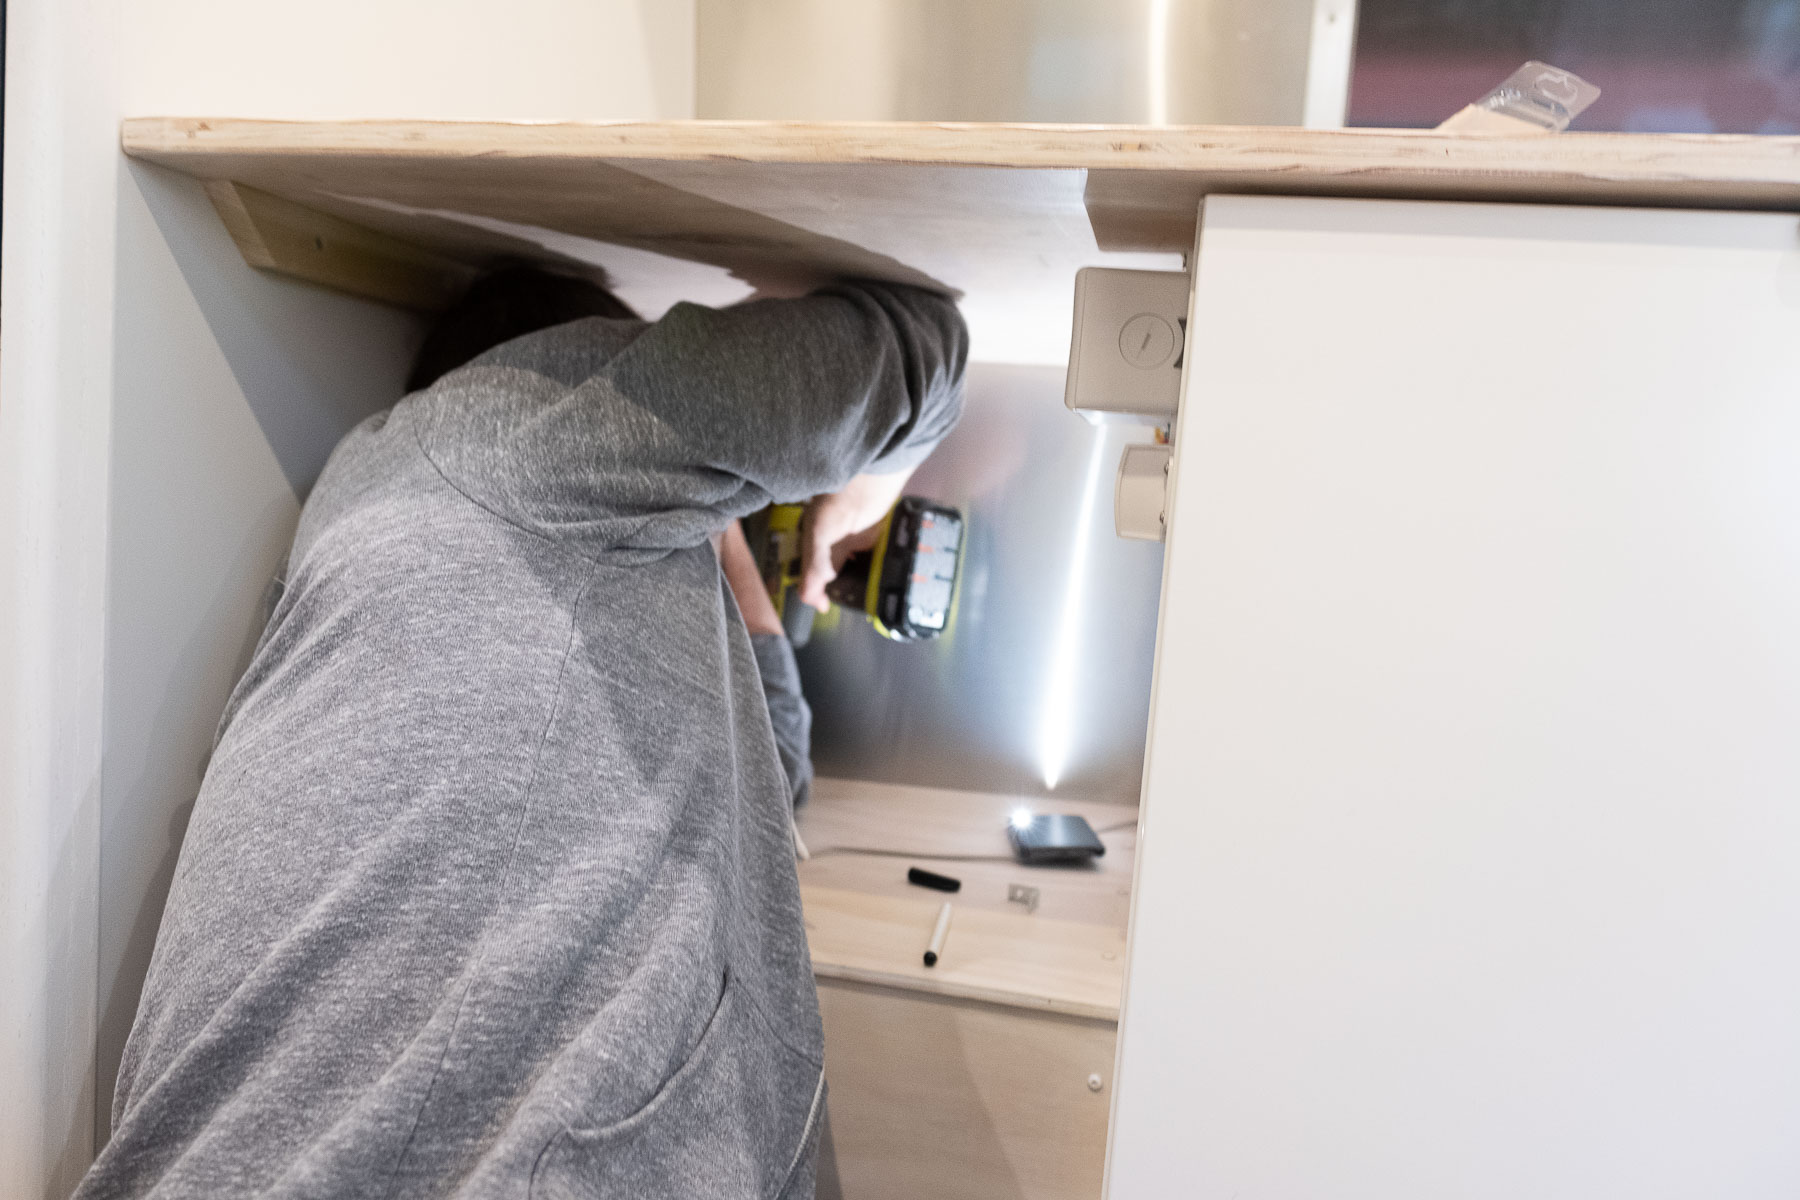
The wiring conduit runs behind the cabinets and prevents them from being mounted right next to the Airstream’s outer wall. This is fine since it’s a curved wall and would be difficult to mount anything too. By positioning the cabinets away from the wall, we created a small storage space for flexible items like backpacks and yoga mats. When living in an Airstream, take any extra storage space you can get!
The cabinets themselves were mounted on 2”x2”s to raise them off the floor without making them so tall they would block the window.
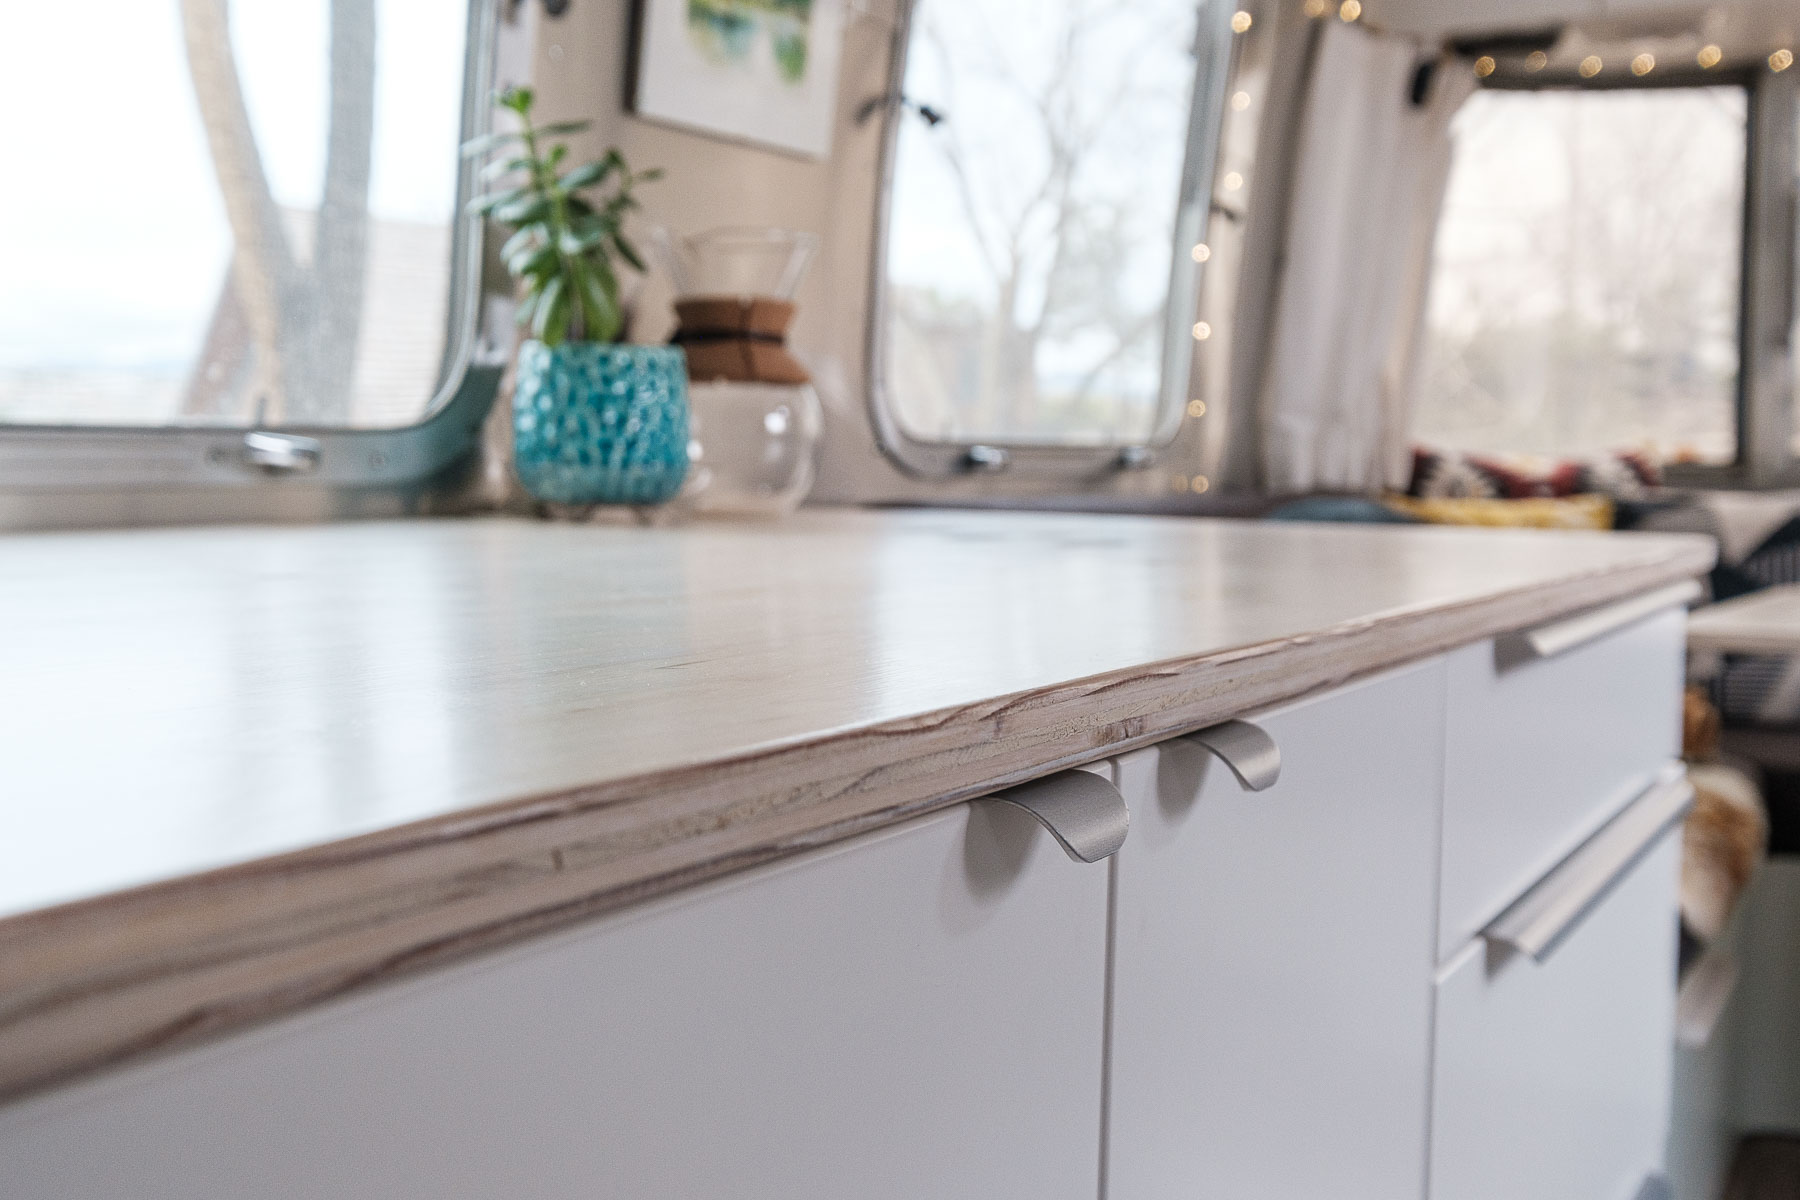
We used RV latches on the cabinet doors in the way you’d typically see it done in any RV. For those not familiar with RV latches, they keep your doors from flying open when driving down the road.
For the drawers, we needed to make something a little different. We built a T-shaped frame behind them and centered the latch on the back of the drawer. If we didn’t do this there really wasn’t anything positive to mount them to on the front of the drawers. It hides the latch nicely and works better than if they were mounted up front.
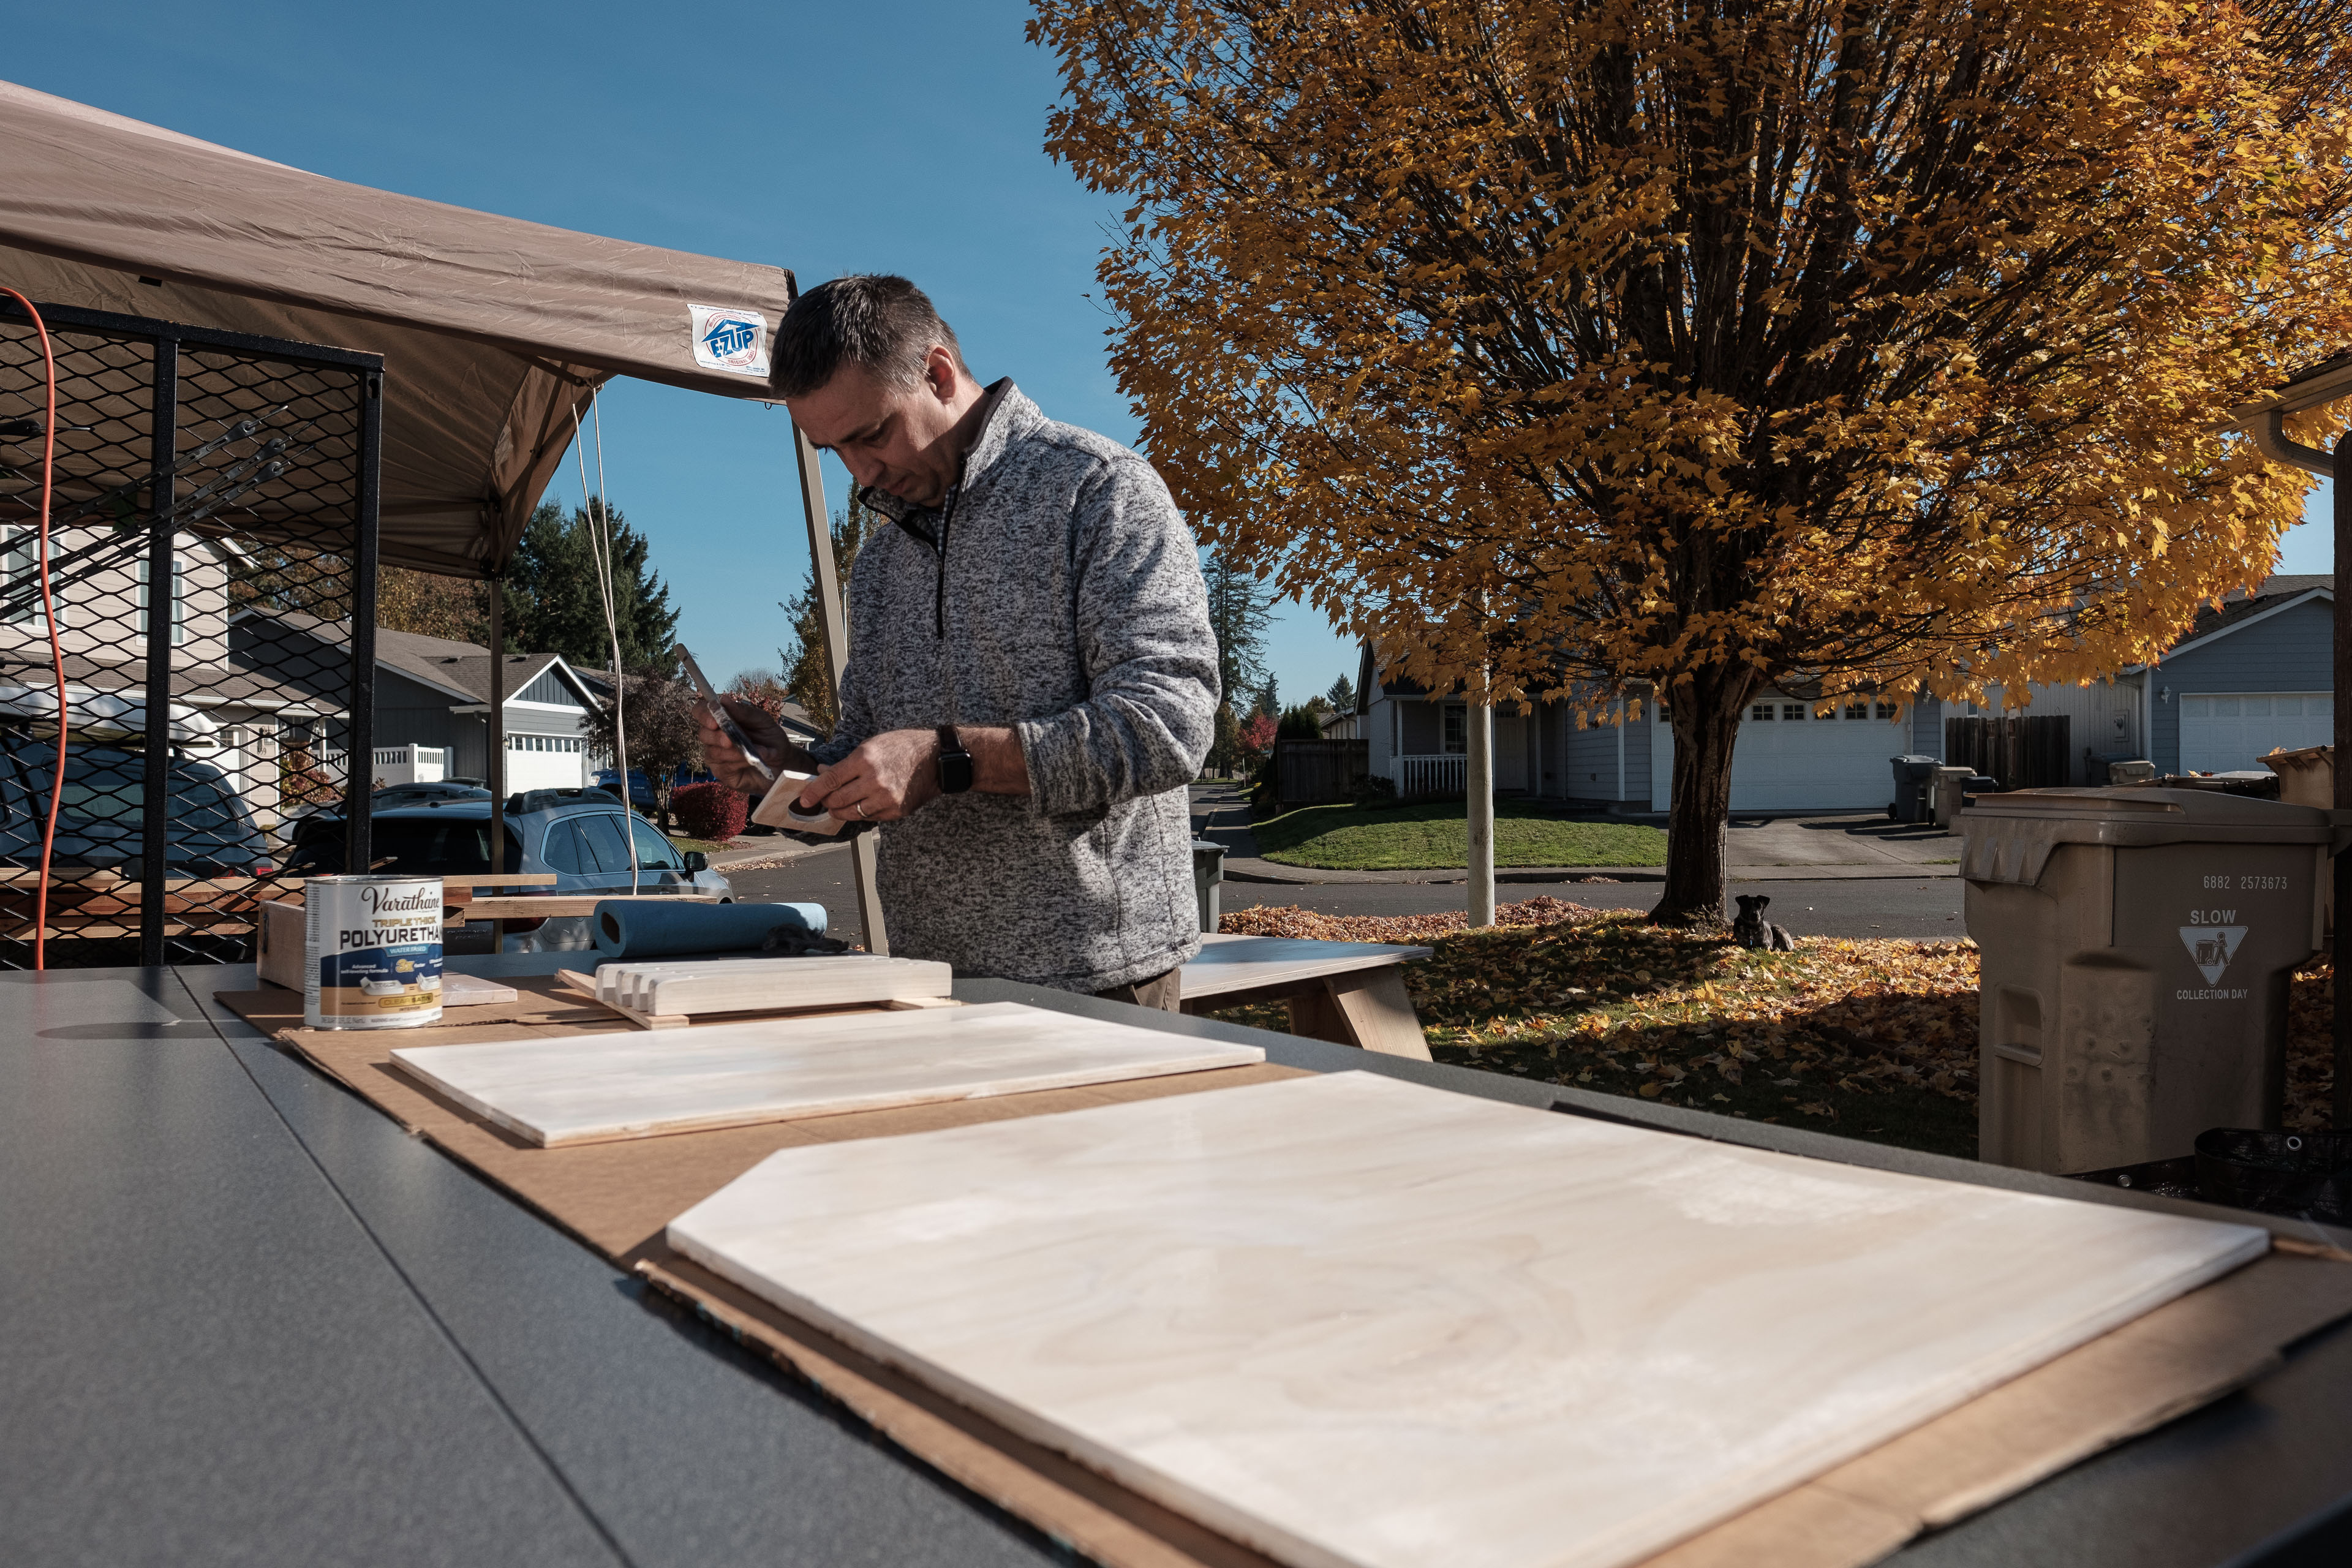
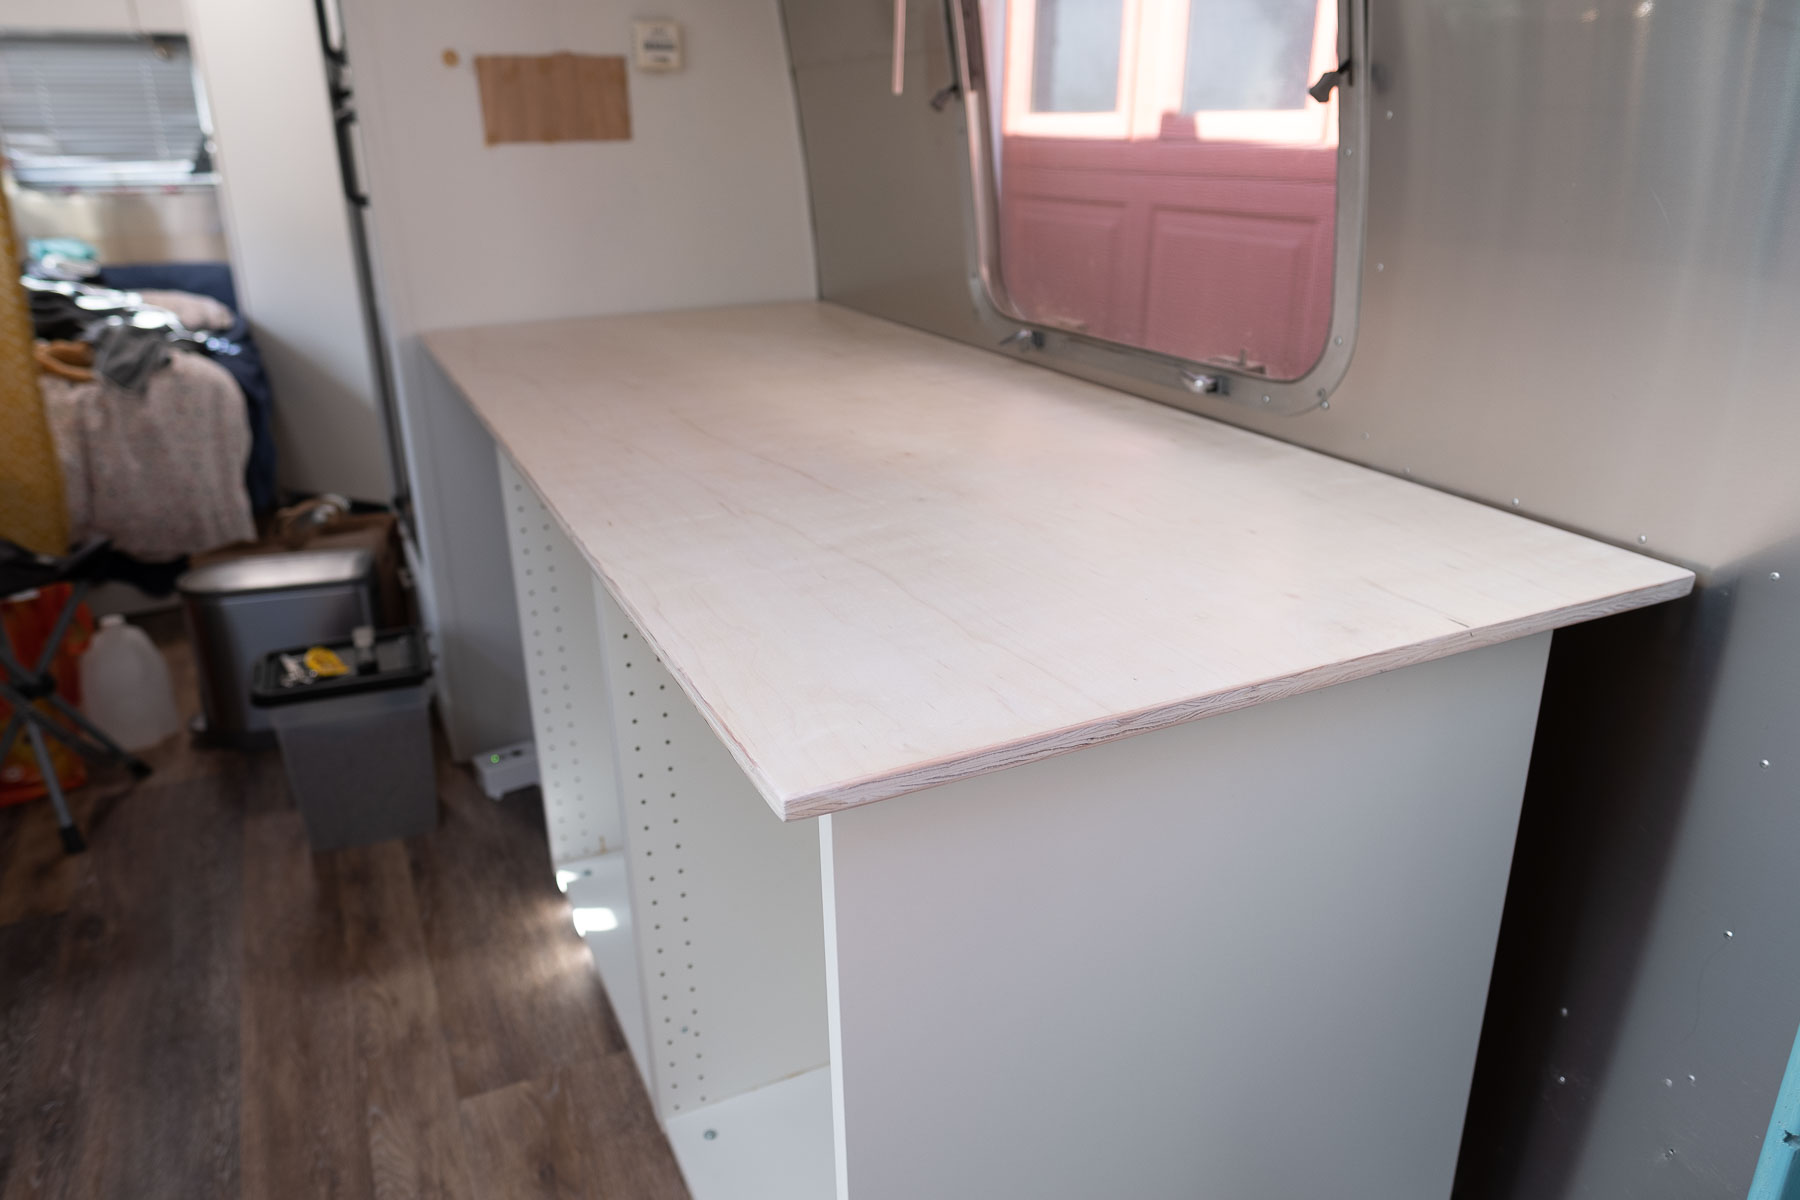
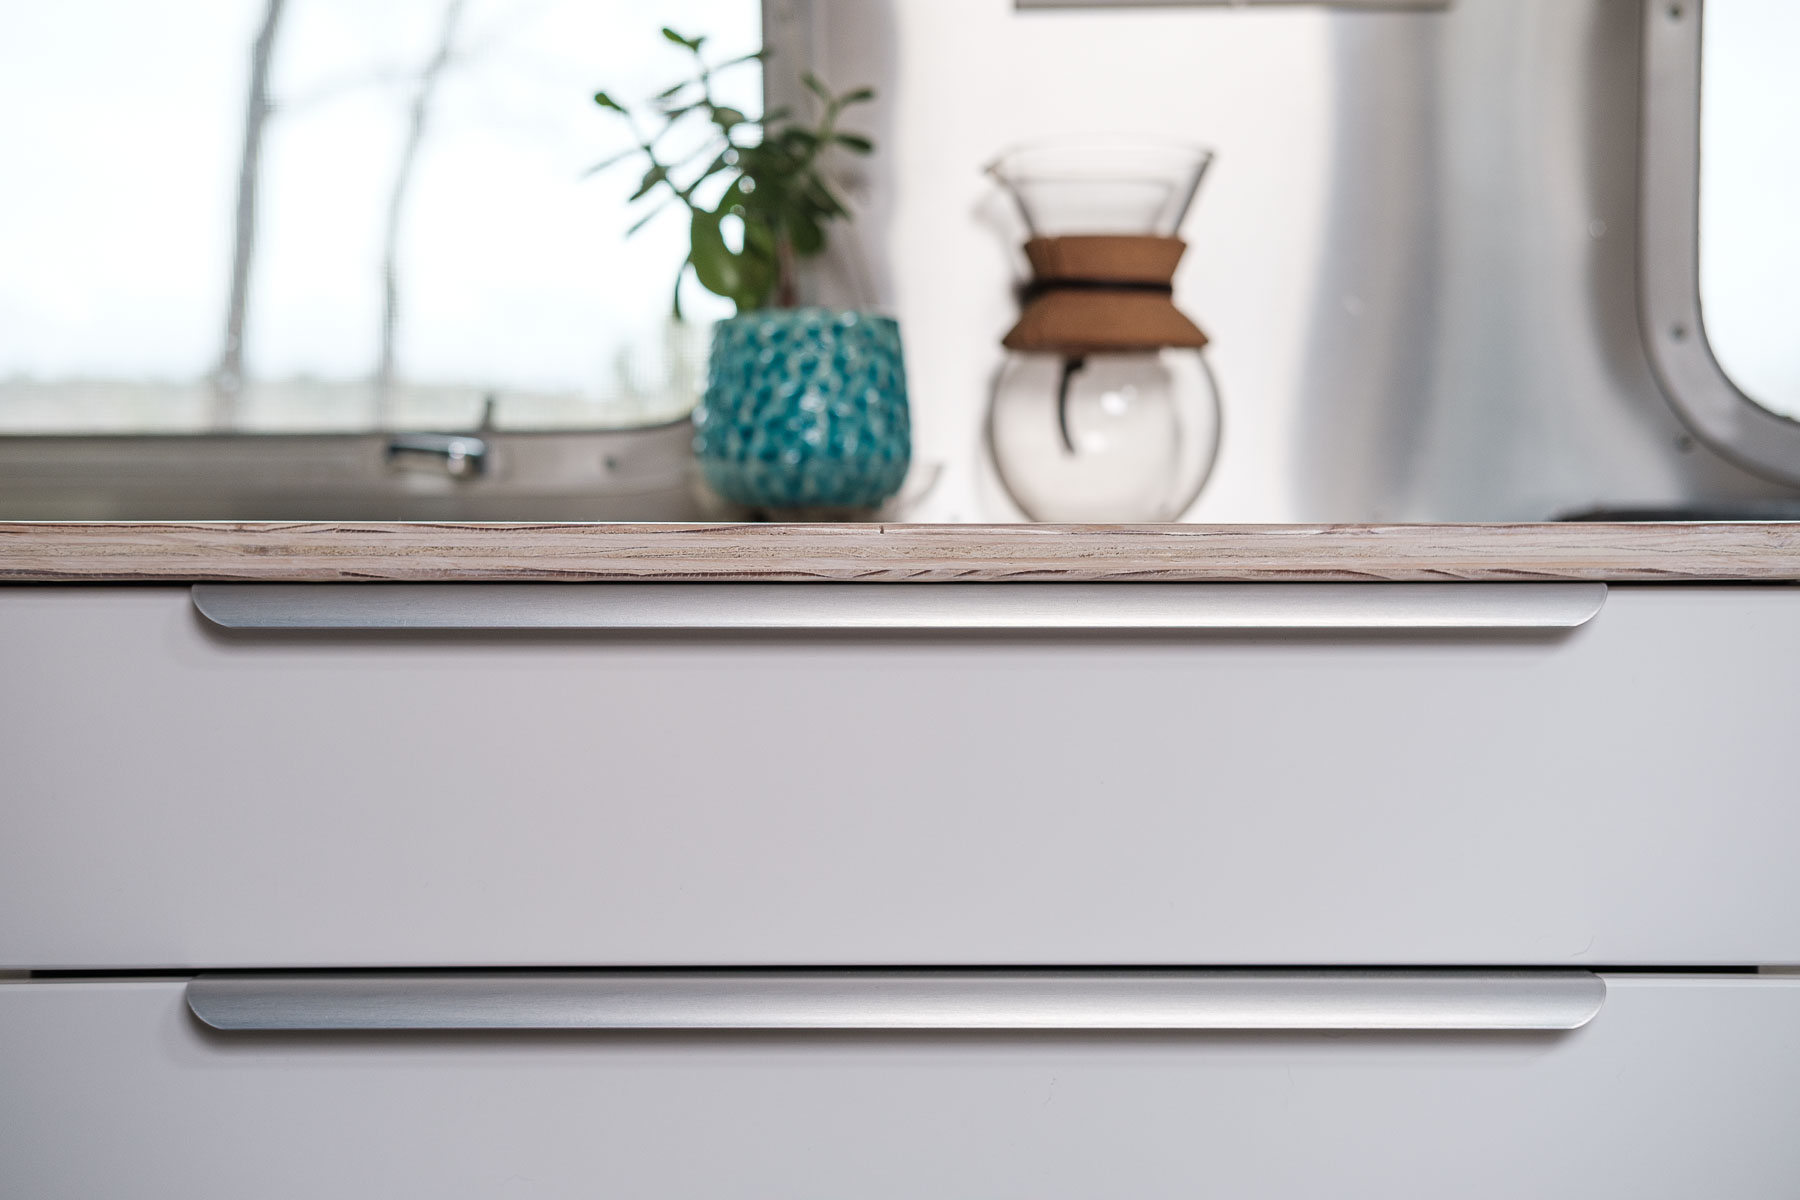
The counter top is made of A-grade 3/4” maple plywood that’s been sanded and slightly routed. The color, or lack of, is from Varathane White Wash wood stain. For durability, we used Varathane Triple Thick Polyurethane to top it off. This gives us a durable and easy to clean surface that brightens up the trailer.
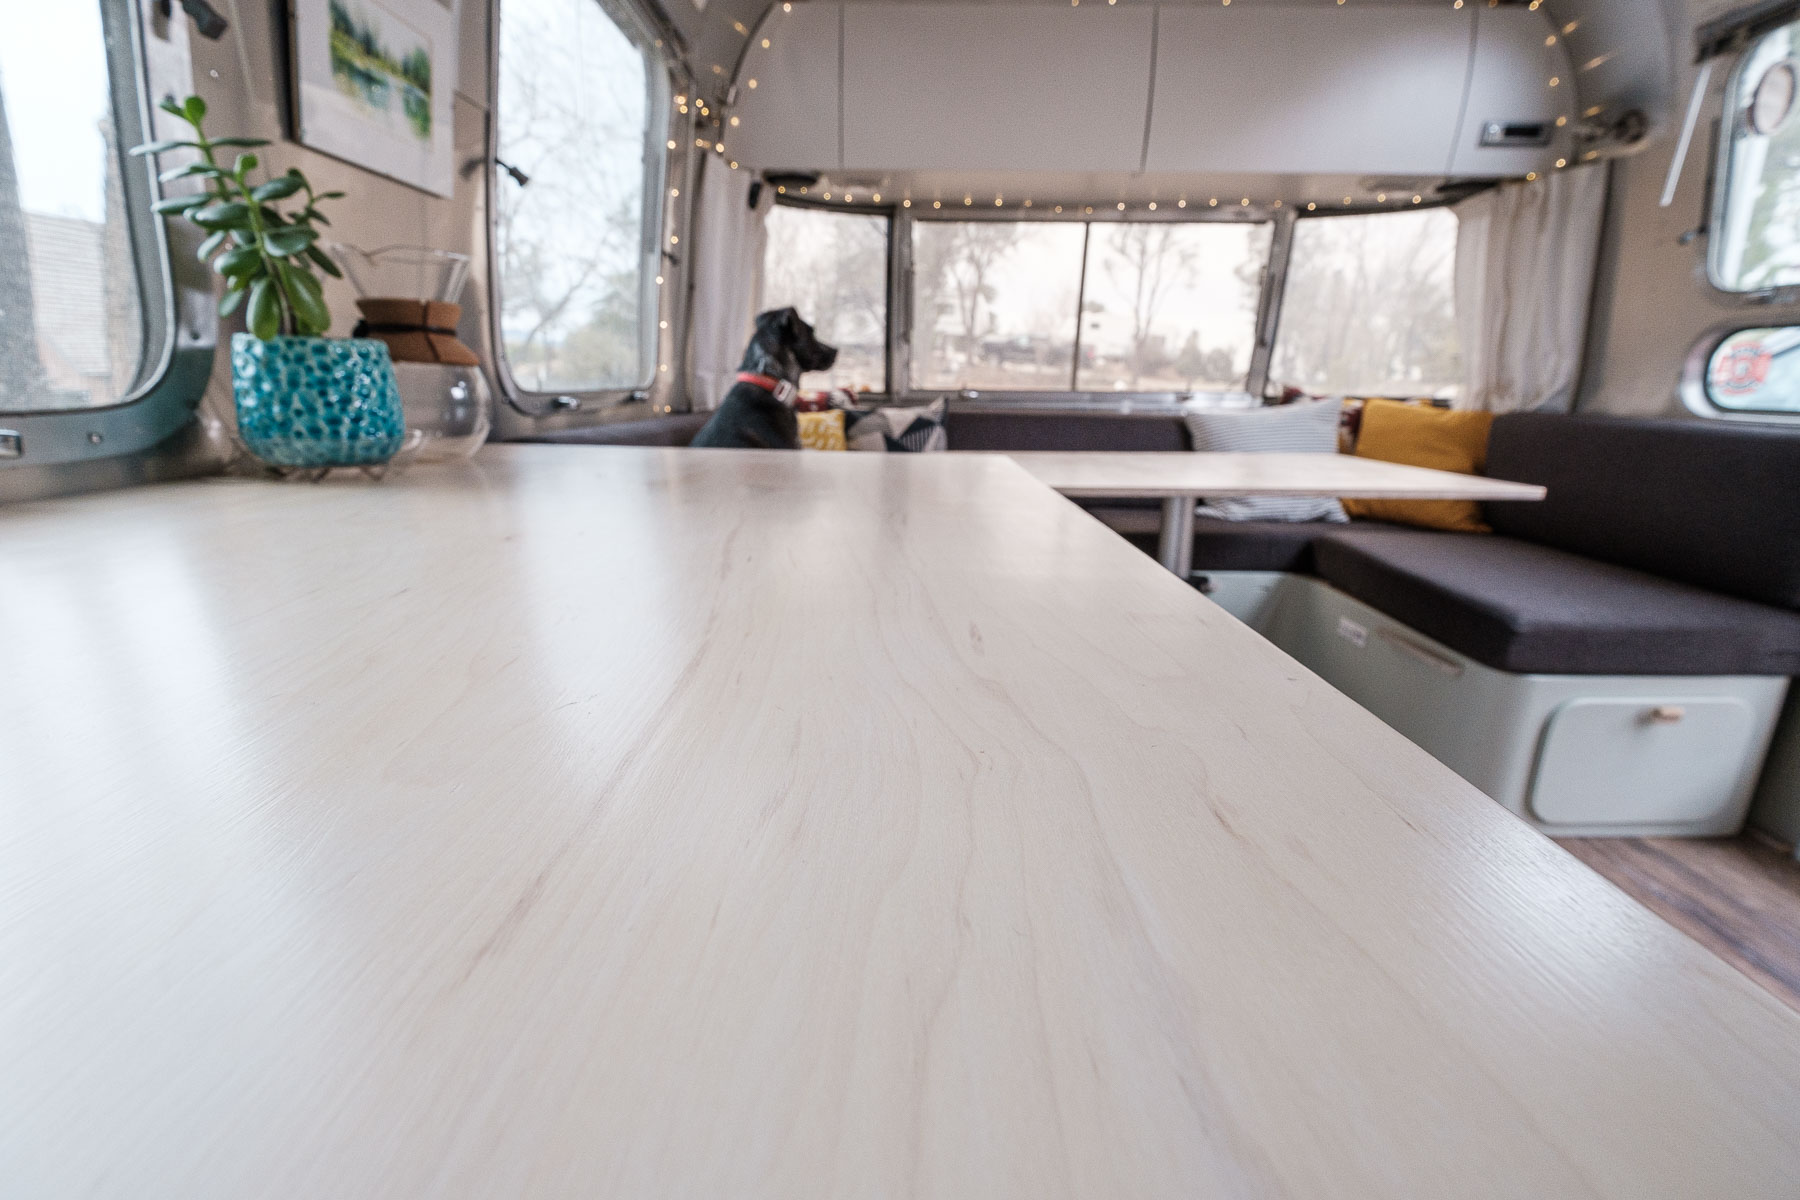
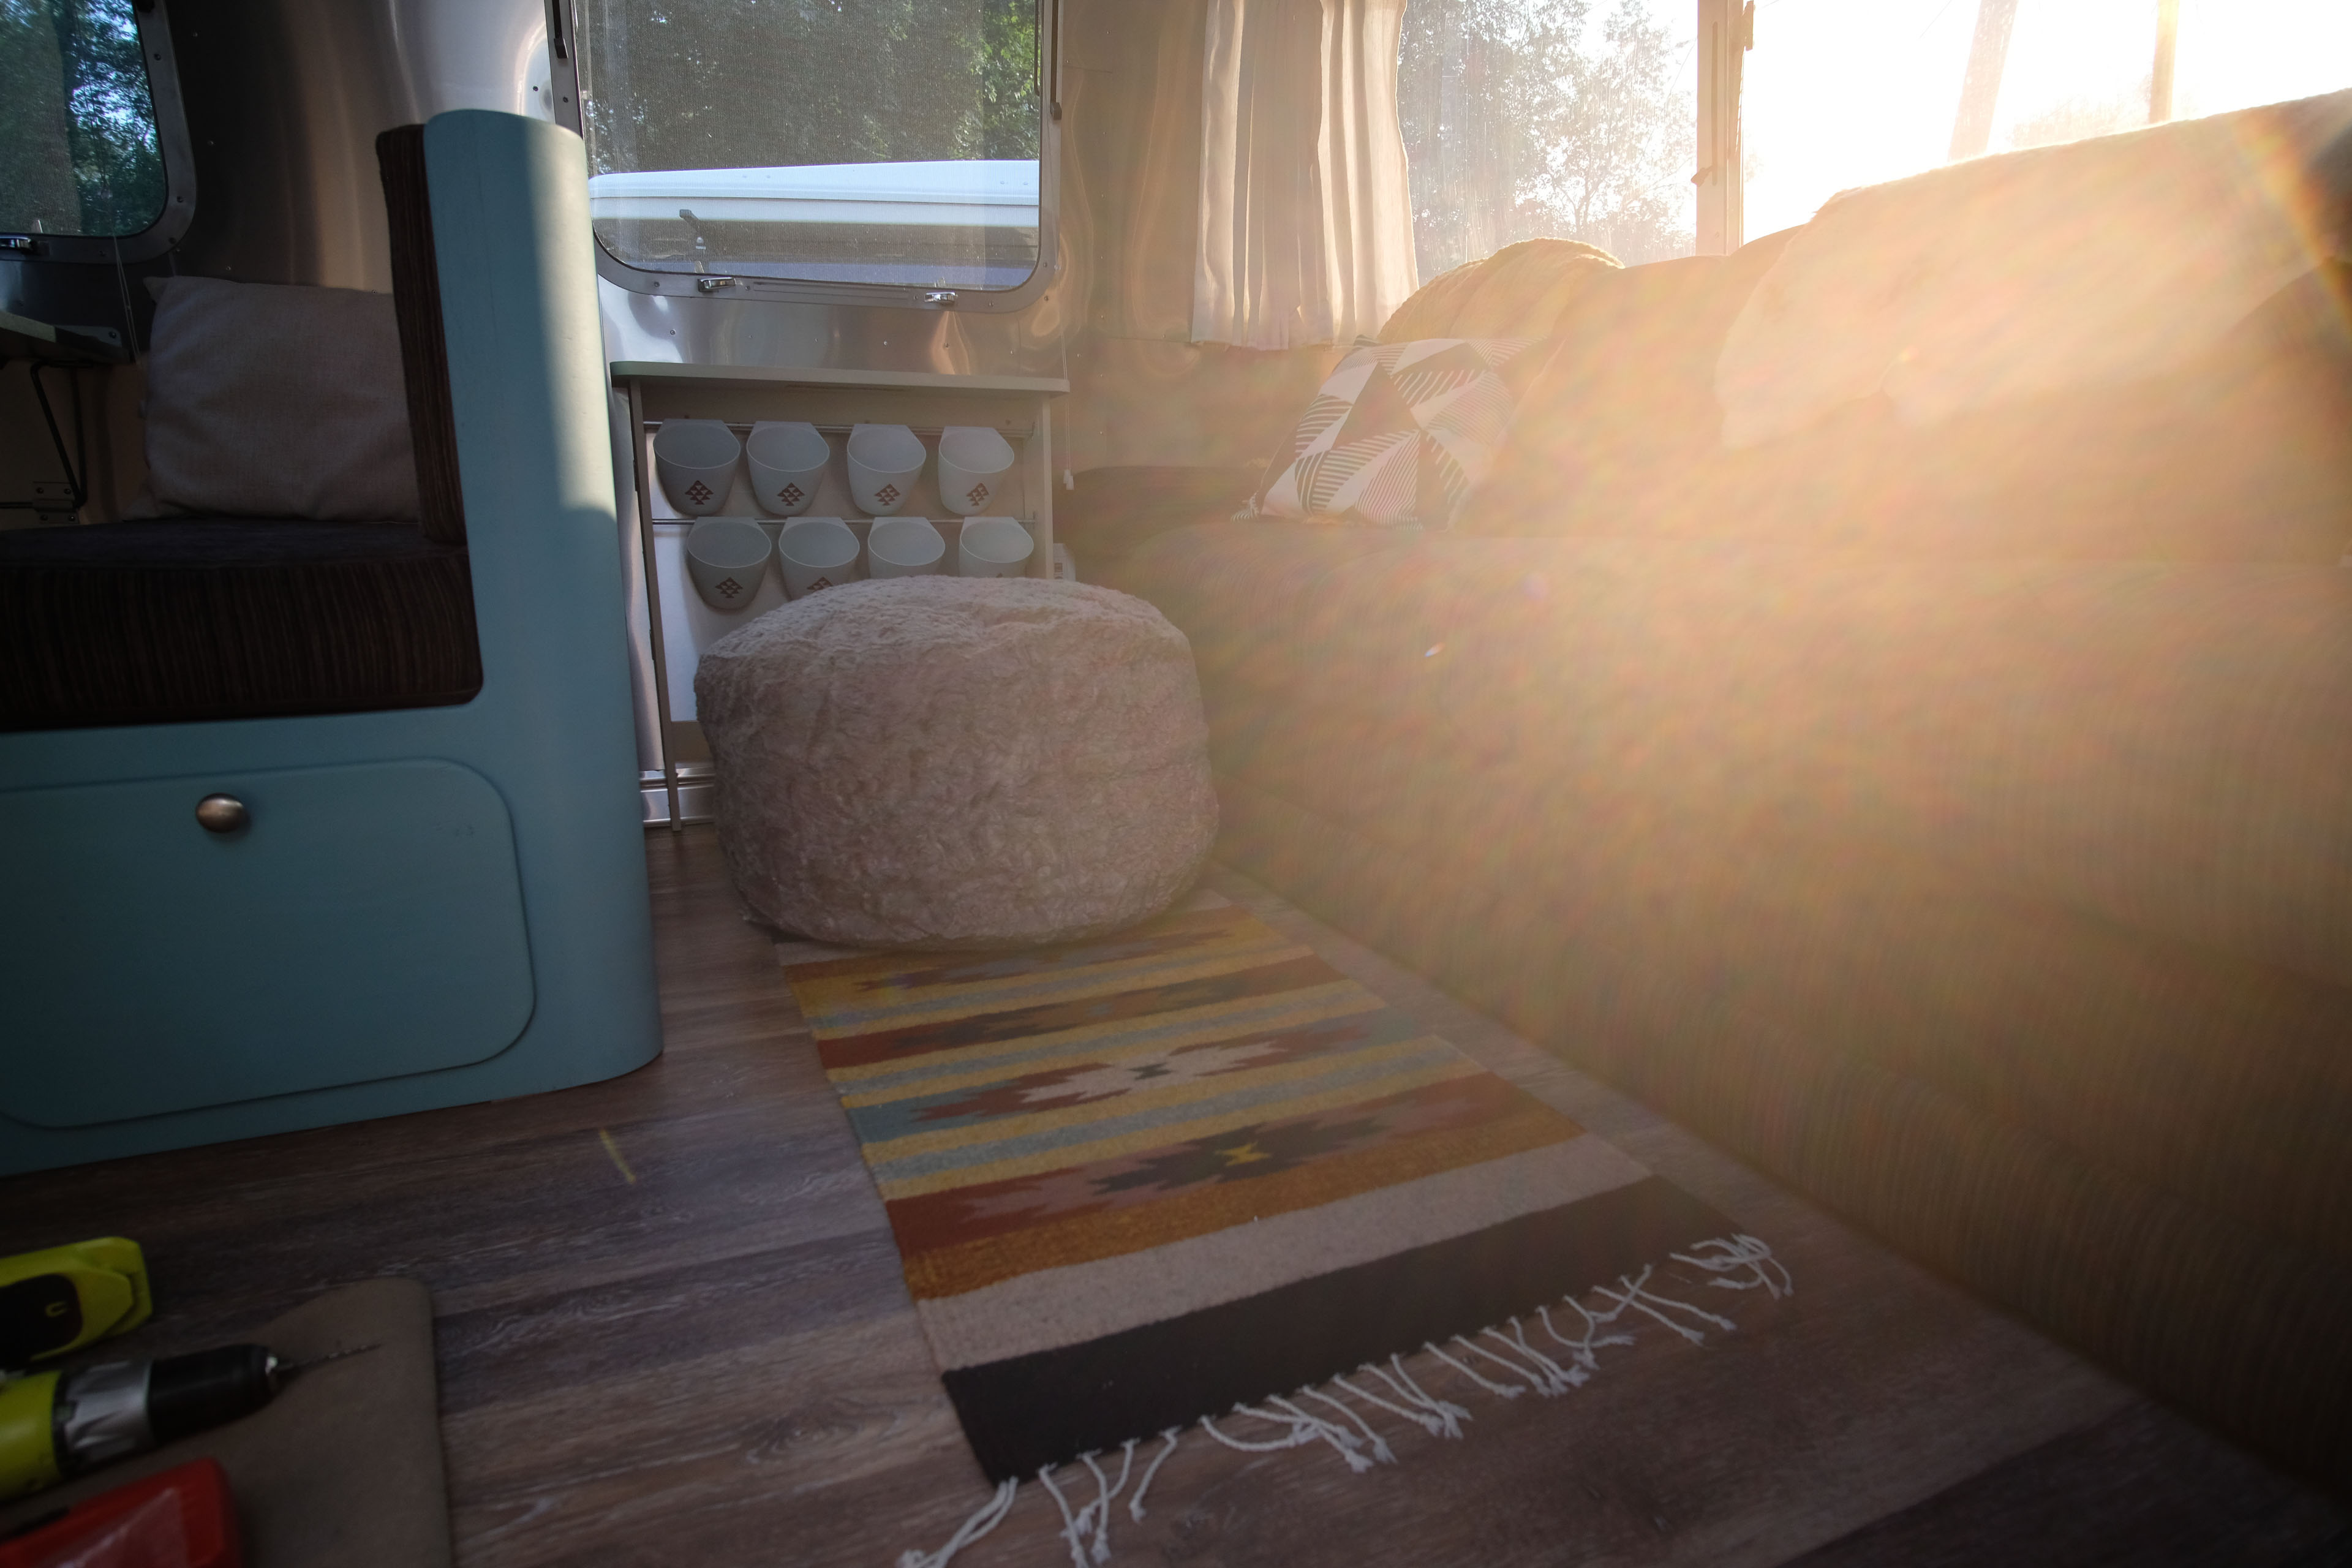
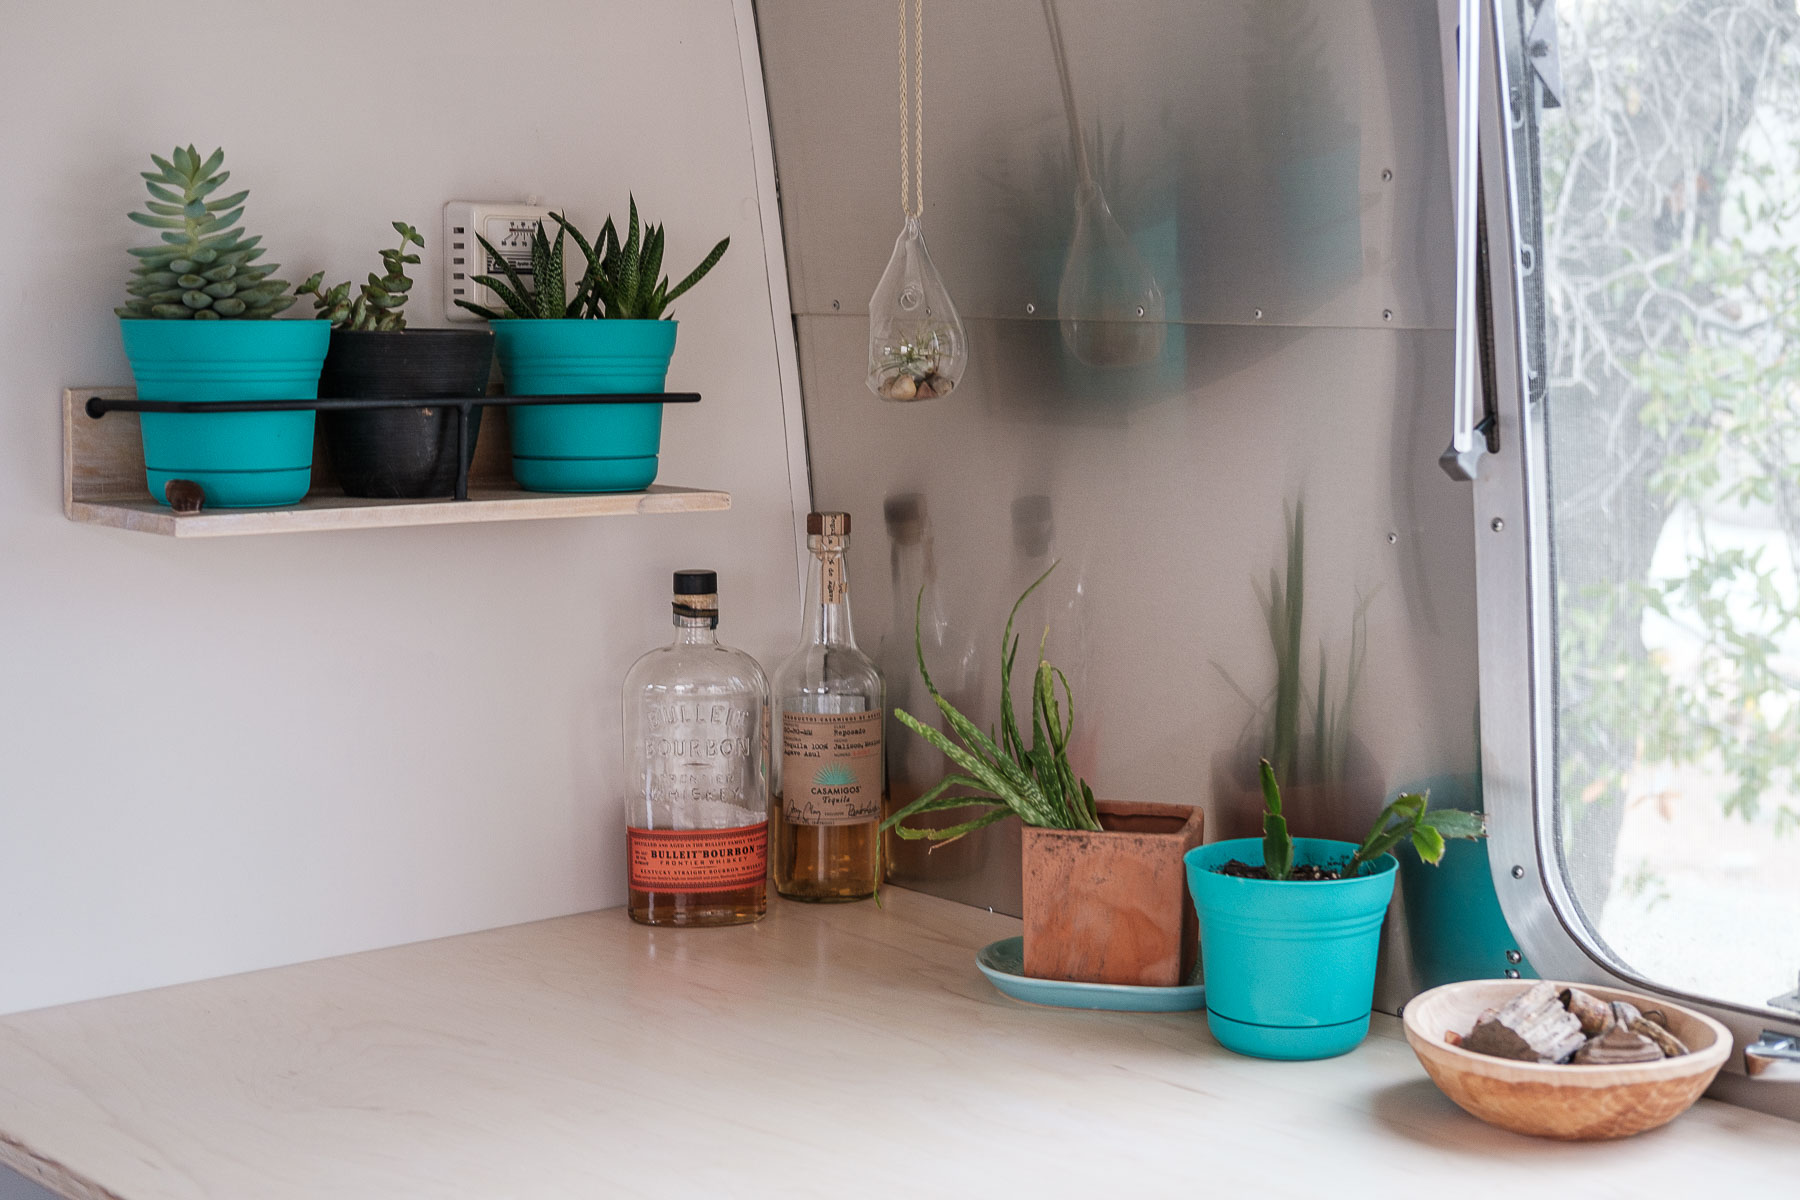
This new space really makes the trailer feel larger, the large counter gives us plenty of room when making food. It’s a great spot for plants, and can easily hold other things that used to clutter up our dinette and couch. Most importantly, it provides 5x the area we used to have to prep and serve food.
That about covers why we made these changes and our new galley kitchen. For the rest of the renovation and to see the benefits, check out Part 2 of Renovating an Airstream on the road series!
Here are a few of the things we used for this build:
Recessed Power Strip with USB – https://amzn.to/2QKfASv
Magnadyne USB and 12v Outlet – https://amzn.to/2OcU33a
Trond 4 Outlet USB Power Strip – https://amzn.to/2rk9f5s
3M Sanding Blocks – https://amzn.to/2PuSwVD
Bosch Router – https://amzn.to/2RKCxWh
Bosch Sander – https://amzn.to/2RGtgOD
Milwaukee Impact Driver – https://amzn.to/35b77vN
Milwaukee 6.5″ Circular Saw – https://amzn.to/38qs5Jj
Diablo 6.5″ Finishing Blade – https://amzn.to/2PuYo0Y
Varathane White Wash Stain – https://amzn.to/2scCFTB
Varathane Triple Thick Polyurethane – https://amzn.to/34gKju6
Purdy Brush – https://amzn.to/2LH9C1w
3M Blue Tape – https://amzn.to/33ksMAg
Small Paint Rollers – https://amzn.to/3442Cln
Aluminum 1″x1″ Tubing – https://amzn.to/2saBQL9
RV Door Latches – https://amzn.to/2XGvUVA
Nitrile Gloves – https://amzn.to/2RDHu2R
IKEA cabinets – https://www.ikea.com/us/en/cat/base-cabinets-frame-height-311-2-23607/
Springfield 3 Stage Pedestal – https://www.iboats.com/shop/springfield-air-powered-3-stage-pedestals-anodized.html
Rivets – https://amzn.to/2E3qqv4
Cheap Rivet Gun – https://amzn.to/34dXyLD
Galaxy Foam – https://galaxyfoam.com/
Oscar’s Upholstery – https://www.yelp.com/biz/oscars-upholstery-north-las-vegas
Some of these links are affiliate links, following one and purchasing an item helps support us and does not affect the cost of the item. Thank you for making a purchase via these links if you do.