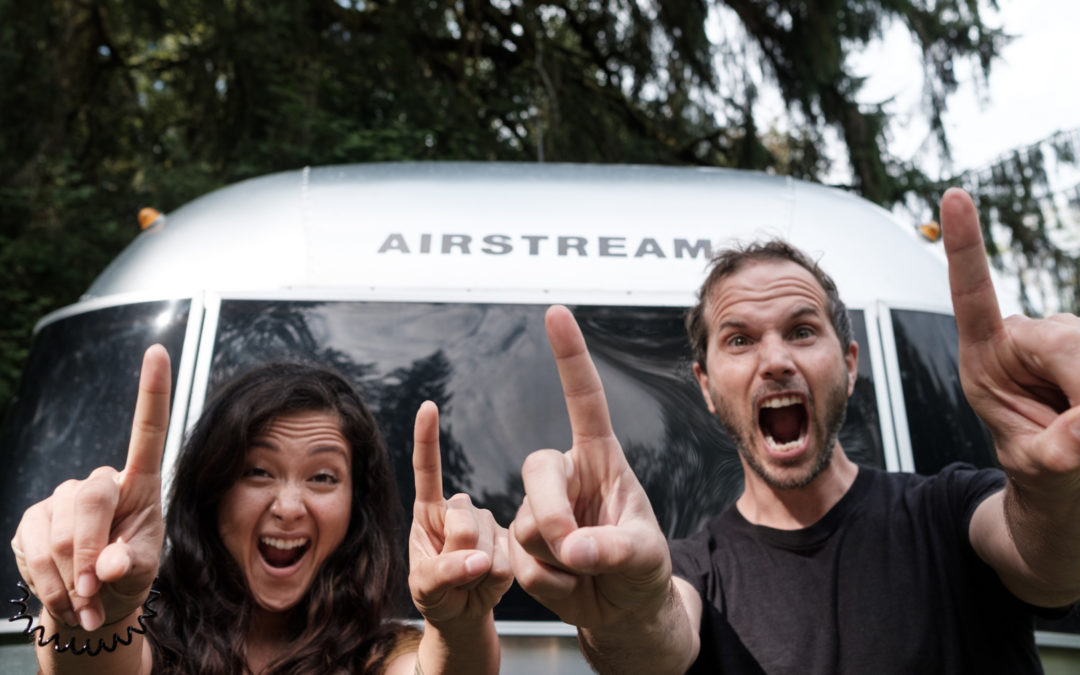
Packing Up to Go Boondocking or Anywhere Really
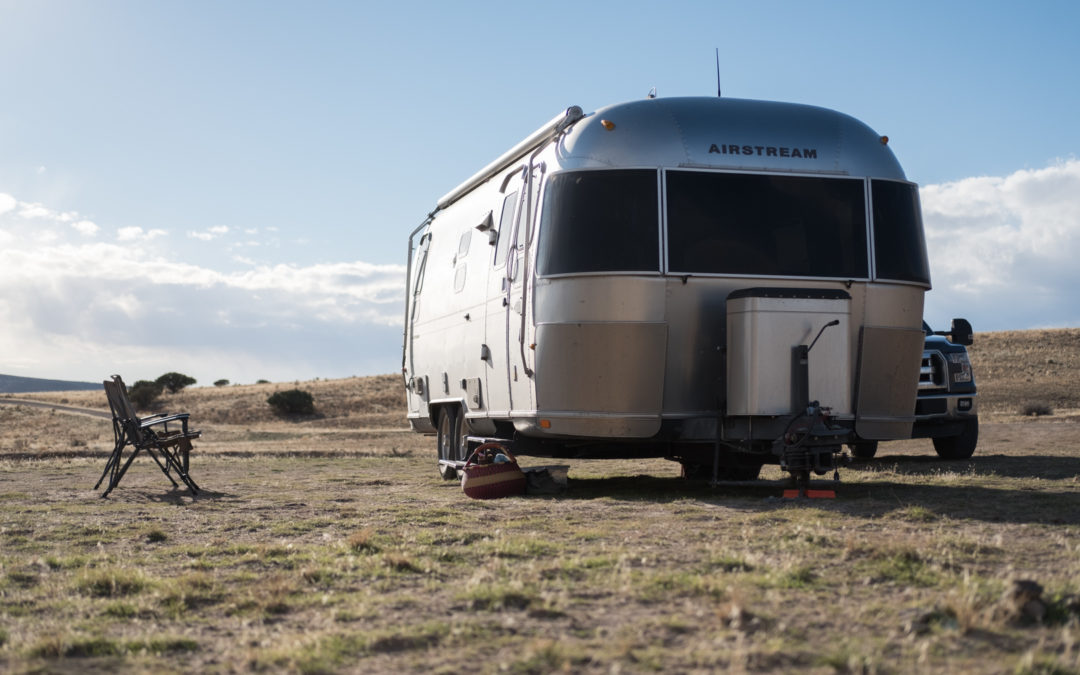
Packing up our Airstream go boondocking... or to camp anywhere really
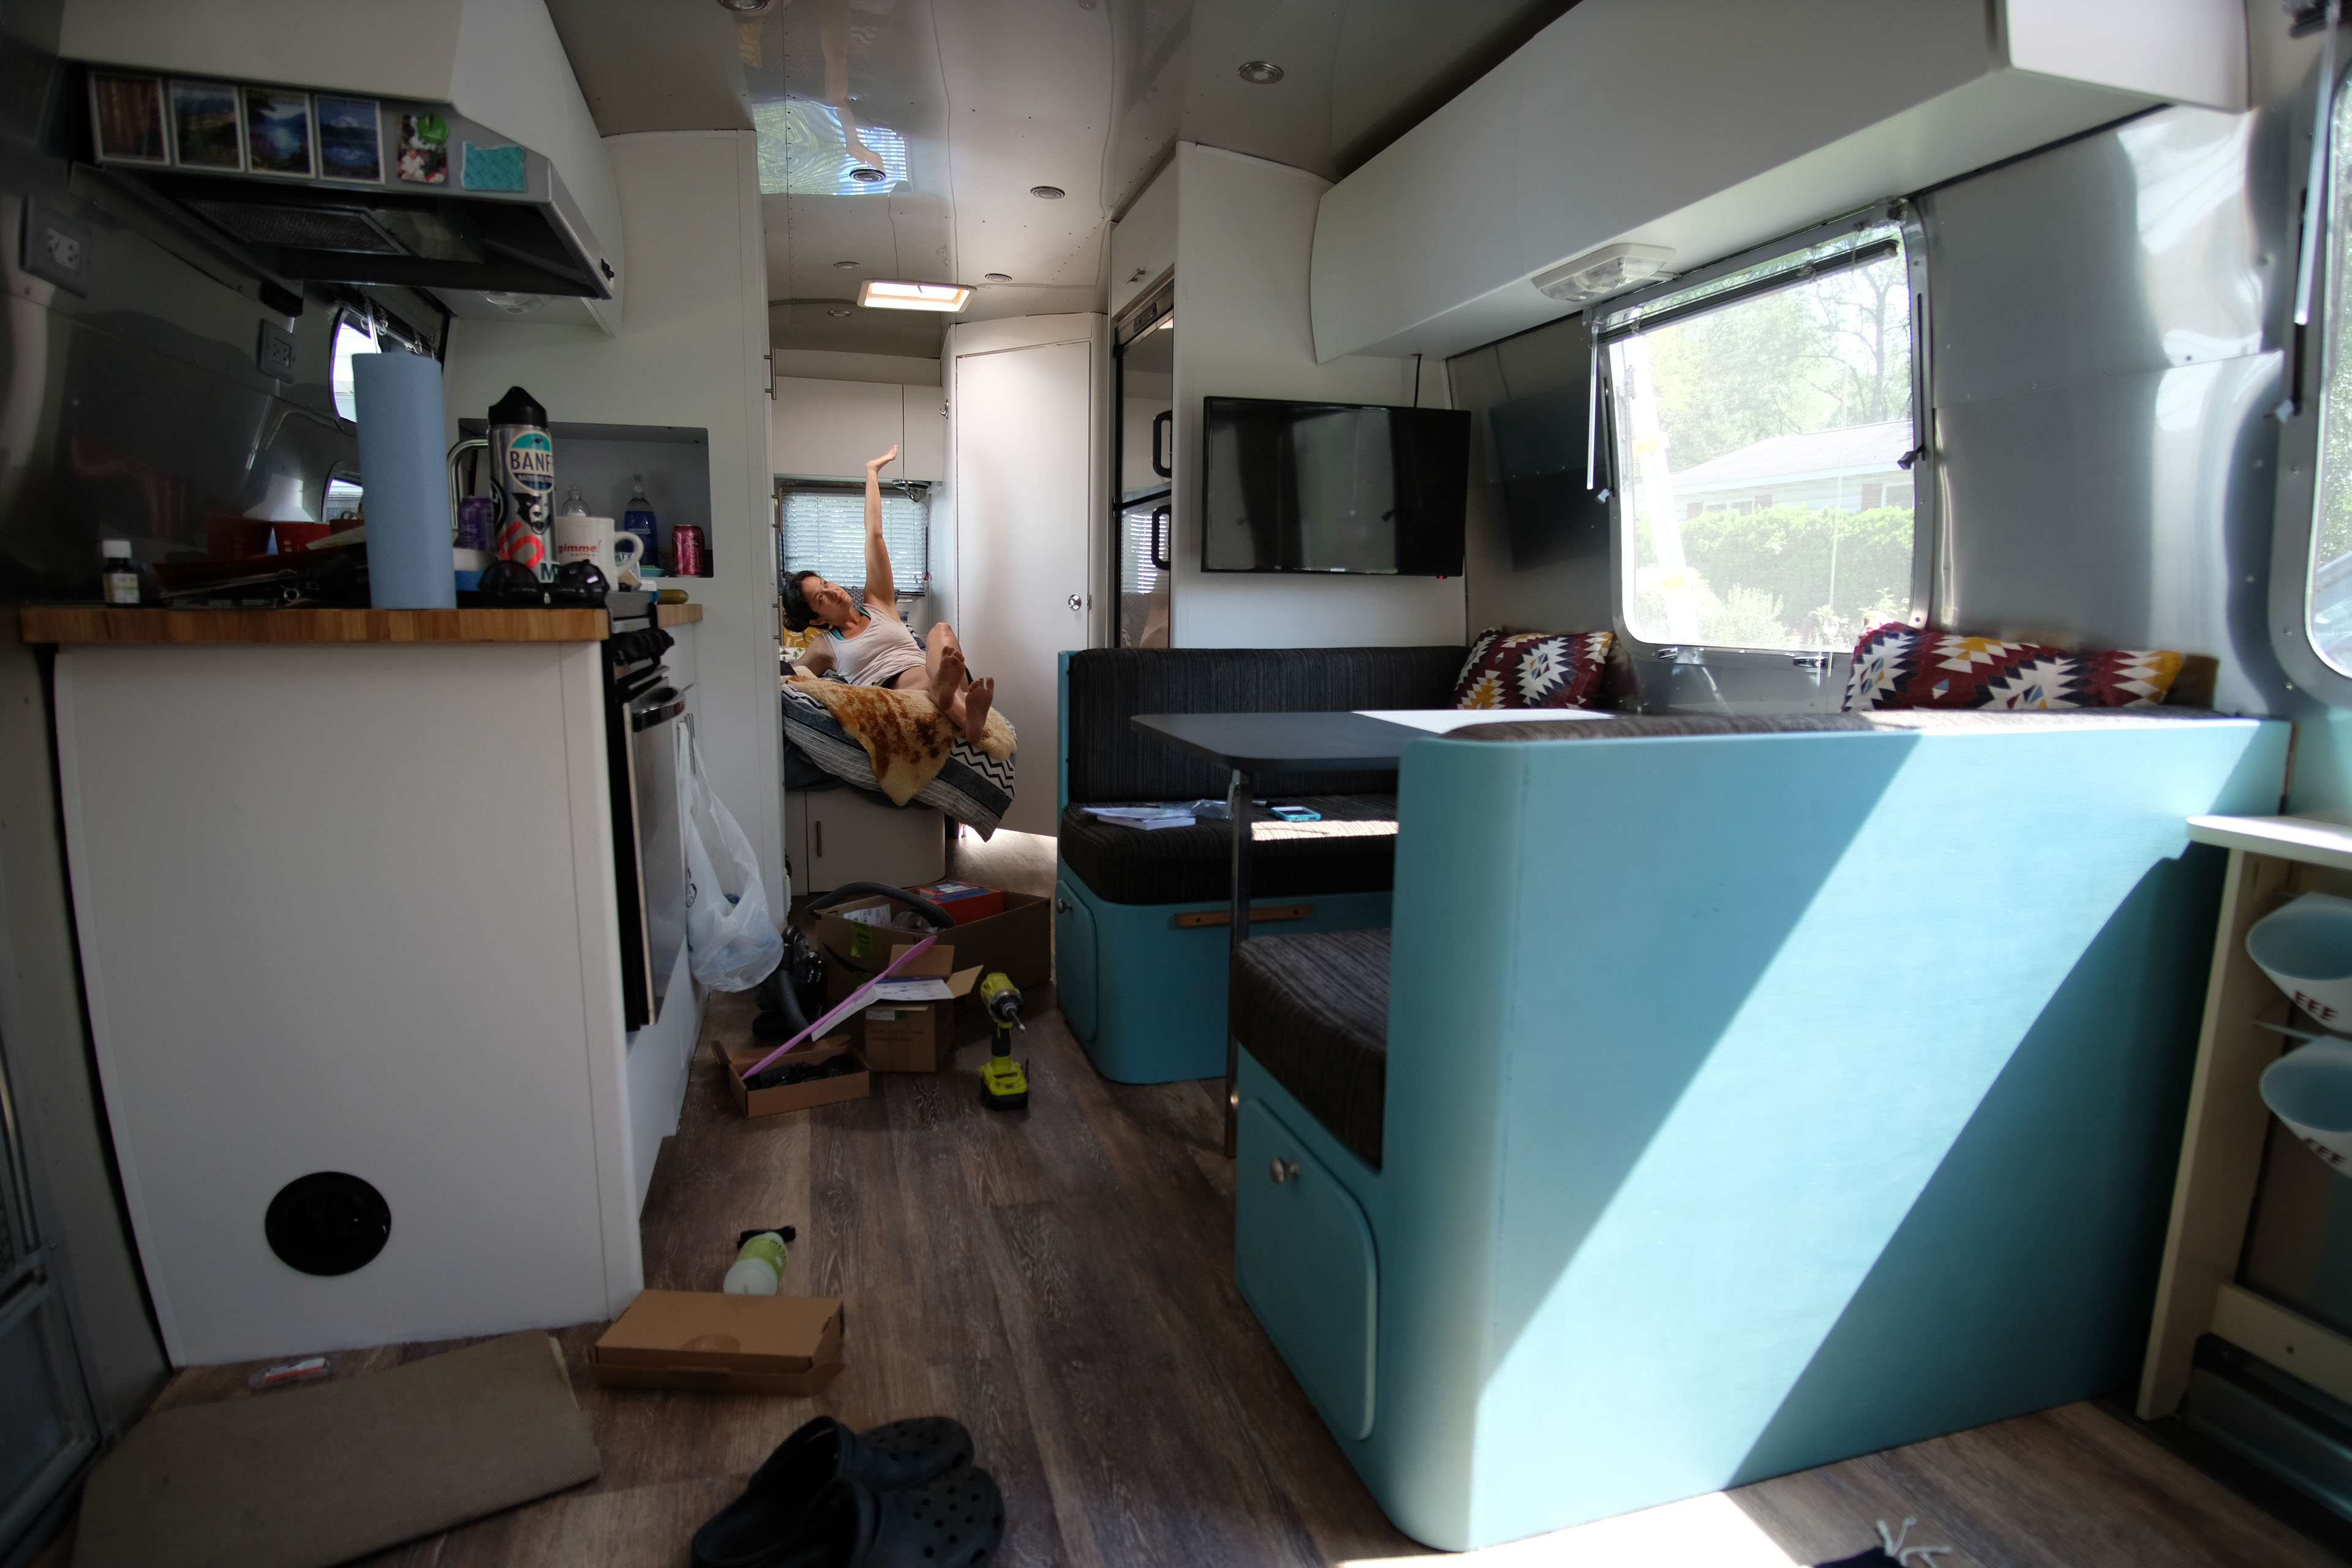
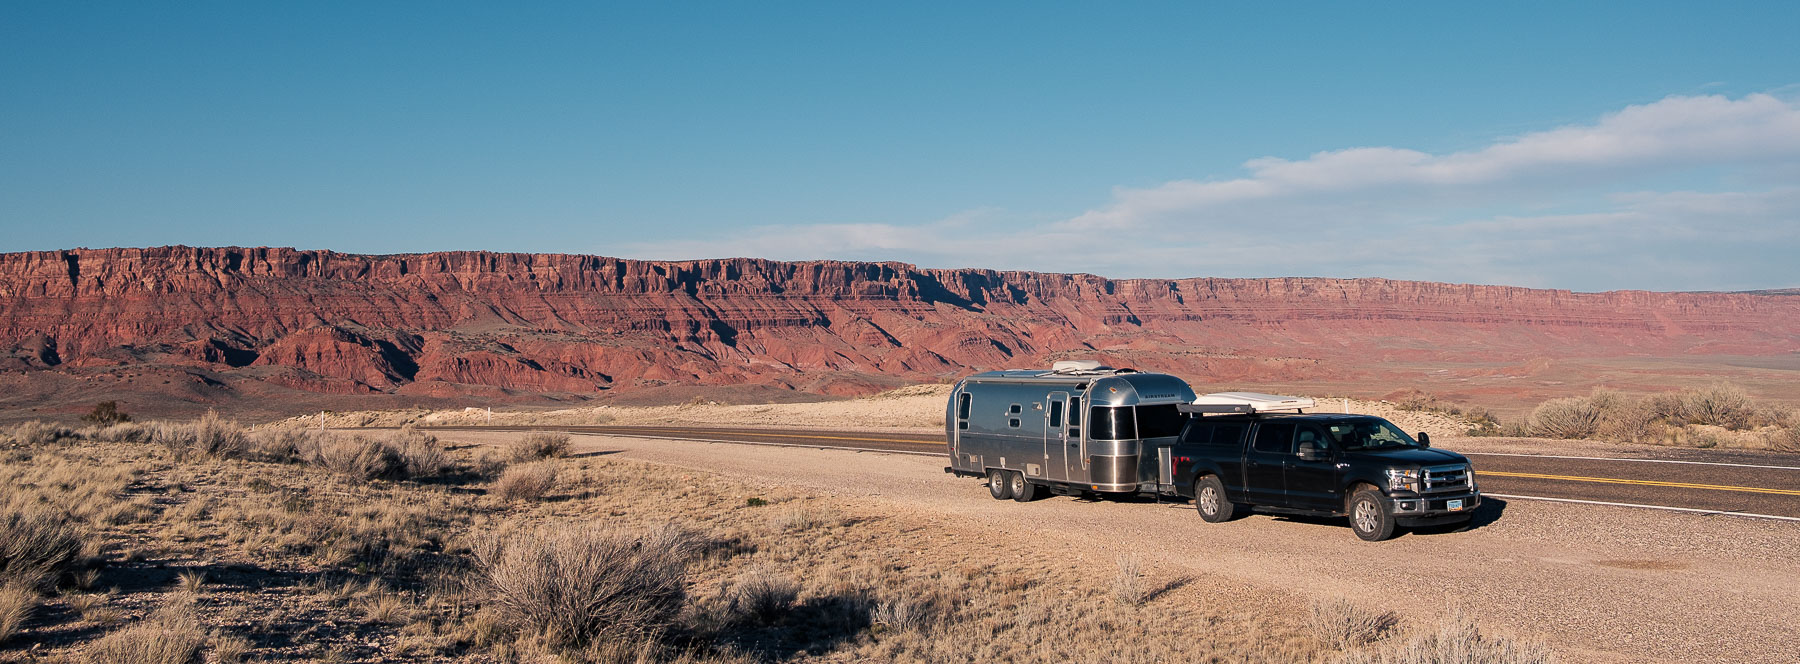
When we pack up our Airstream to head out to boondock, dry camp, moochdock, or anytime we’ll be away from hookups for a while, we have a list of steps we go through. This is pretty much our normal towing checklist with the addition of a few other things. It’s definitely changed a bit during our time on the road, but we take it pretty seriously…because forgetting one of these steps could result in a bad time!
If you’re just in the planning stages for living on the road in your RV, you might not even have a checklist yet. Or maybe you’re new to road life and your checklist is evolving with each move. Either way, we hope that sharing our process with you is helpful and highlights some things that could improve your packing process out there on the road!
Be aware, your rig will probably have some steps we don’t have, it’s up to you to figure those out! Check out some owners’ forums or Youtube to find out more specifics.
Our Checklist
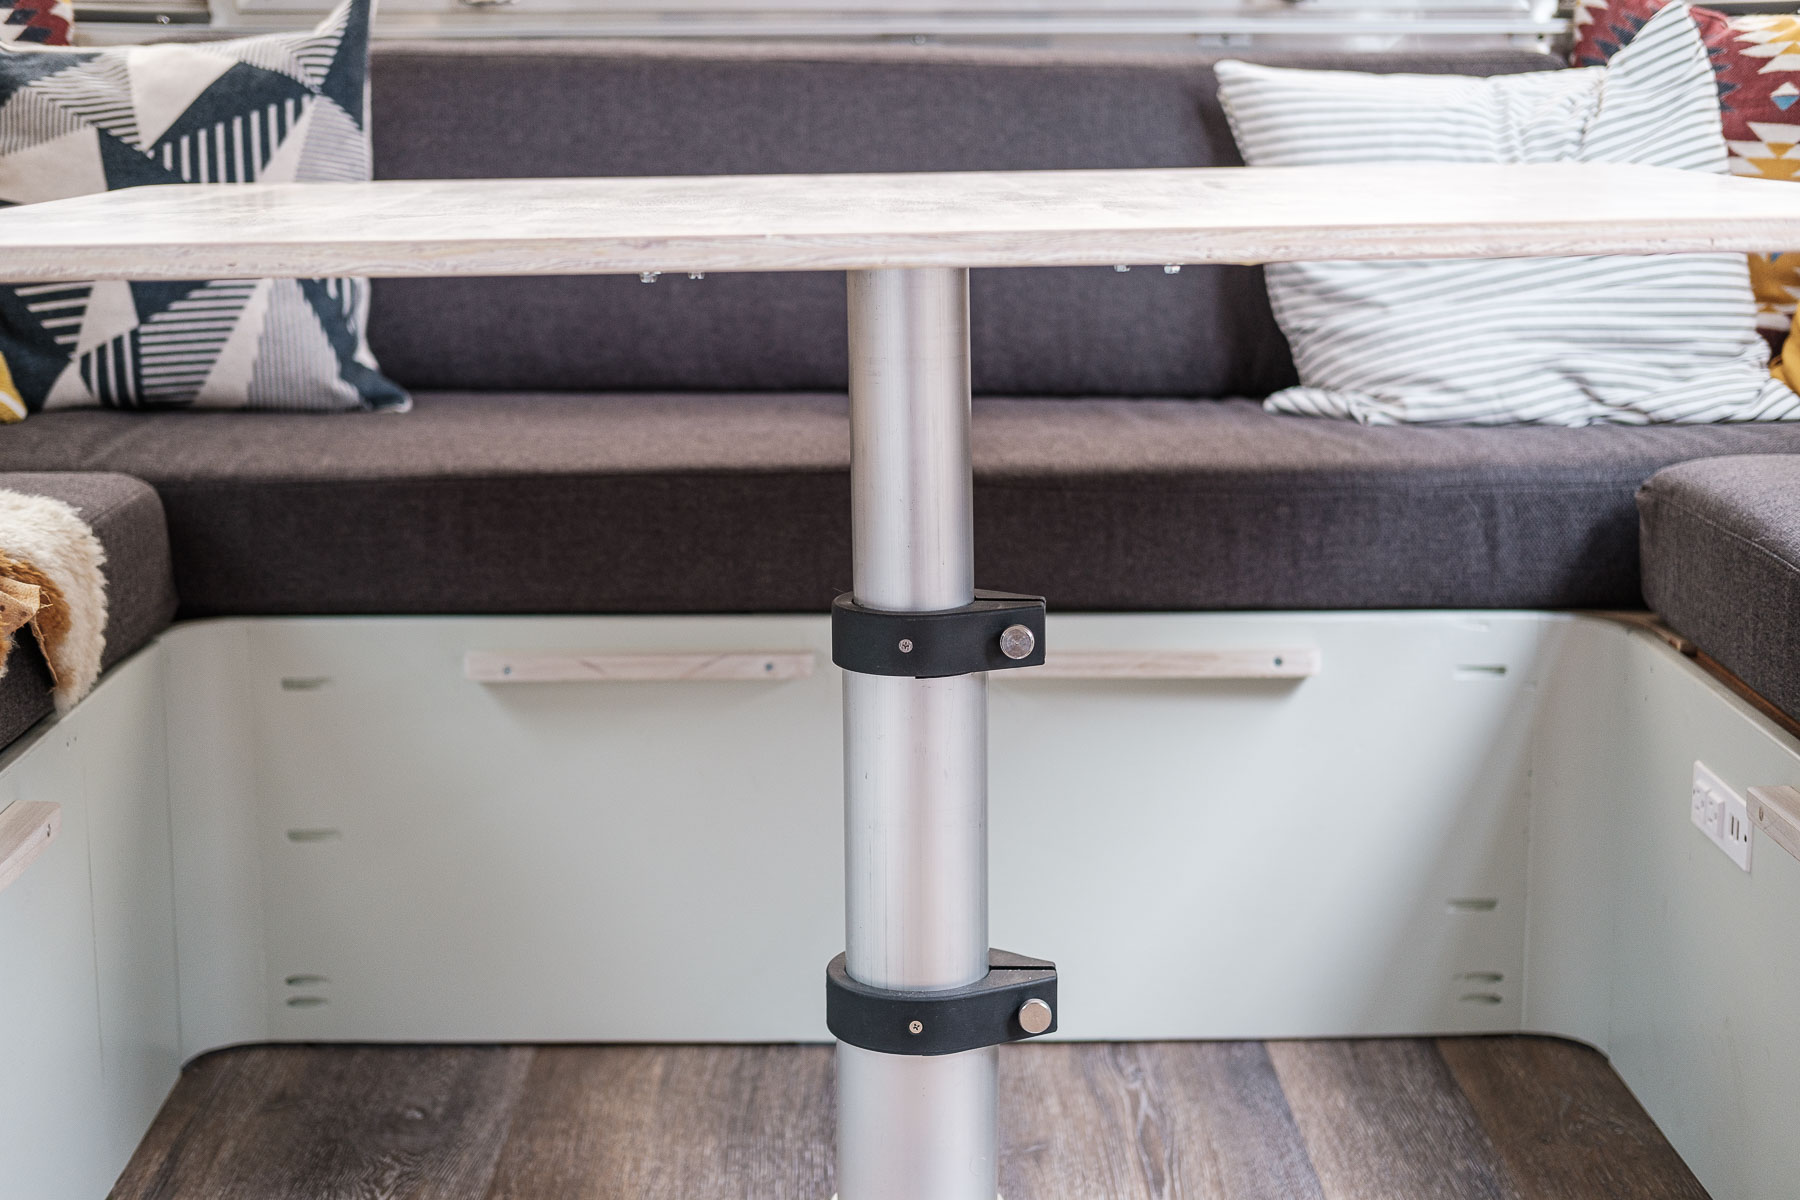
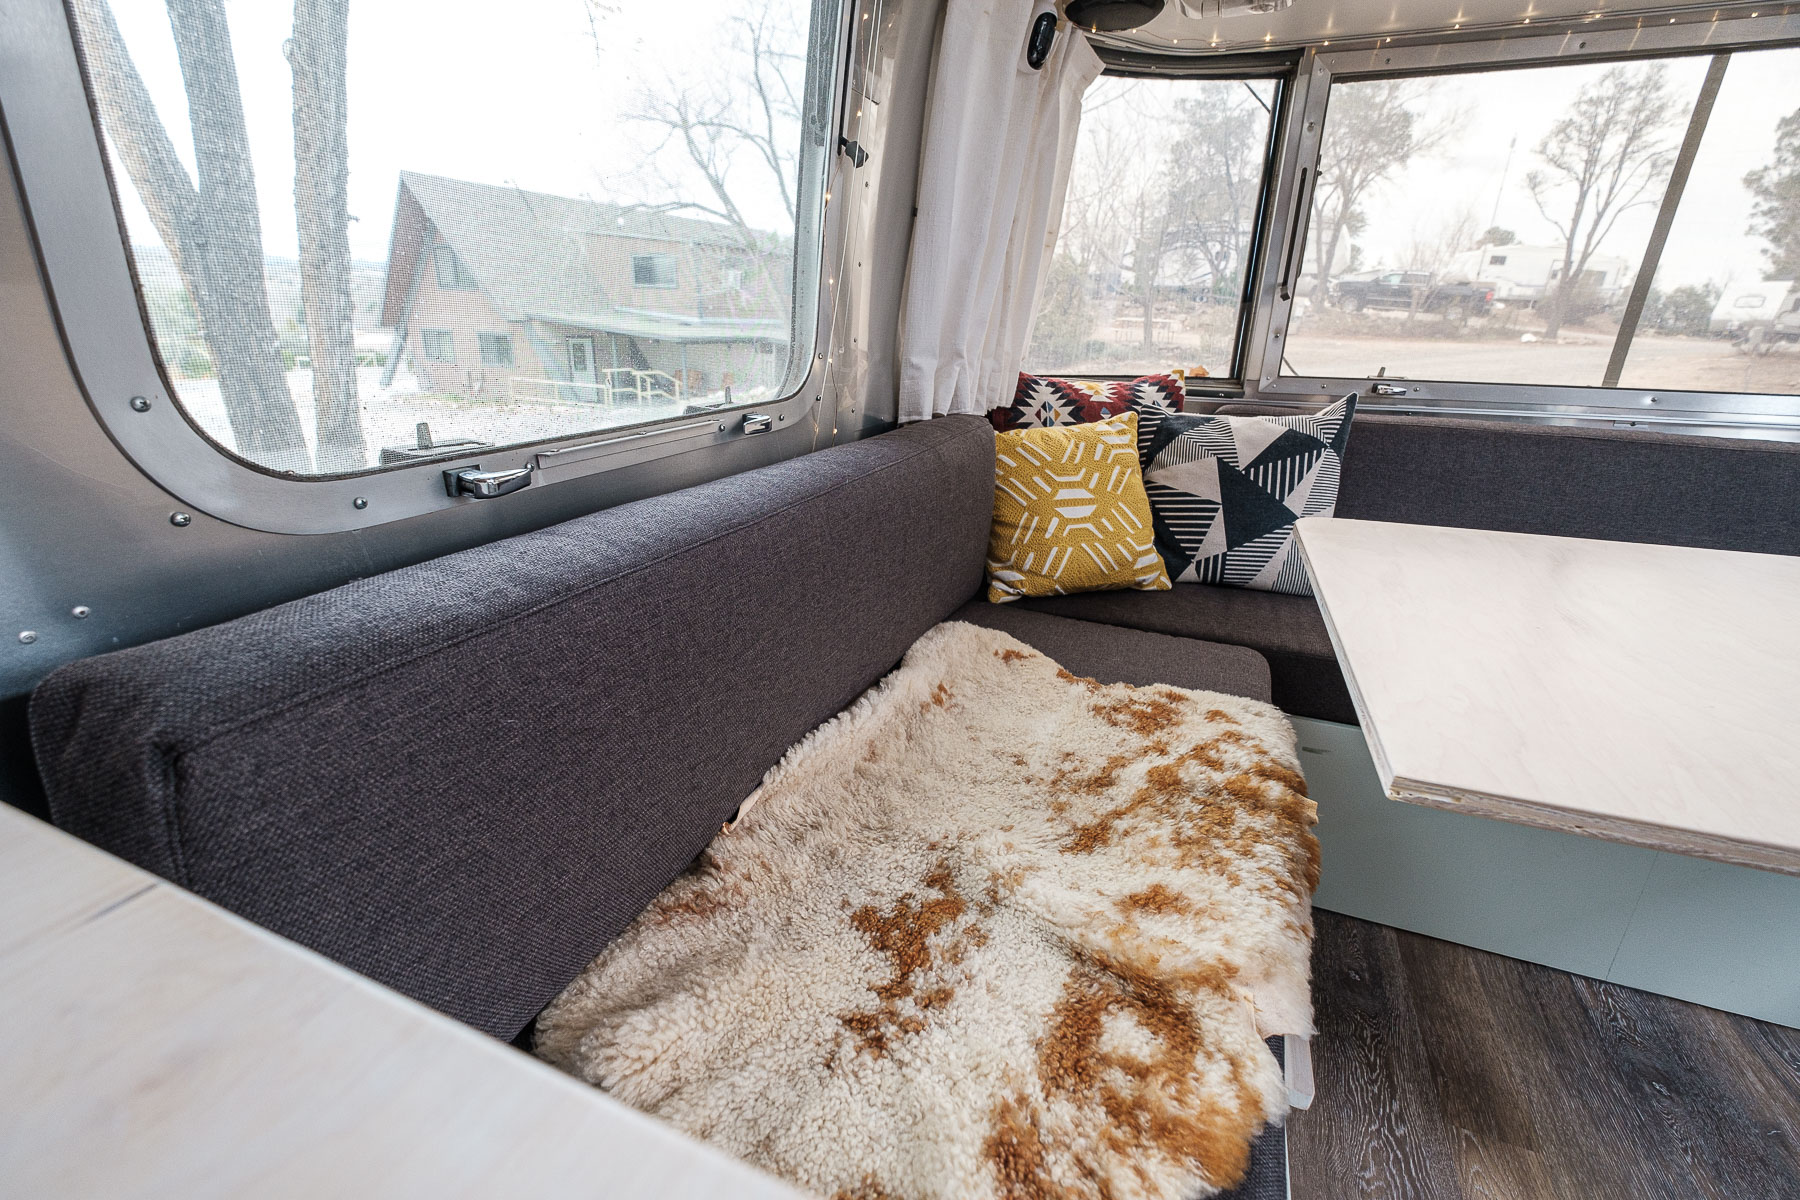
Curtain: This one is specific to us. We need to take down our tension rod that creates our “bedroom” area. Otherwise, it will fall to the floor as soon as our rig starts rolling down the road.
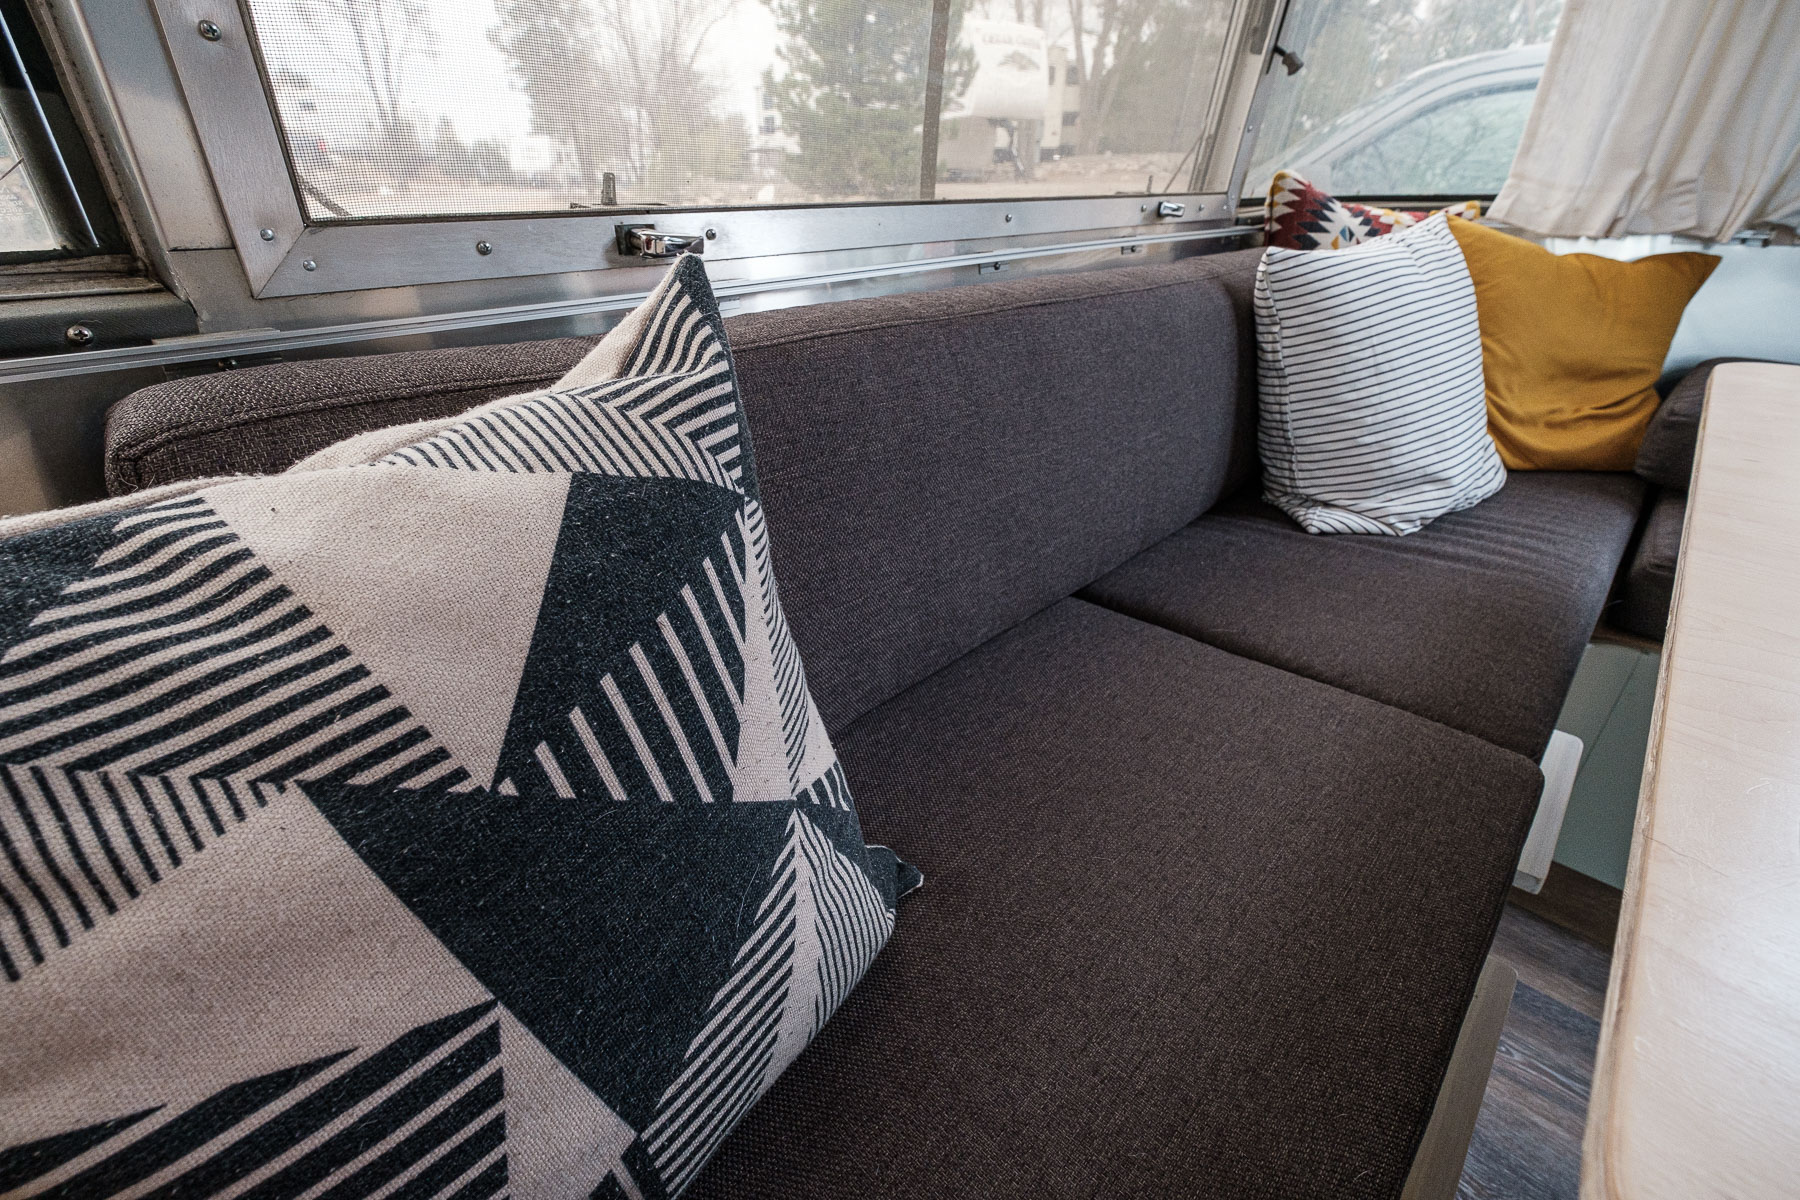
Blinds Up: Pull all your blinds up! You don’t want these things clanking around while you’re driving and getting all bent up!
Windows: Close and lock all windows! Our Airstream windows can be closed and not locked, so we have to make sure we check all the locks before we head out.
Vacuum: Might as well clean up a bit before you make a mess of the place moving it around!
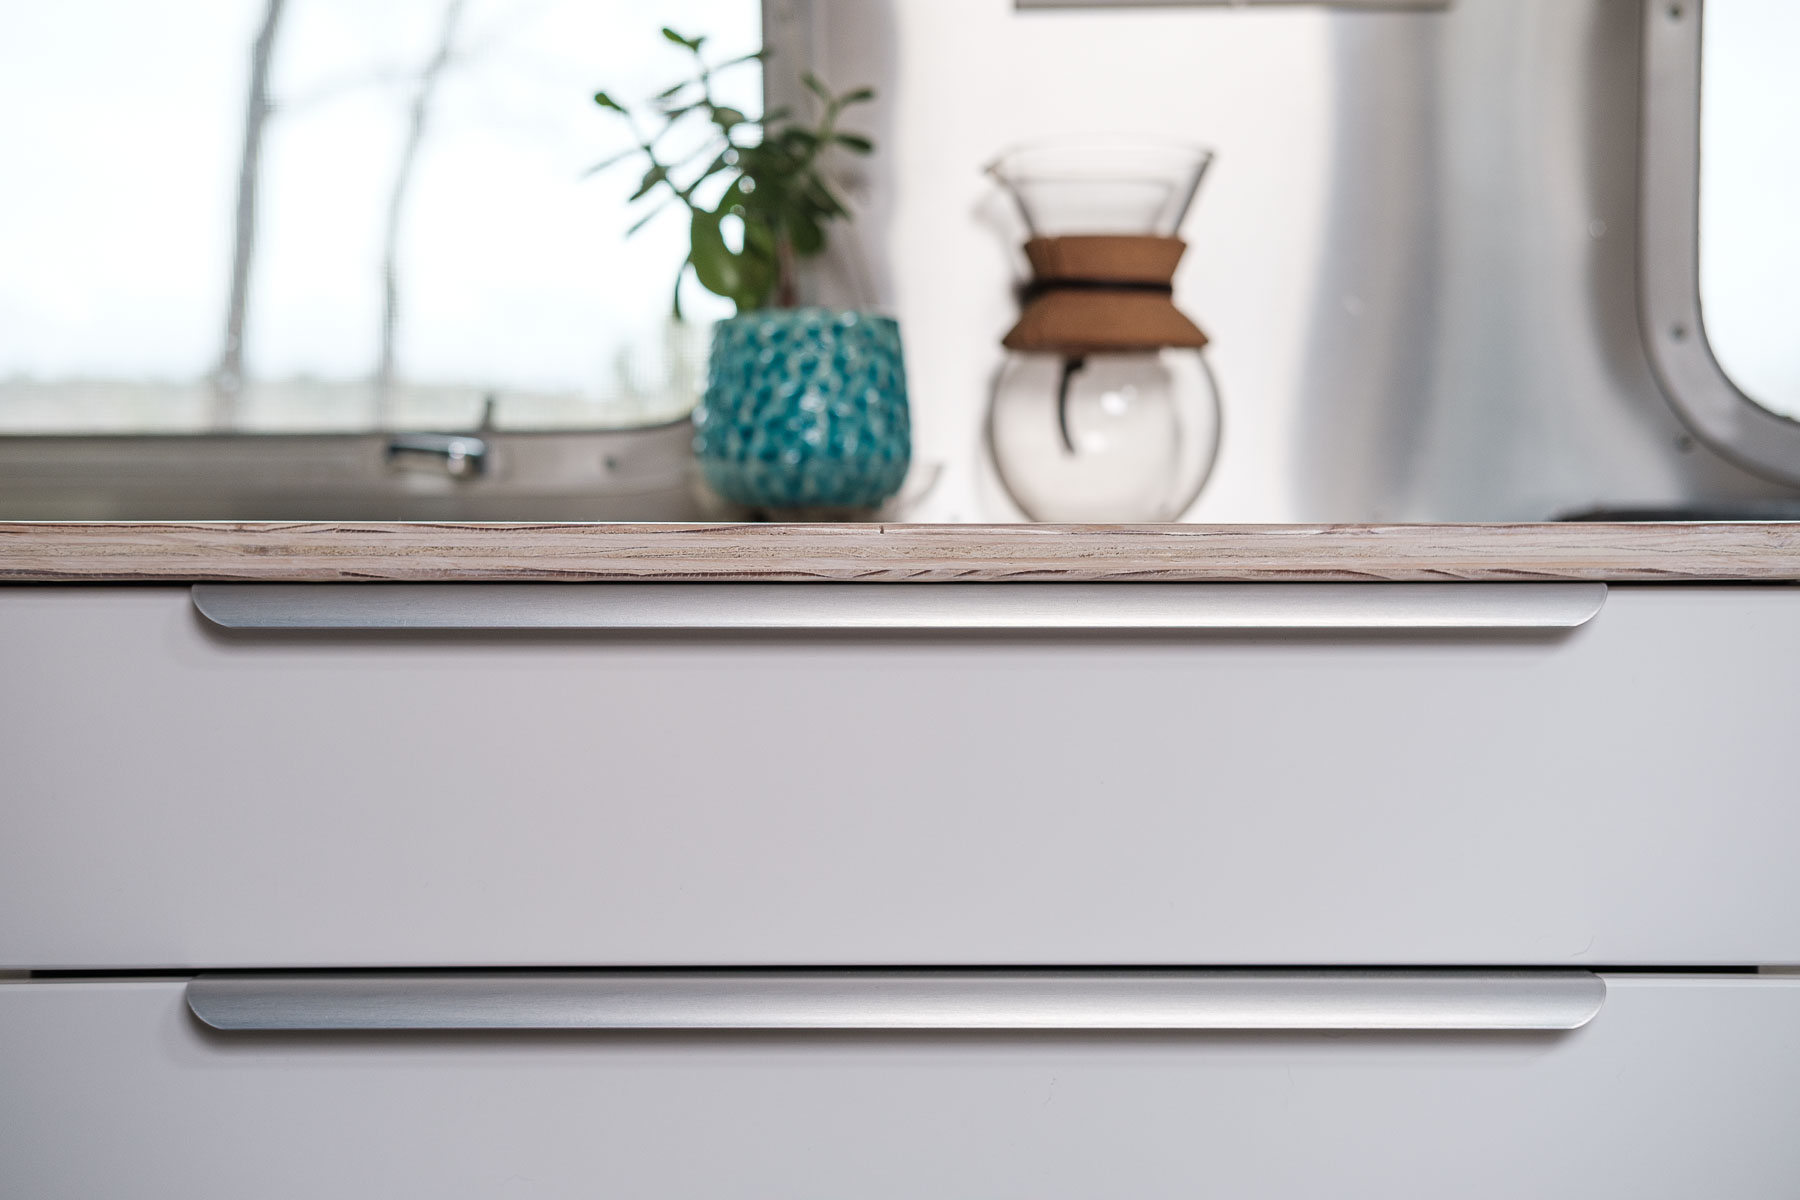
Close Cabinets: Make sure all your cabinets are closed and latched. Also, try not to keep any heavy, rolly things just inside the door, they can gain momentum and force their way out and create a little pantry jailbreak. Don’t give them a chance to break out!!

Lock Pantry: This is specific to our rig, but some others might have a sliding pantry. Make sure you lock this as it could also act as a battering ram to open your pantry door!
Antenna Down: If you have a TV antenna up, you really should lower it before towing. We have ours modified to have a cellular antenna, but we don’t need it all the time. We only use it in spots with terrible reception, so it doesn’t come in to play each time we pack up…this makes it easy to leave out of our checklist…so don’t forget it!
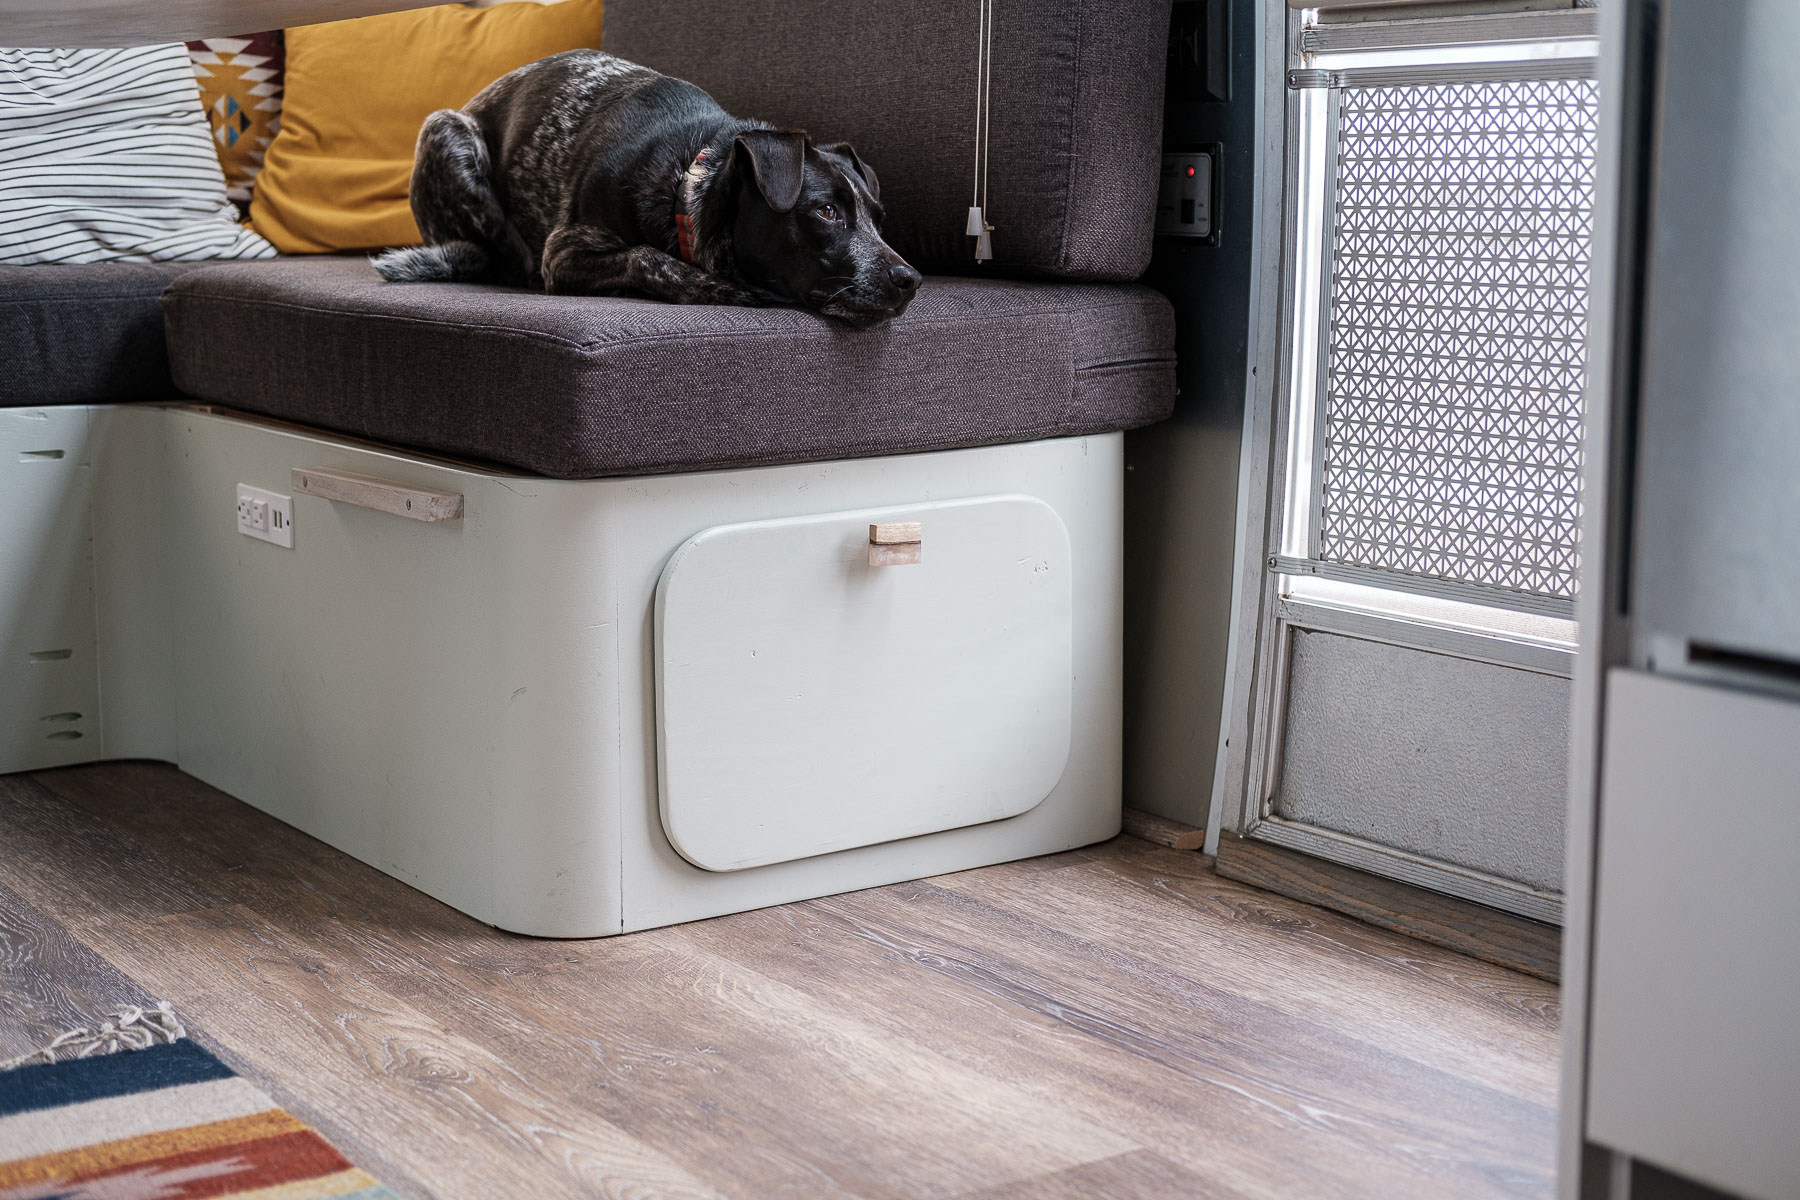
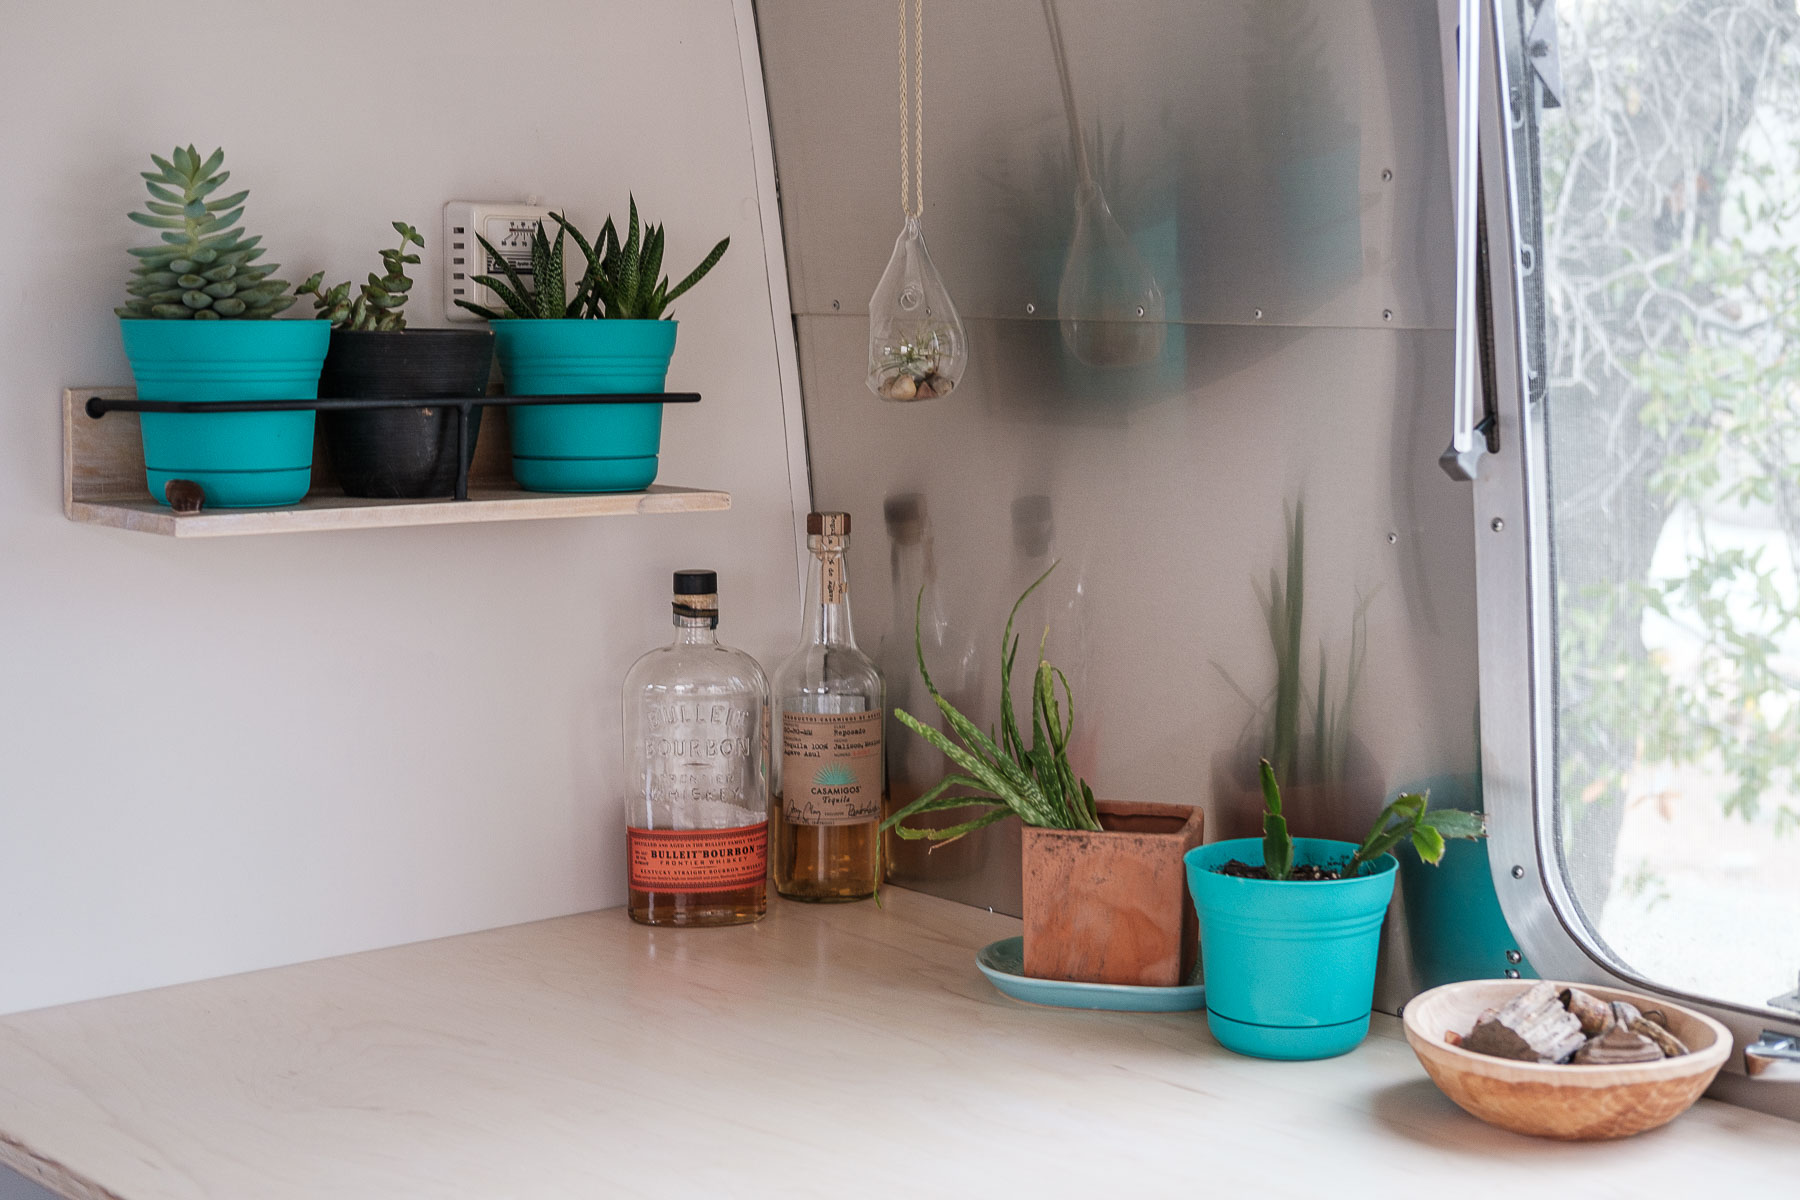
Booze Away: Put the booze, or any other glass bottles you have sitting out in the open away in a safe spot. We use Cooper’s bed for this.
Plants Away: We gather our plants in a felt bin and store them together in a corner of Cooper’s bed. Like with booze, dog beds go a long way to protect your things!
Close Vents: Make sure your fan vent and other vents are closed.
Make Espresso: Do all the things you love that require electricity while you can! For us, this is using our espresso machine…typing this up is a reminder that we should upgrade our inverter at some point to enjoy espresso off the grid!
Remember ABC: Always Be Charging! We try to charge everything up while we’re plugged into electricity. This means our phones, tablets, camera batteries, Omnicharger, other USB chargers. Think of having all these at full capacity as being a larger battery bank when you hit the road!
Eat Tamales: Have a good meal before you head out. Being hangry and moving your rig is absolute misery!

Dishes: Do the dishes while you’re still hooked up to water and sewer. Don’t forget to put them away!
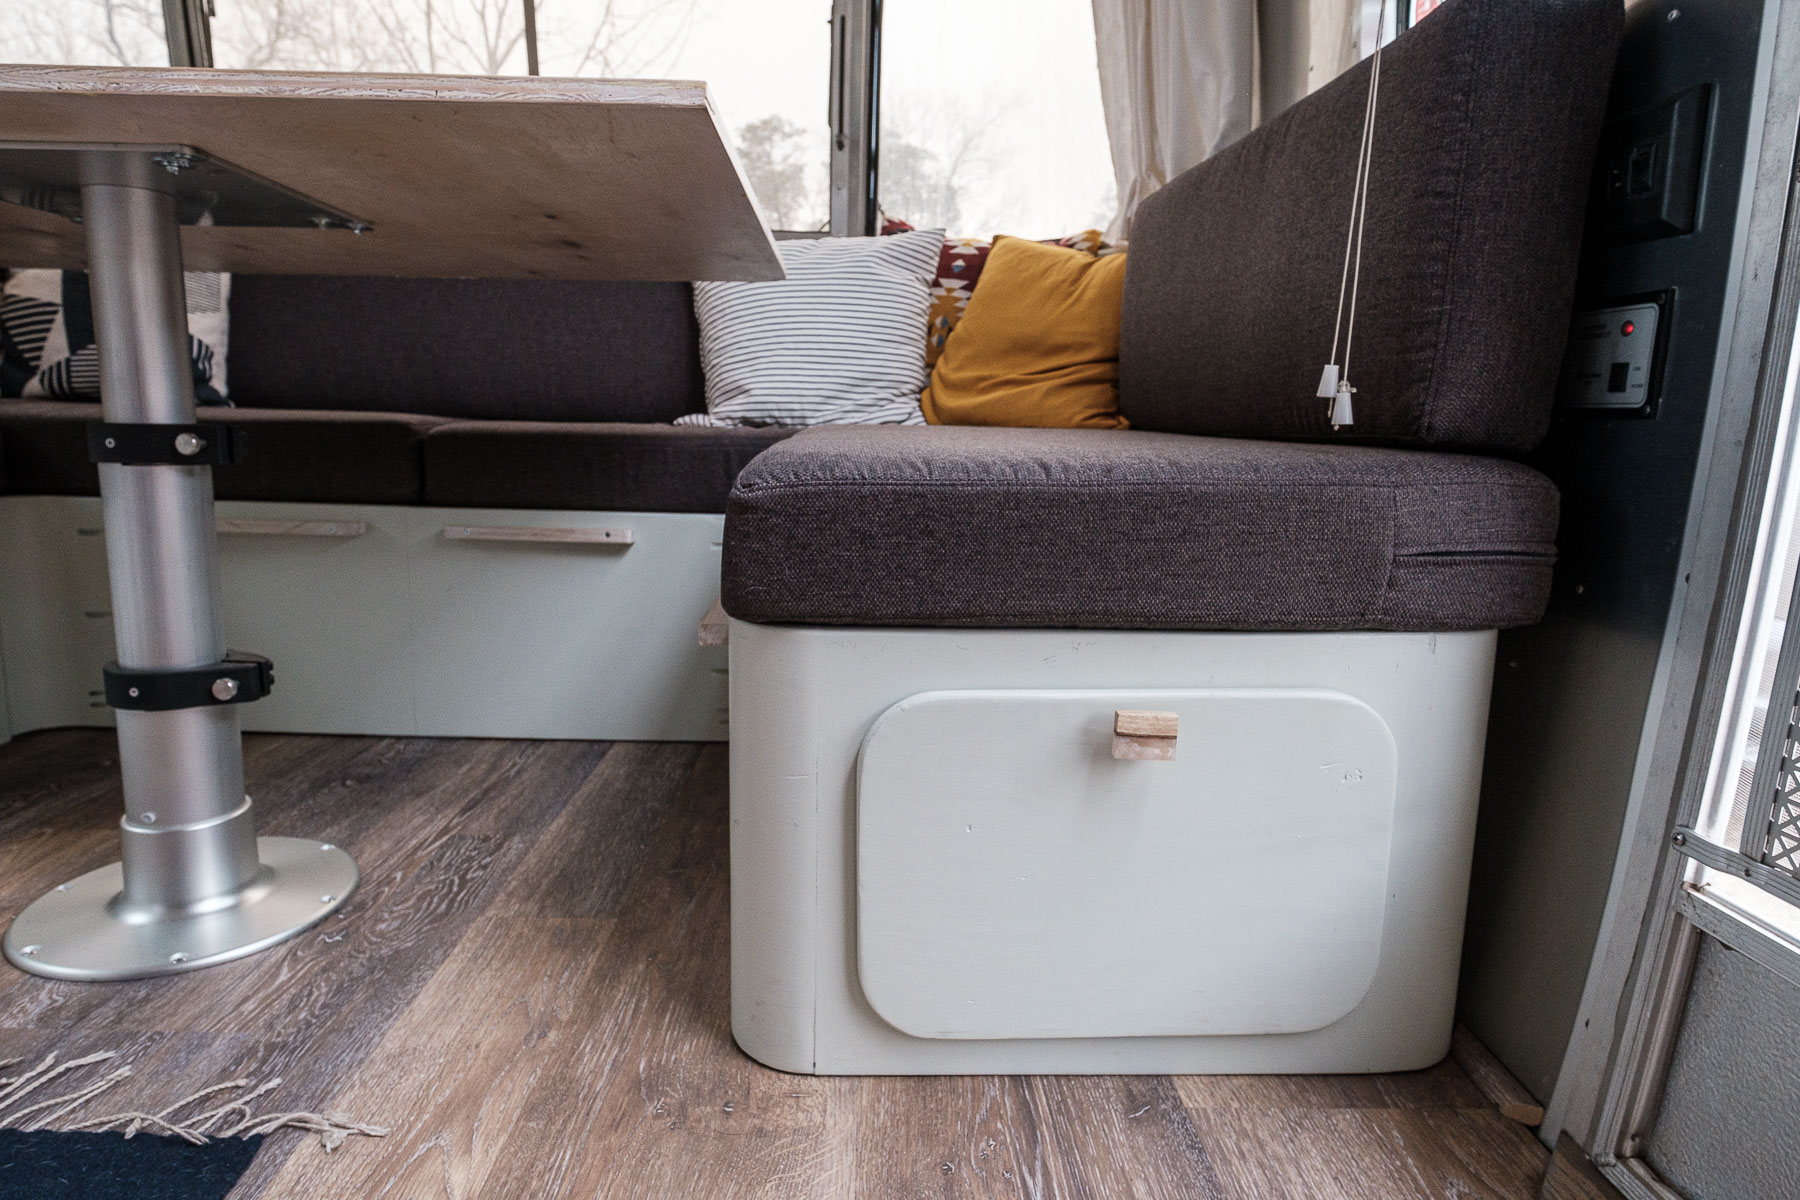
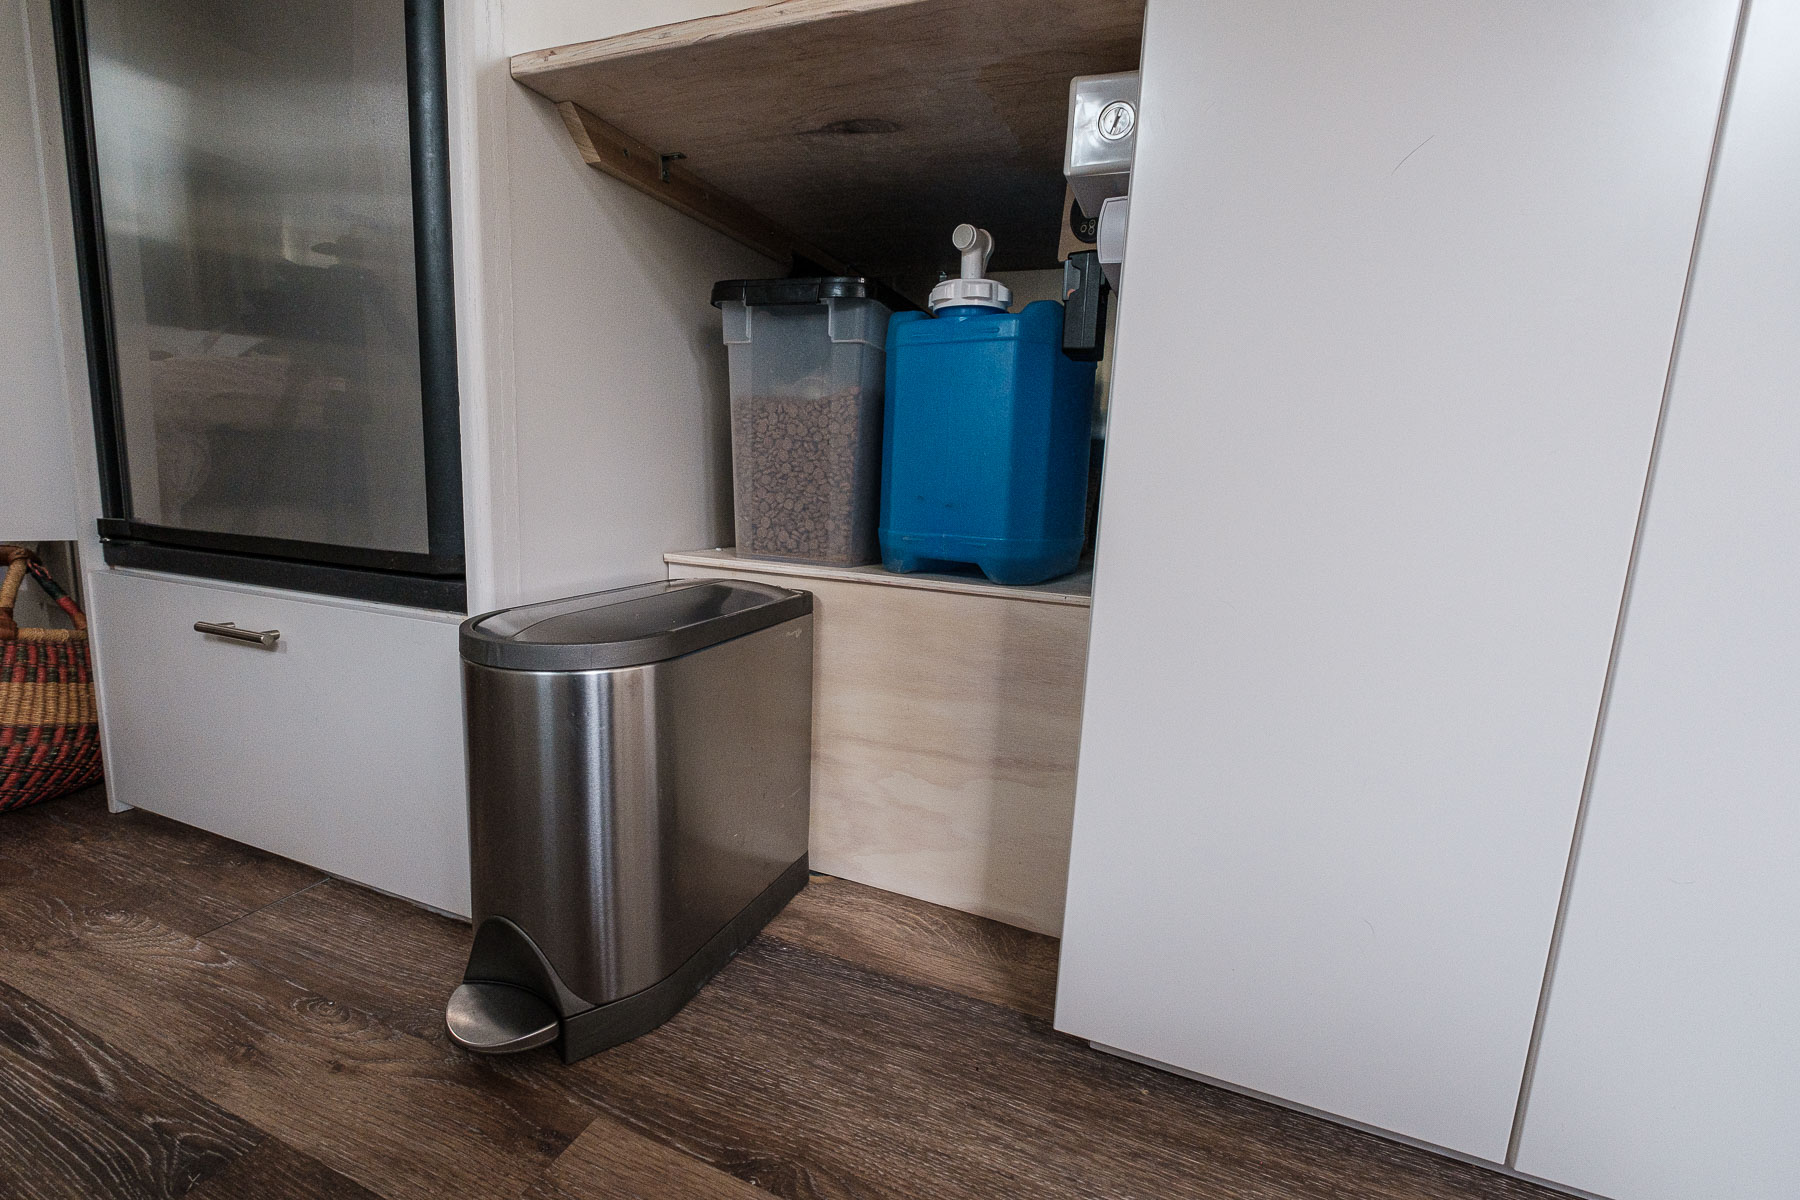
Storage: Get stuff in sensible places. This is going to differ depending on what you have and what you travel in. We have certain things that go in our truck, like grill and camp gear. We have spots for storage containers in our Airstream. You just want things to be secure, especially when you’re traveling down the road at 65mph and have to slam on your brakes. Look for anything that might swing or slide and find a place on the floor for it. Use blankets or clothing to protect delicate things. And if you can’t find a spot for it, throw that shit on the bed!!
Secure the Bambino!: Our espresso machine is a Breville Bambino Plus, that’s where this phrase comes from. What we mean by it is take the extra time to secure any fragile items so they don’t get damaged heading down the road.
Piss Jug: We have this because we have a composting toilet. We dump it about every two days. But if you’re in a spot where you can dump it, you should. It’s really awkward walking into a rest stop bathroom with 2 gallons of your own urine and dumping it into a toilet, then walking out like it’s normal. Always dump the piss jug when you has the chance!
Grey Water: Because of the composting toilet, we just have to dump grey water. If you also use your black tank, we’d advise you to dump that one at this point…just do it before you dump the grey!
Pack Chairs and Table: This stuff folds down really small and we store it in the back seat of our truck.
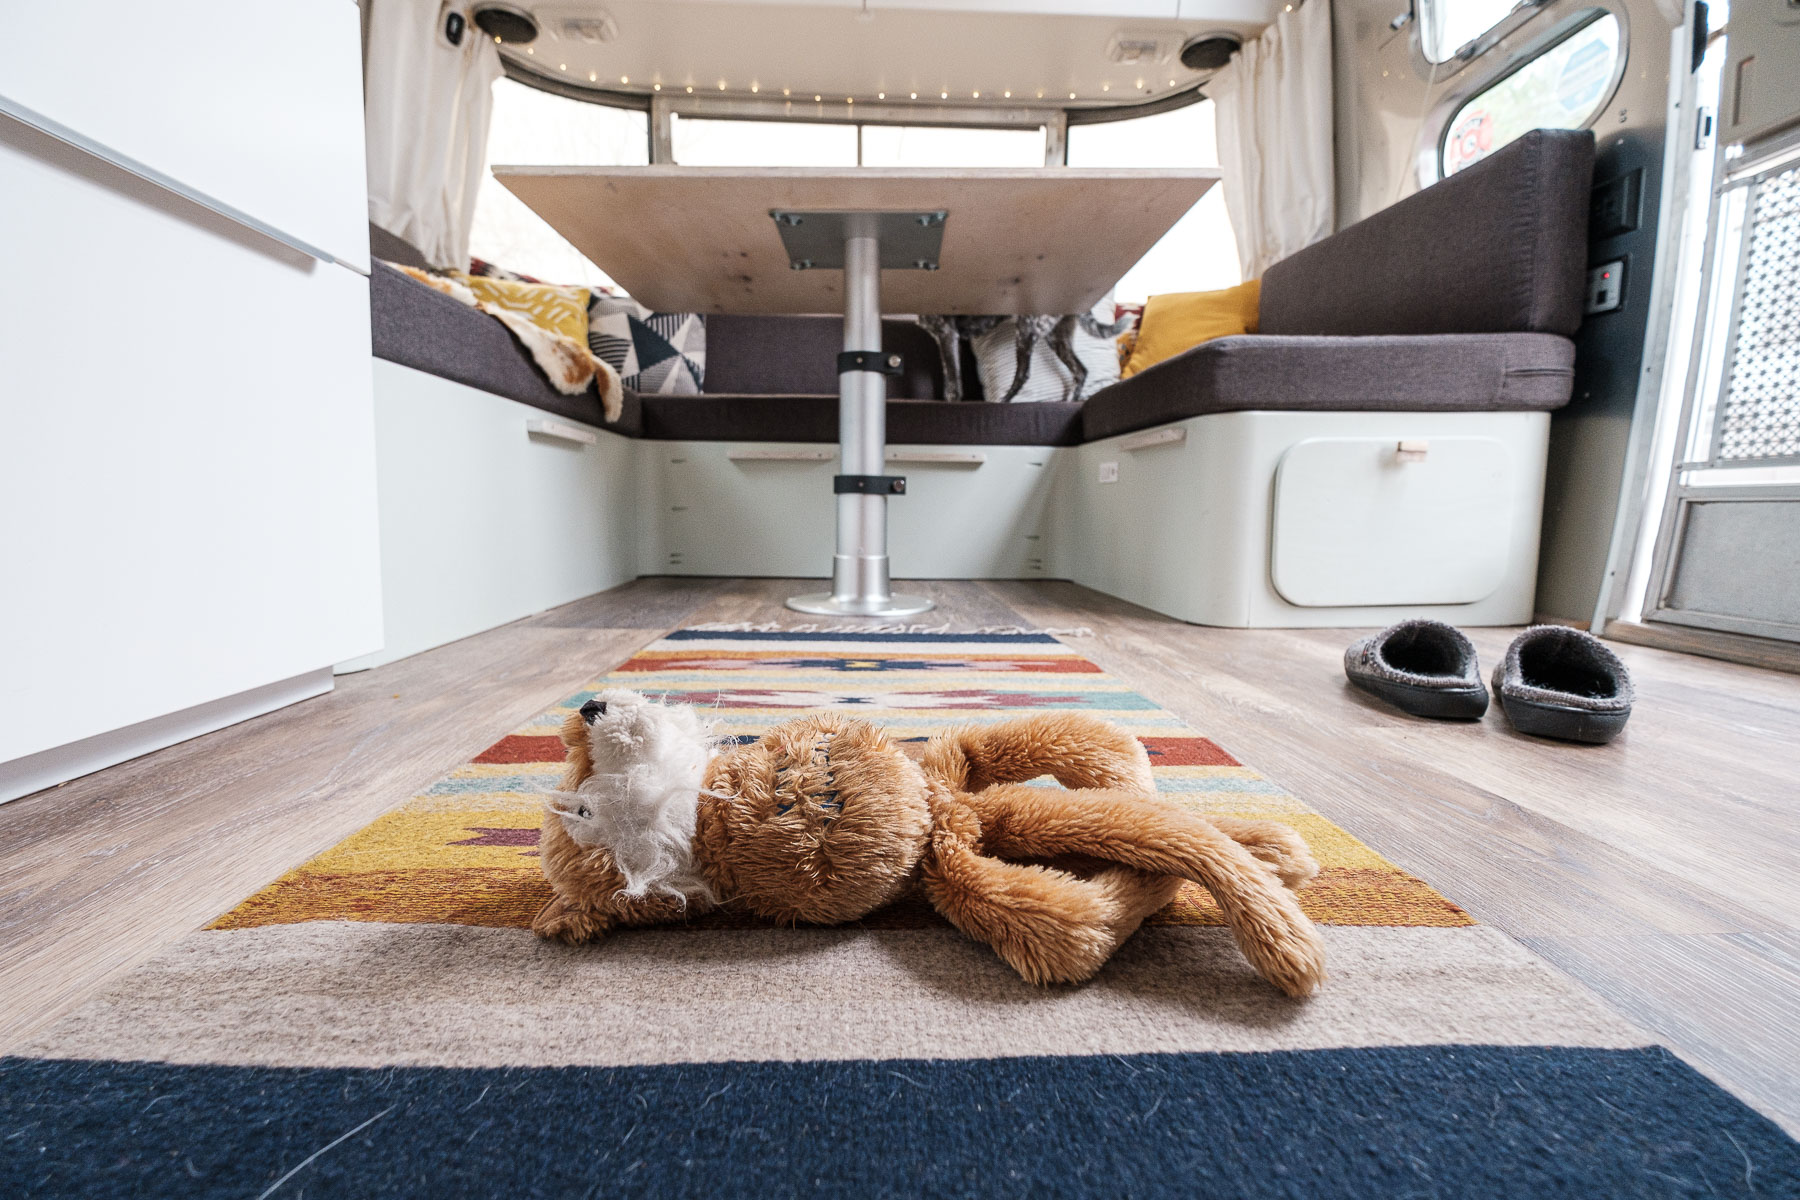
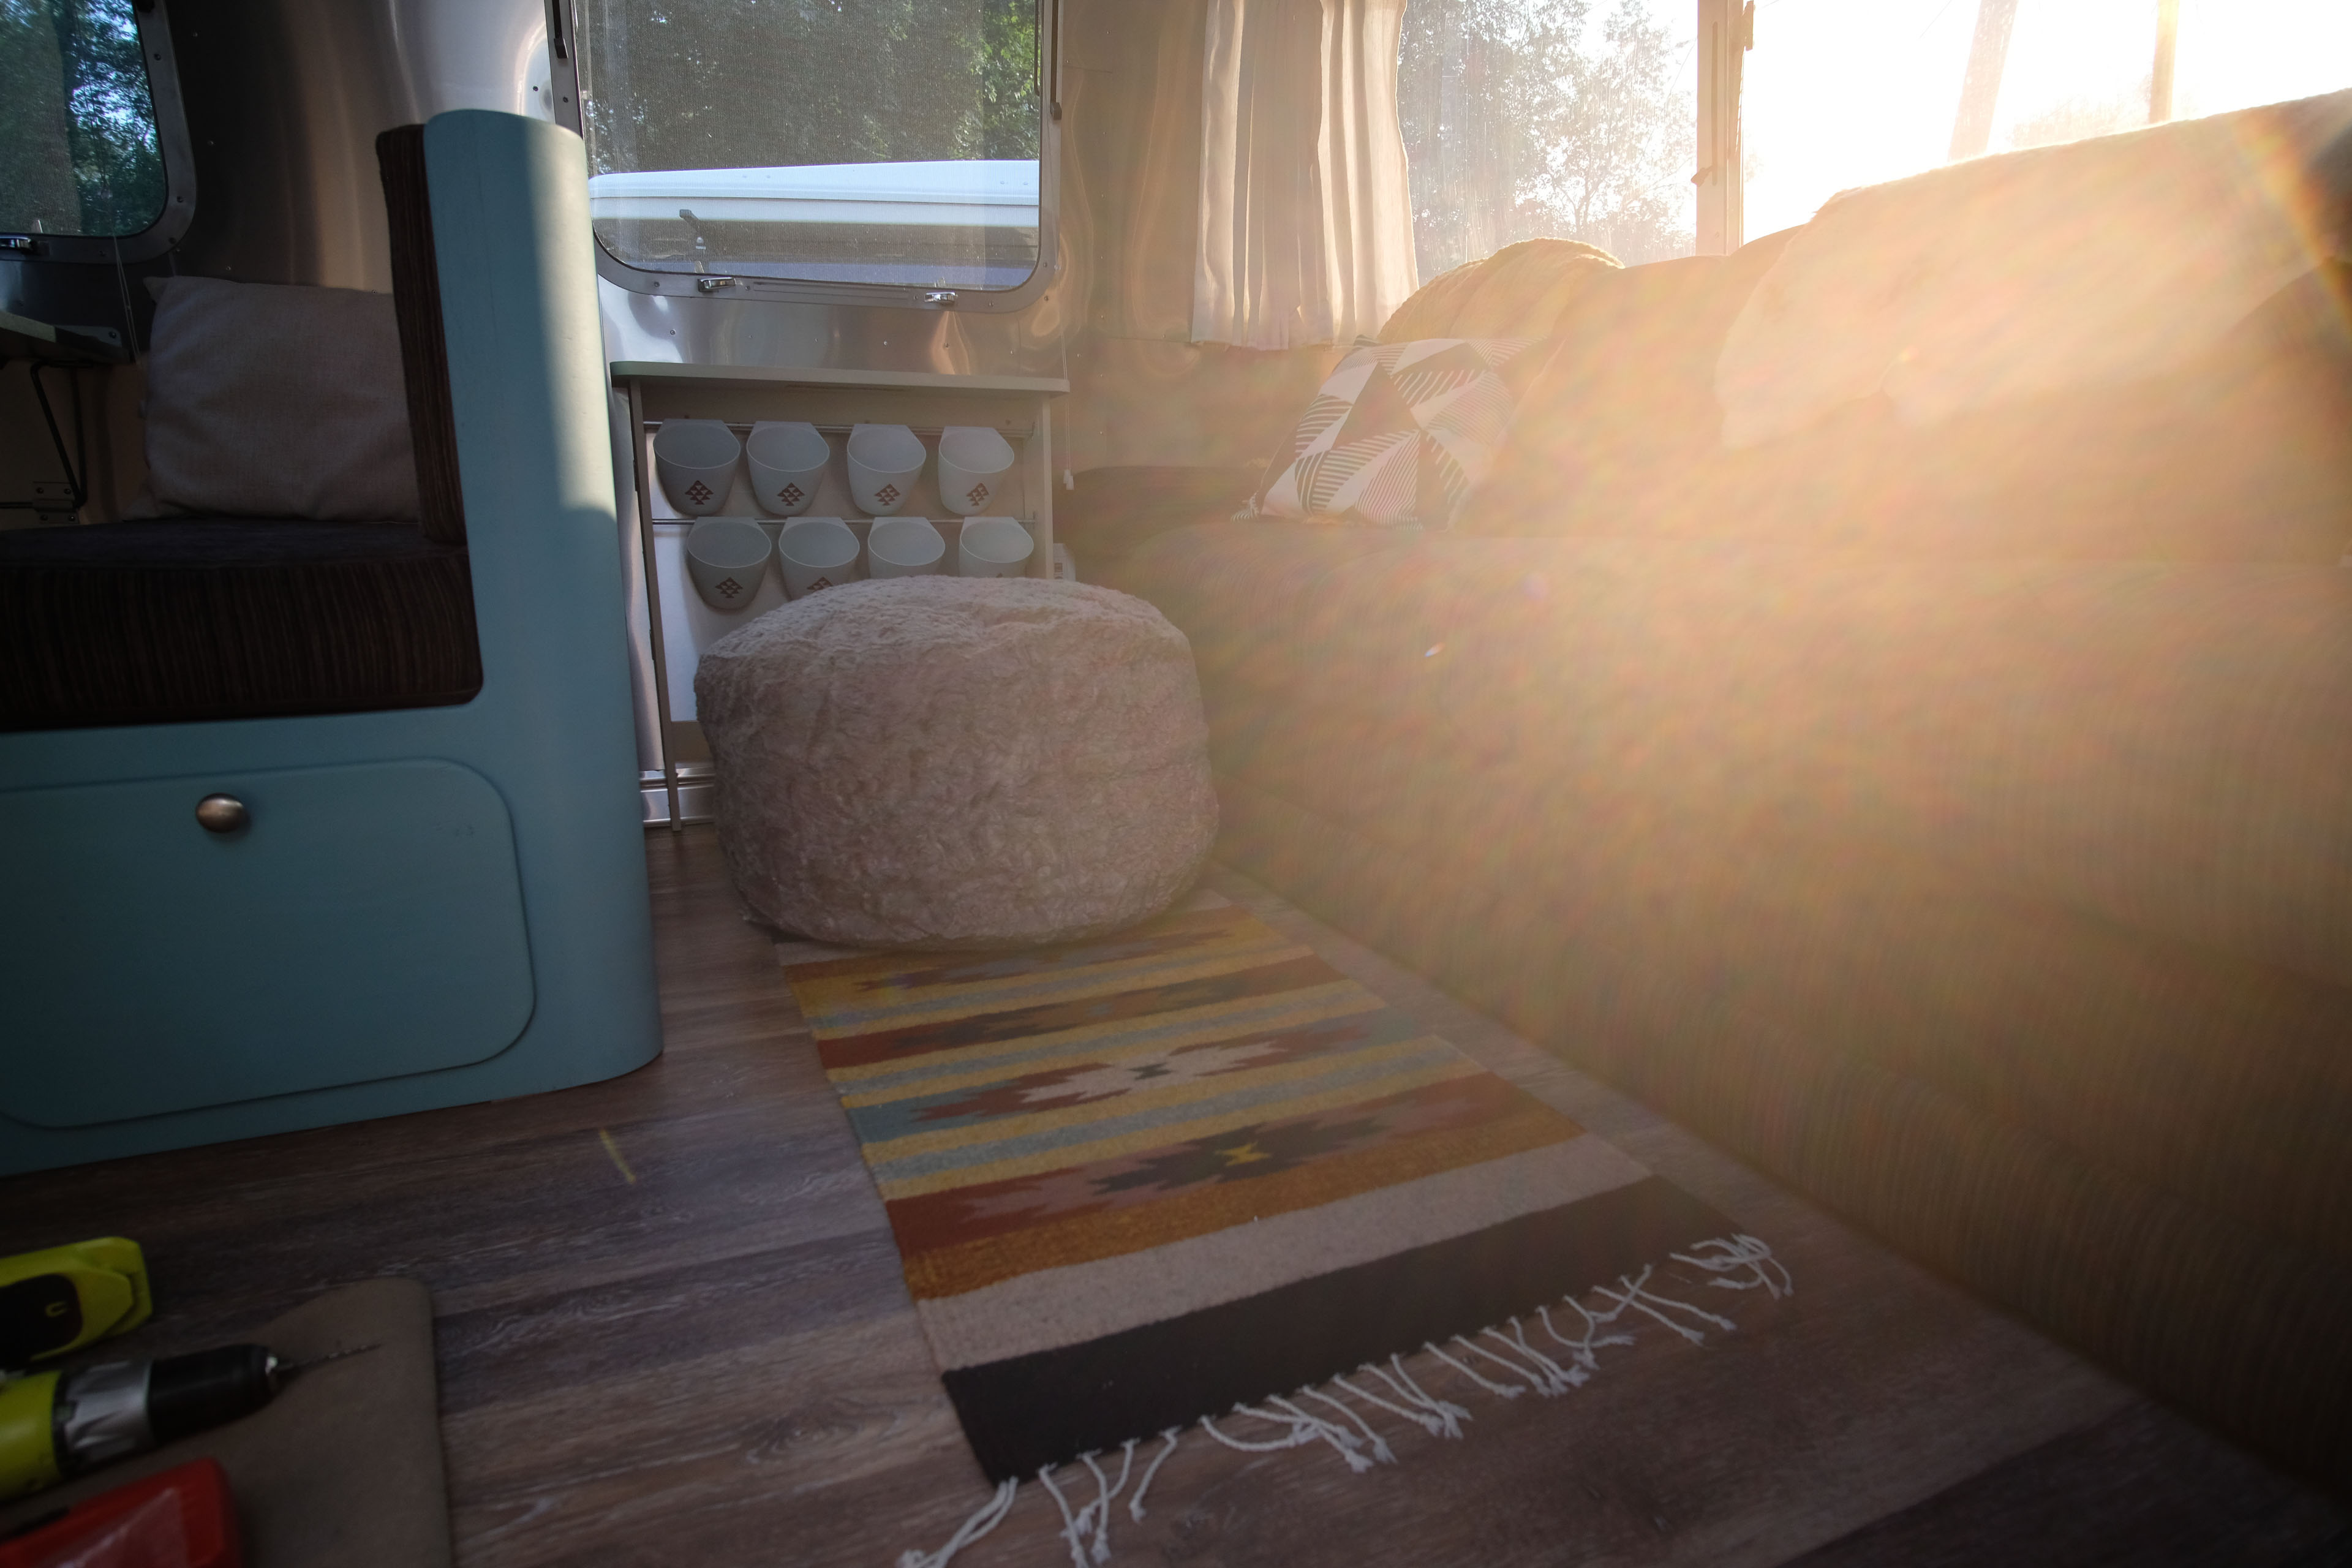
Roll Rug: We roll up our outside rug and store it in the rear bumper.
Grill: Pack up and cover our grill, also detach the propane can and store it securely in the cab of the truck.
Cooper’s Toys: Our dog is not a minimalist when it comes to toys. We have to look around camp and gather up all of Cooper’s toys he has managed to strewn about during our stay at this spot. He would not forgive us is we forget something.
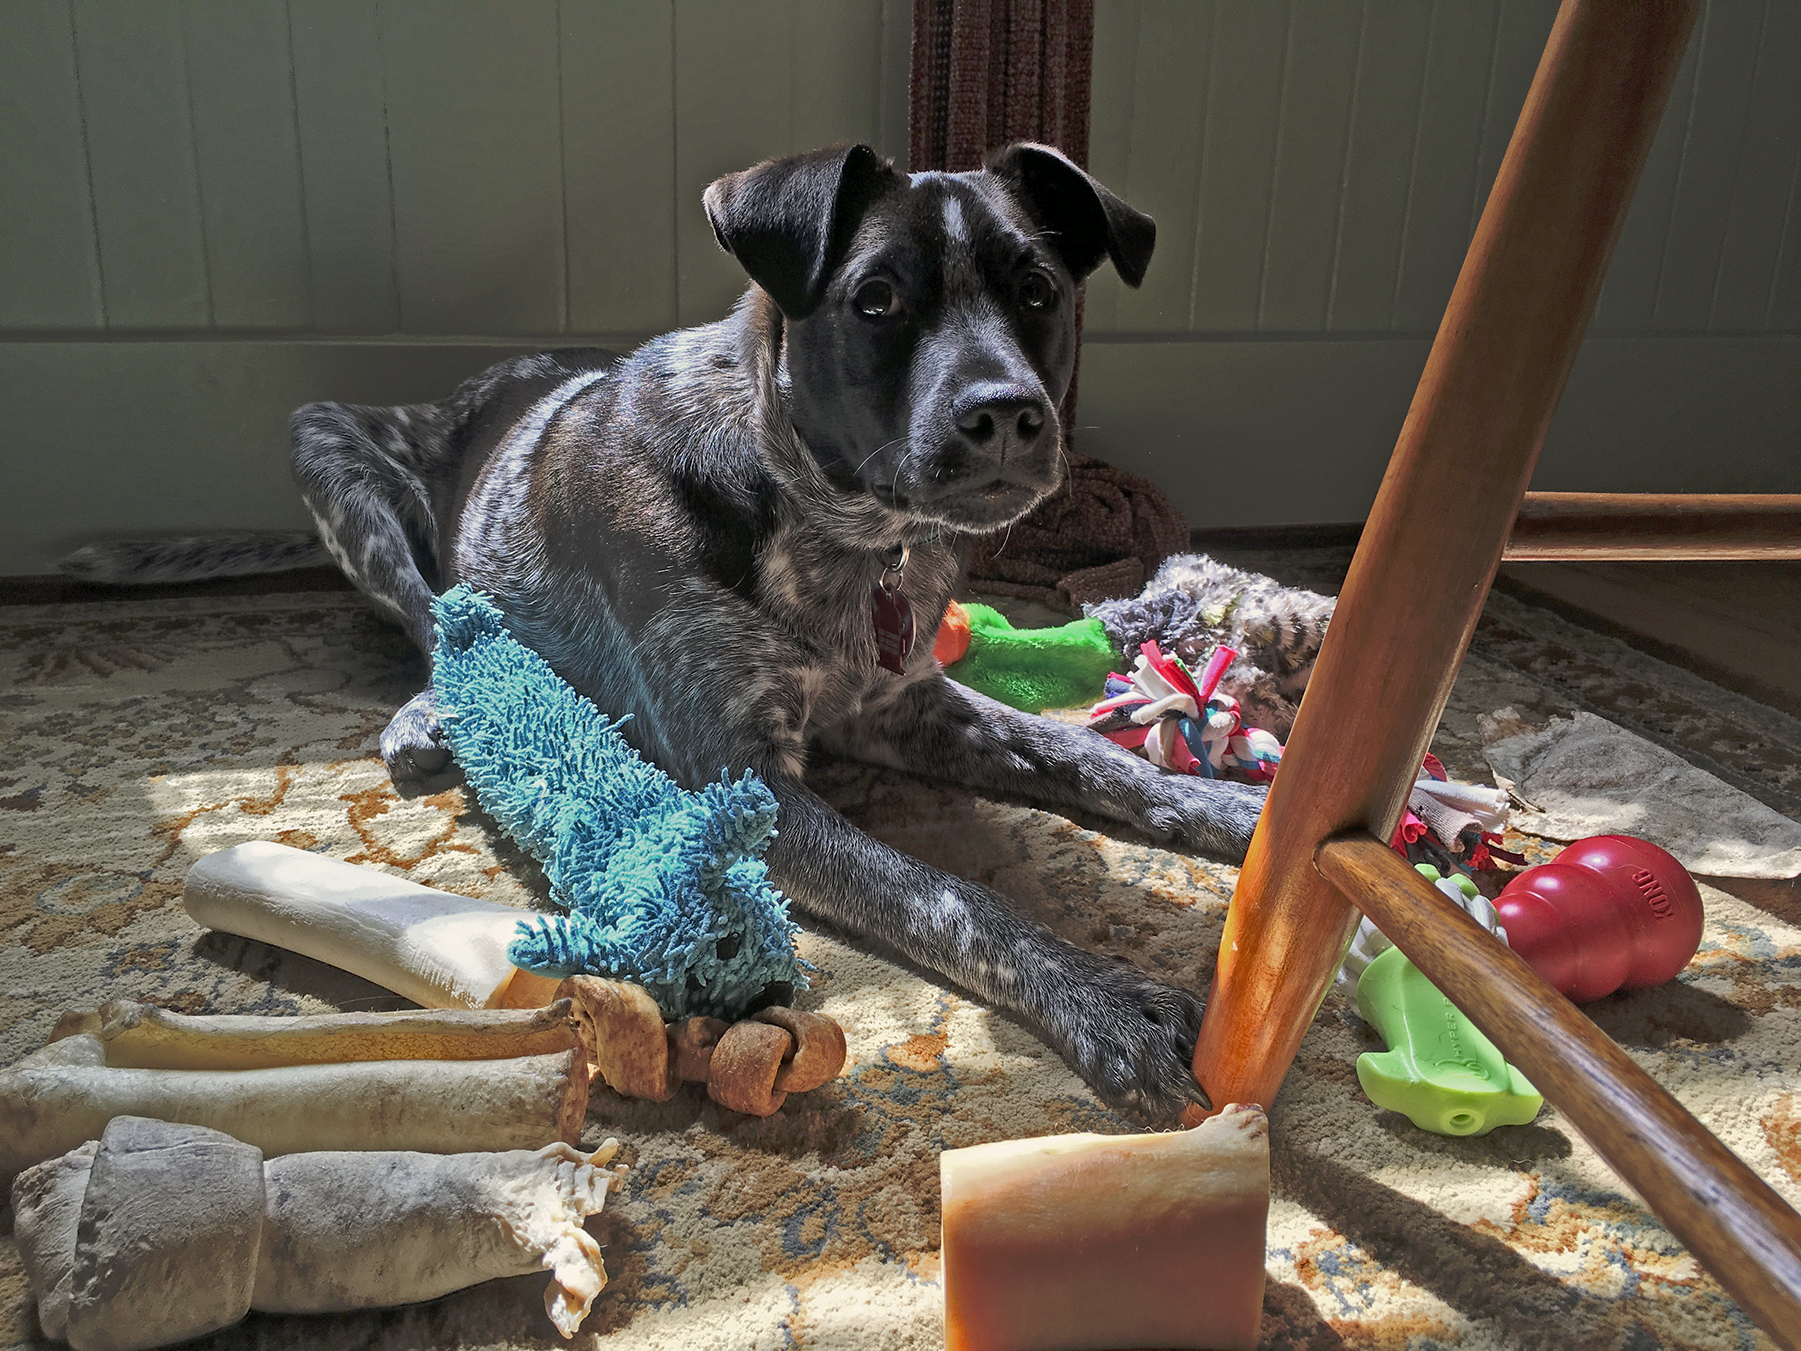
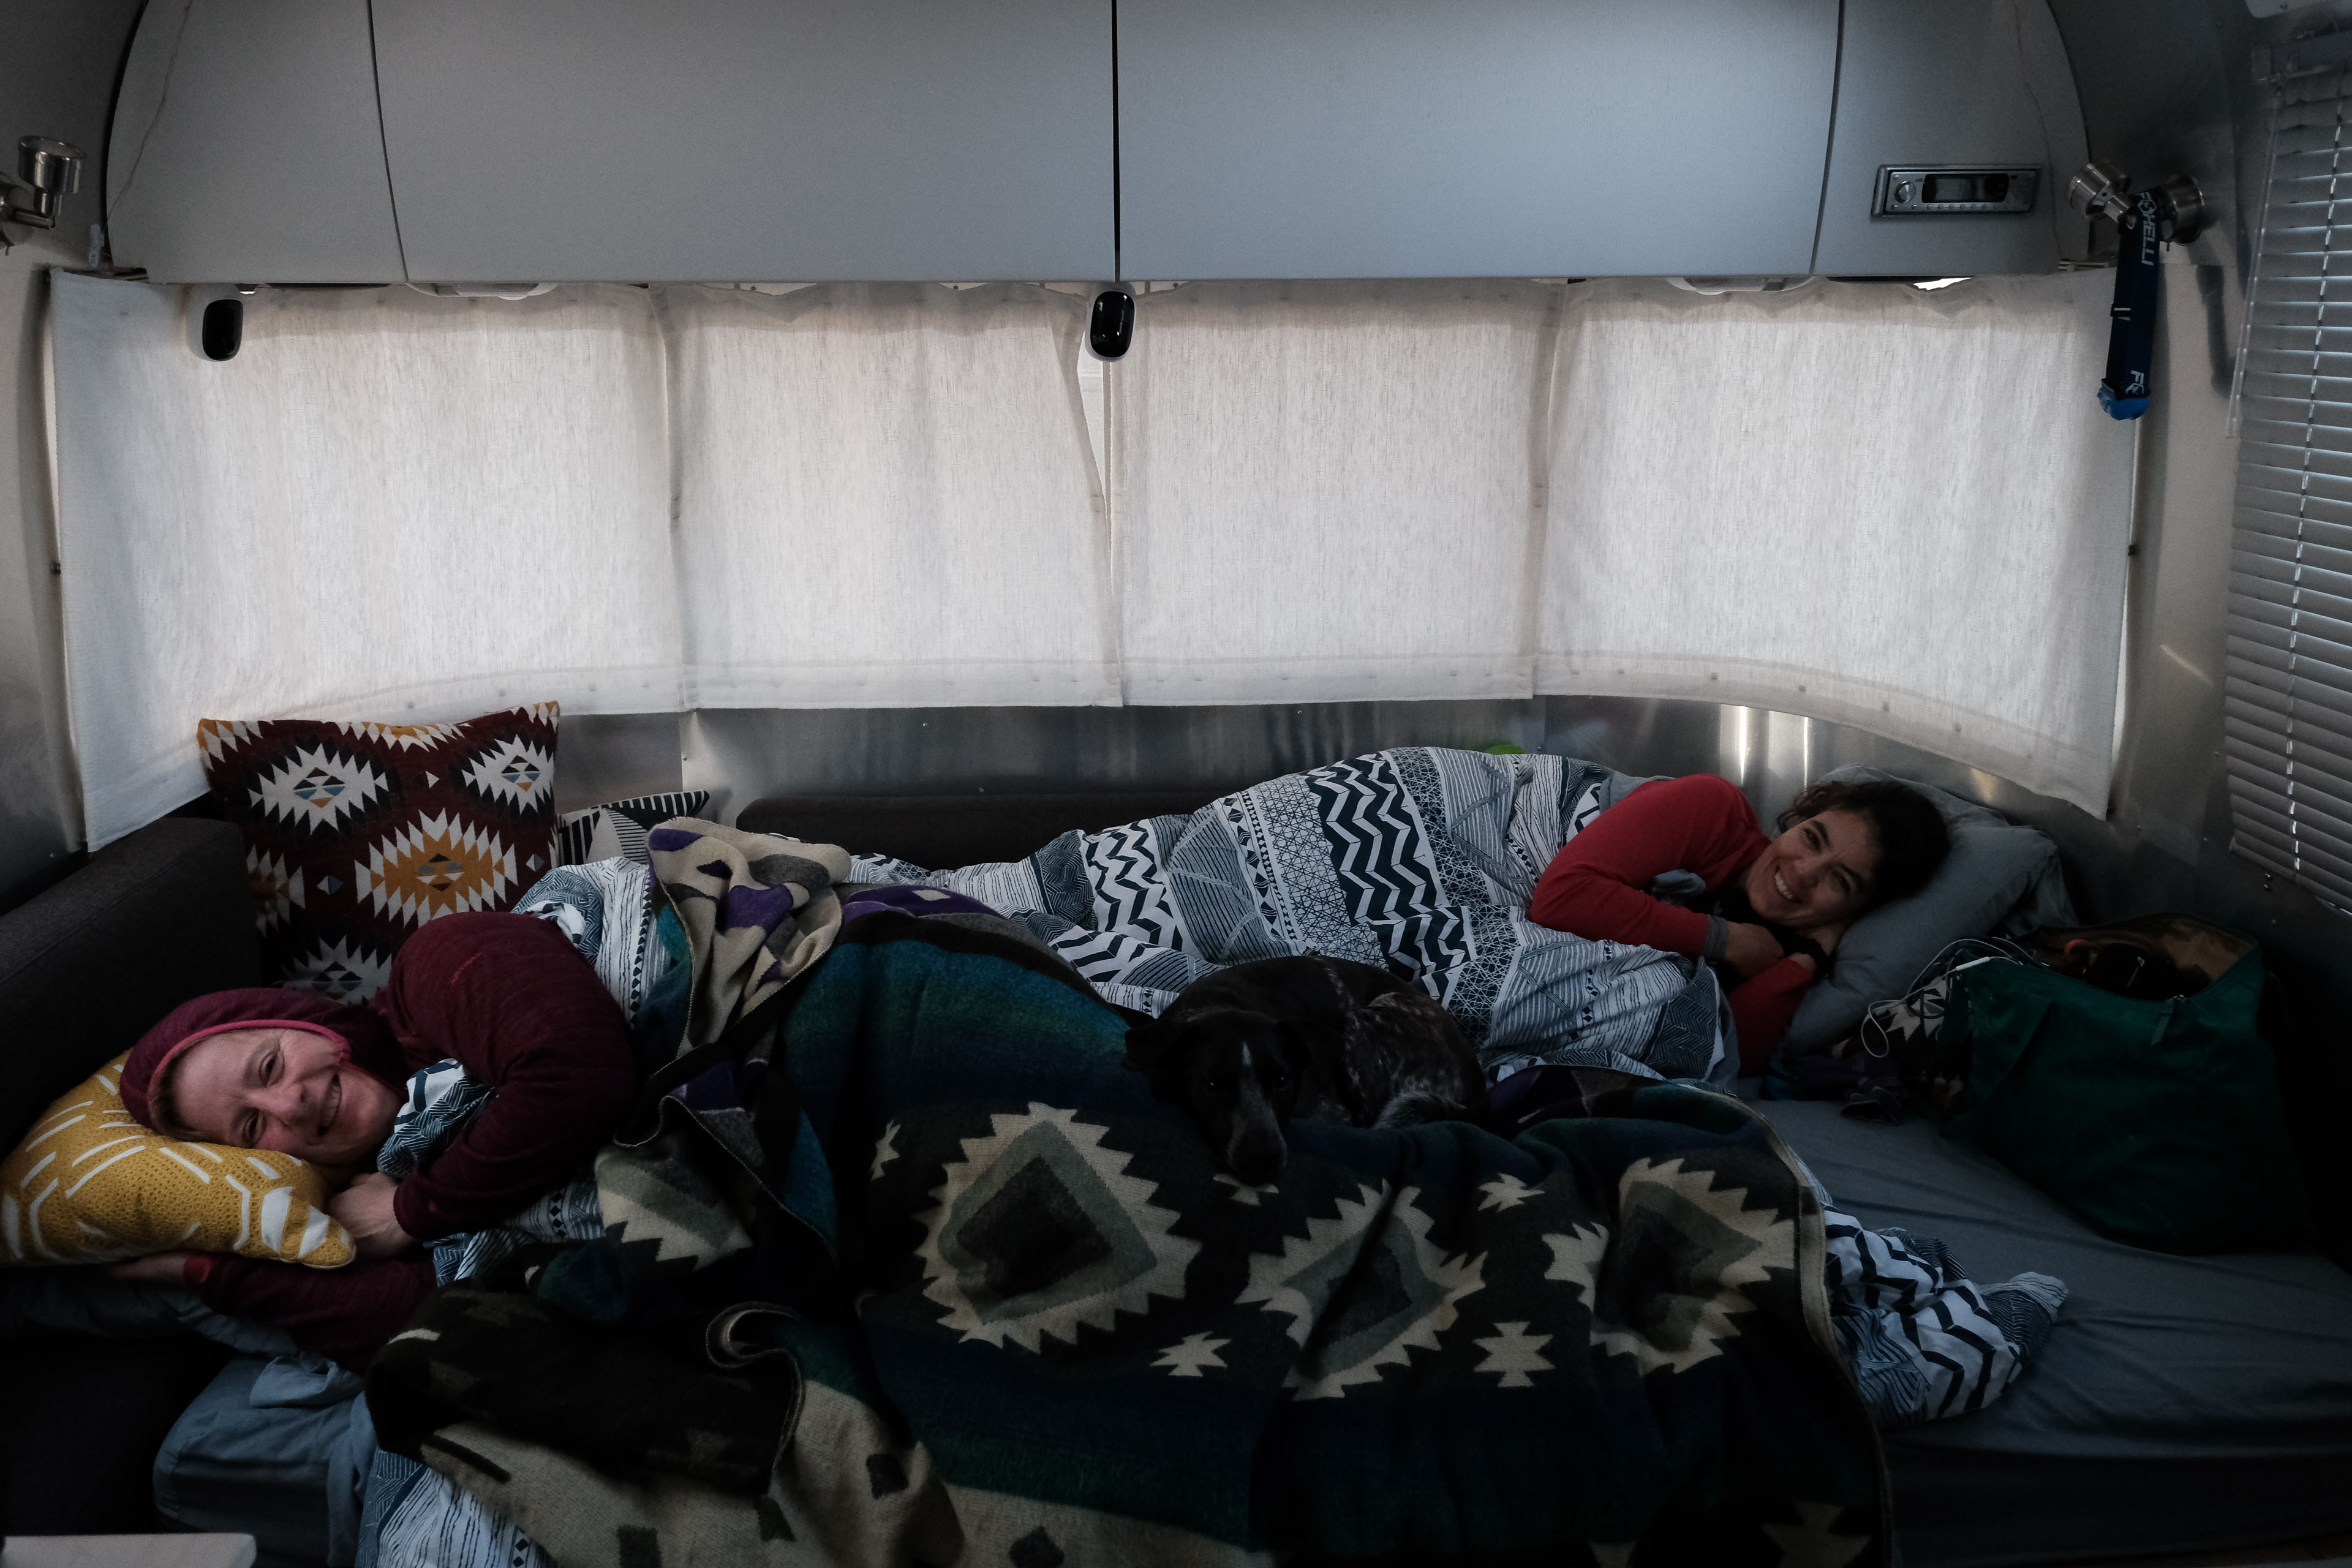
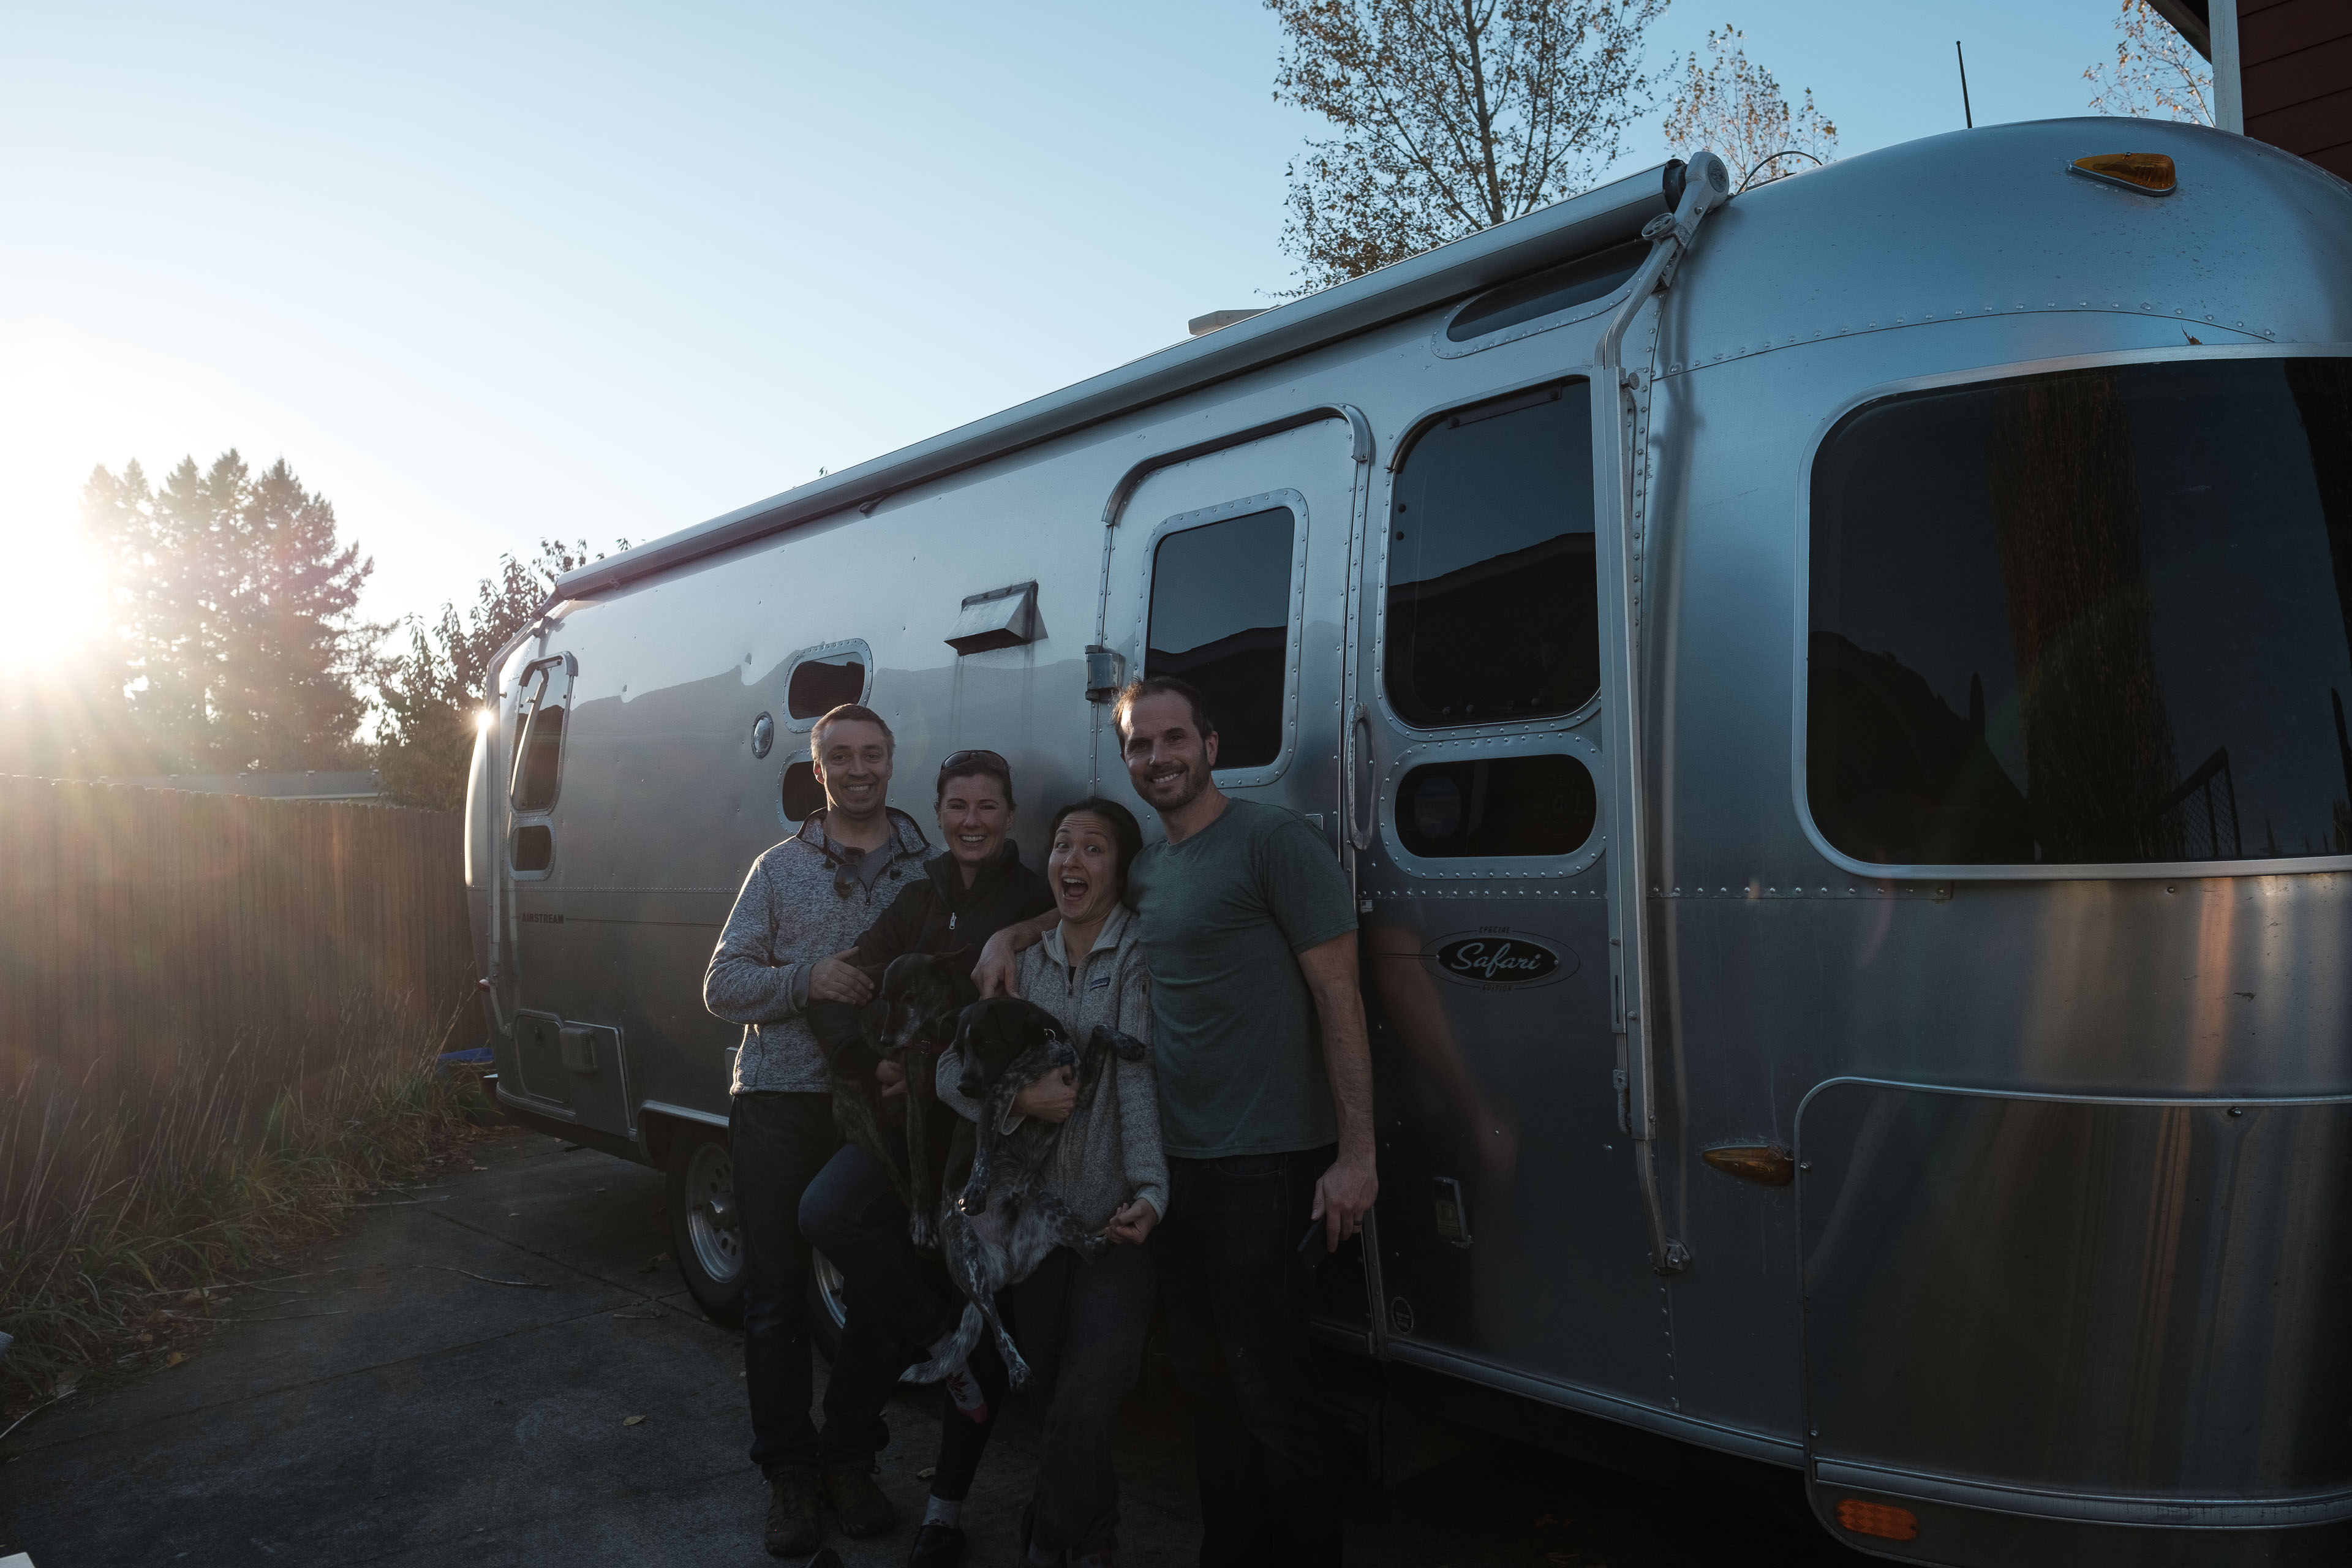
Cooper: It’s pretty hard to forget Cooper when we’re packing up. He gets really sad and nervous when we start packing things up and worries we’ll leave him. He’ll often sneak into the truck and hide so he doesn’t get forgotten
Garbage and Recycling: It’s best to get rid of this stuff when you have access to a dumpster and recycling bin. If there isn’t recycling at the place you’re staying, you might be able to find one along the way! Try a site like this or just Google “recycling”.
Laundry: If we’re at a park or house with laundry, we make sure our clothes are clean when we set out.
Water Pump: Turn off the water pump to prevent any possible messes during travel!
Water Heater: Turn off the water heater so you’re not driving around with a large flame burning inside your rig.
Furnace: Turn this off for similar reasons to the water heater.
Toilet Water: Now that we have a composting toilet, we no longer have to worry about this. But we did need to do this for a bit, so it’s worth mentioning here. Just make sure you flush out your bowl after you turn off the water pump and before you hit the road. Otherwise, that toilet water is gonna slosh around and make a mess of your bathroom floor!
Fresh Water: Fill up your freshwater tank to the max and fill up any jugs you might have so you’re at full capacity when you begin to dry camp. The only time we might not do this is if we have a long drive ahead of us and we can get water closer to our destination. Water is really heavy, so if you can get away with not carrying it you might save on gas and brake wear.
Batteries: Check to see that your batteries are charged up. They will most likely get a bit of a charge along the way, but it’s best to make sure they’re functioning as expected.
Generator and Fuel: We don’t have a generator, but you might, so don’t forget to bring it for off-grid camping!
Hookups Unhooked: When everything is charged, flushed, and cleaned, it’s time to cut the cord and put your hoses and cords away. We store our gear in the back storage compartment and the bumper storage.
Fridge is Running: We always make sure our fridge is running on propane when we unplug from electrical. No one wants their food to go bad! And no one wants to clean out a stinky fridge while boondocking!
Propane: Speaking of propane, you want to have enough for your trip. If it’s been a while since you refilled, now might be a good time to do so.
Shower Head: We place our shower head on the bathroom floor so it doesn’t fall while driving.
Steps Up: Fold up your steps before heading out, you wouldn’t want to beach them on a rock while off roading. We looked at an Airstream this had happened to, it was not pretty.
Lock Door: We lock our Airstream door while towing, especially the deadbolt. We wouldn’t want it swinging open on accident.
Hitch Up: We have a ProPride weight distribution hitch, so it’s a bit more complicated that most hitches. Once we have the ”stinger” inserted into the receiver need to:
1. Secure the 2 over-center-latches on each side of the hitch unit
2. Insert lynch pins in these latches
3. Attach both tow chains
4. Hook up emergency brake cable
5. Plug 7-pin electrical connection
6. Raise up weight distribution jacks
7. Raise the tongue jack and store jack foot and any blocks
8. Remove wheel chocks
Final Walk Around: At this point it’s good to take a look inside the trailer and make sure everything is ready to roll. Take a walk around the outside of the trailer and check to see that all vents, doors, chocks, hoses, and wires are where they should be.
That’s what we do every time we move the trailer. We have a checklist in an app we use called Todoist to help us not forget to do any of these steps. You don’t need an app, but you should have at least a physical notebook or a note on your phone that has your steps detailed.
Do you have a checklist that has other items on it? What are they?
Good luck out there on the road!
Items seen in the video
Here are some of the items seen in the video. None of these products are sponsored. These are things we use and believe in and would recommend to anyone.
Our Vacuum – https://amzn.to/2uLwiZ3
Our Espresso Machine – https://amzn.to/2SPQBMO
Omnicharger – https://amzn.to/2SPQBMO
Folding dish rack – https://amzn.to/2SsTVP5
Our toilet – https://airheadtoilet.com/
Our camp chairs – https://amzn.to/2SJoNde
Our folding camp table – https://amzn.to/2OT6dhm
Our outside rug – https://amzn.to/36t0tAX
Our grill – https://amzn.to/2SqGNtR
Easy to pack propane tank – https://amzn.to/2SuKDC0
Super versatile water jug – https://amzn.to/2HpUh2G
Super durable water jug – https://amzn.to/31XtqUU
Some of these links are affiliate links, following one and purchasing an item helps support us and does not affect the cost of the item. Thank you for making a purchase via these links if you do!